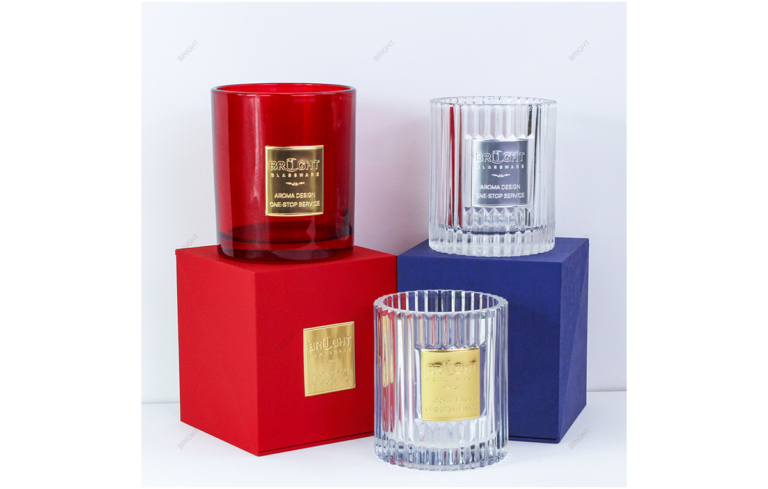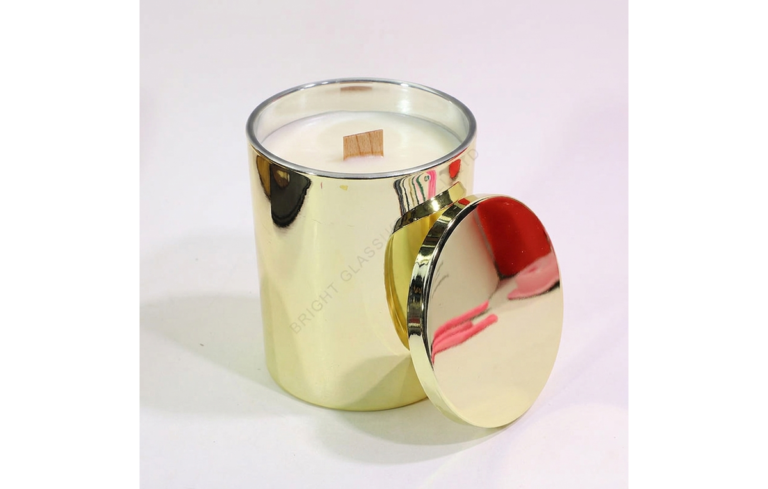

Many candle brands struggle with how to decorate glass candle jars without losing their visual identity during mass production. A glossy mockup can look different once you see the actual glass with the planned wax and lid. Approve those components together on a physical sample. Bright Glassware decoration and sampling guide
Start by deciding whether color or the logo should lead. Choose an exterior finish such as spray coating, frosted glass, screen printing, or decorative foil. Mark the rim and interior boundaries, evaluate the finished candle, and approve a physical pre-production sample.
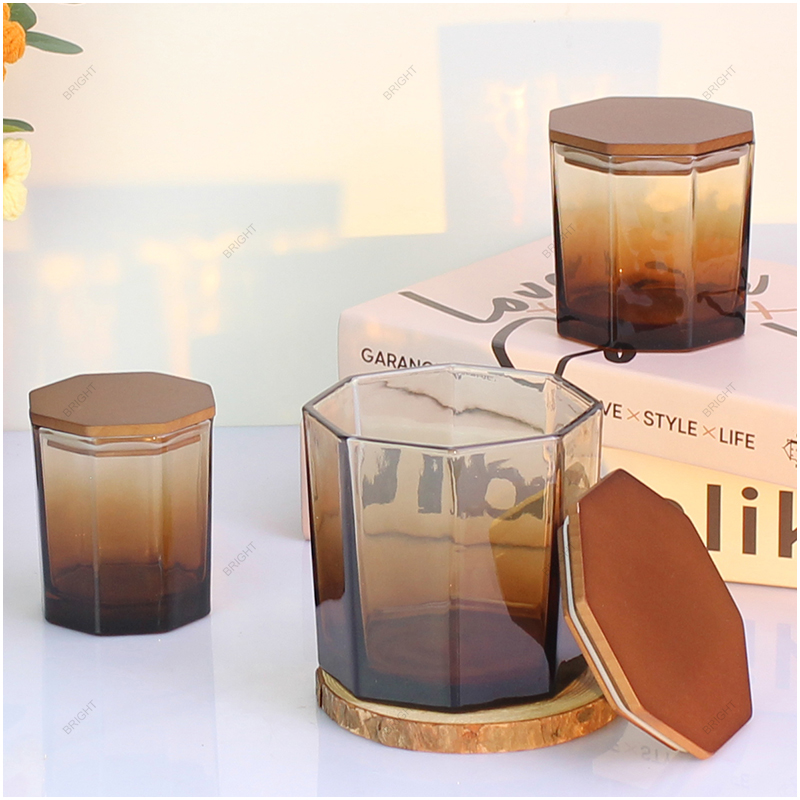
Selecting a surface finish is only one part of a smooth packaging project. Below, I break down how we guide buyers from initial concept and artwork setup to boundary mapping and bulk quality checks.
What Is the Best Way to Decorate a Glass Candle Jar?
Many buyers scroll through dozens of supplier catalogs and feel unsure about which surface finish fits their brand. Picking a process solely from a digital rendering often leads to flat colors, peeling prints, or unexpected tooling fees. A clear selection sequence solves this problem quickly.
The best way to decorate a glass candle jar depends on whether shoppers should notice the vessel color or the logo first, and how much wax should stay visible after pouring. From there, you match exterior treatments like spraying, frosting, screen printing, or foil stamping to your jar geometry and target budget.
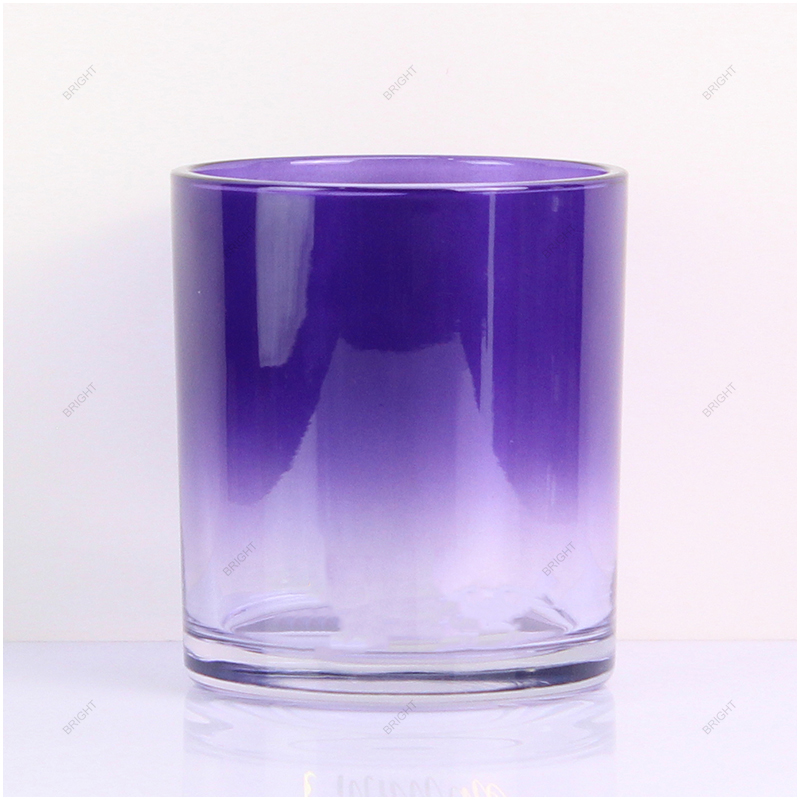
Starting With Visual Priority and Wax Visibility
When a brand sends a rendering, I start with two questions that help us choose the first samples.
- Do you want customers to notice the jar color first, or the brand logo first?
- After you pour the wax, how much of the wax surface do you still want people to see?
If the brand wants to minimize the visibility of wax pull-away marks through the wall, I suggest evaluating an opaque spray. If the wax or flame glow should remain visible, compare translucent color and diffused frosting on the actual filled vessel.
Comparing Core Glass Decoration Methods
These four options can be used individually or in a tested combination. Use the sample check to decide which finish works on your chosen jar.
| Decoration method | Appearance and sample check |
|---|---|
| Spray coating | Solid, translucent, gloss, matte, or gradient color. Check shade, coverage, and coating edges. |
| Acid-etched frosting | A diffused satin look. Check uniformity and how much wax is visible. |
| Screen printing | Ink graphics, text, or logos. Check fine detail, coverage, and alignment. |
| Hot stamping | A metallic effect on selected artwork. Check foil edges and retention during the agreed handling test. |
Combining Base Finishes With Brand Logos
A candle line can pair matte exterior spray with screen printing, or a frosted wall with silver-color foil. Request one sample with the complete set of finishes to check how the ink or foil performs on the actual base layer.
When Should You Choose Spray Color or Frosting?
A pastel vessel that looks soft on a screen can seem glossy or more transparent in daylight. Compare the physical finishes to see how they look on your jar.
Choose spray color for solid hues, translucent tints, or gradients. Consider acid-etched frosting for a diffused satin appearance. To compare it with a matte spray, ask to see both on the same jar shape. Frosted candle jar options
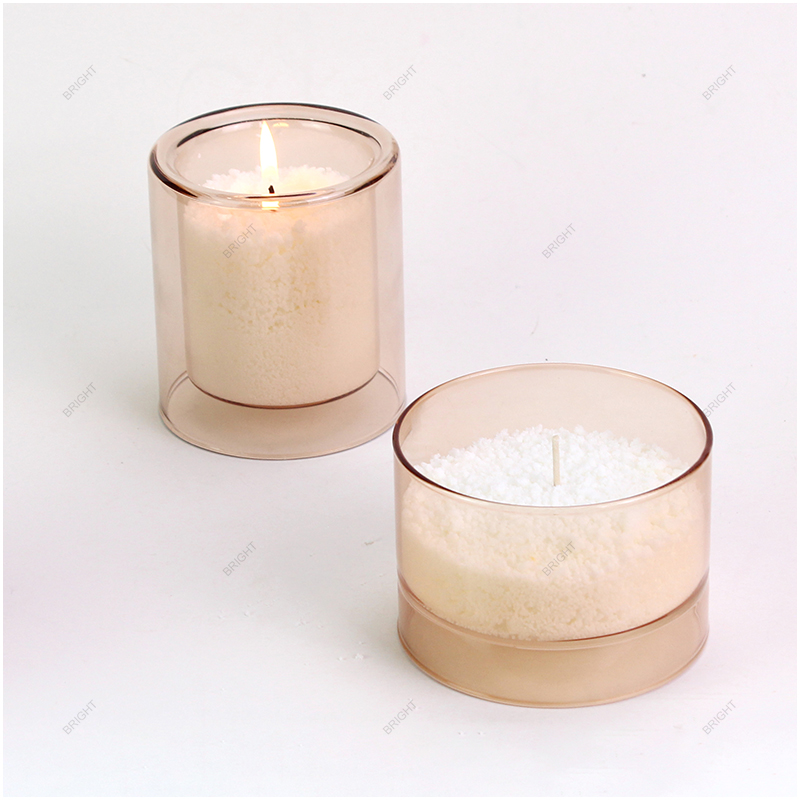
Solid, Translucent, and Gradient Spray Coatings
When color leads the design, I start with solid, translucent, or gradient spray samples. These options let buyers develop several color directions around one jar shape.
- Opaque spray limits how much wax can be seen through the wall. Check coverage on the filled sample.
- Translucent spray lets some light through the glass. Check how the tint looks with the planned color of wax.
- Gradient spray transitions between tones or coverage levels. Mark where the transition should sit on the approved jar.
Acid-Etched Frosting vs. Matte Spray Coating
Buyers frequently ask for a "frosted" jar when they actually mean either chemical acid etching or a clear matte spray finish. In my experience, photographs rarely show the tactile difference between these two options. When a customer wants a soft frosted look, I recommend putting an acid-etched sample and a matte-sprayed sample on the exact same jar mold side by side.
Acid etching gives the glass a satin texture. Matte spray adds a coating that can also carry color. Compare clarity, gloss, and feel under the agreed lighting. Frosted glass finishes
Checking Empty Jars vs. Filled Jars With Lids
Once you approve the empty jar finish, review it with the actual wax and lid. The color of the wax can change how a translucent or frosted wall looks. Review the jar under the same lighting each time.
Procurement tip: Use Pantone to communicate the initial color direction. Approve the exact jar, coating, and color on a signed physical reference sample before authorizing production.
Which Is Better for a Logo, Screen Printing or Hot Stamping?
Your brand mark turns a plain glass container into a recognizable retail product. However, choosing the wrong logo method can cause thin letters to break or metallic accents to lose sharpness on curved walls. Understanding how ink and foil behave protects your brand image.
Start with screen printing for readable text, patterns, or artwork that needs ink color. Consider hot stamping when a metallic highlight is important. Compare the two on the chosen glass and inspect the smallest elements in the design.
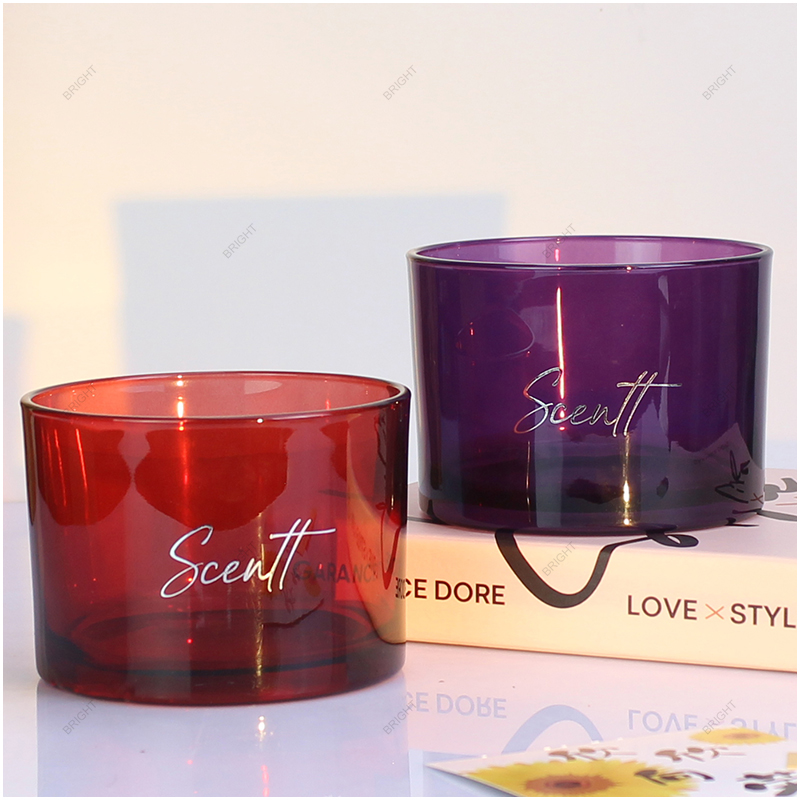
Silk Screen Printing for Crisp Text and Graphics
When lettering needs to stay readable, I usually start with a screen-printed sample. Ink passes through a mesh stencil onto the approved glass or coating. Choose the curing method for the ink and substrate. Screen printing on glass
Compare contrast, letter size, and coverage on the decorated sample. A single-color logo can still need alignment checks when it crosses a seam or wraps around the jar.
Gold and Silver Decorative Foil Hot Stamping
For selected glass surfaces, hot stamping applies metallic foil using heat and pressure. Check the transfer on your actual jar, including curved areas, fine lettering, and edges.
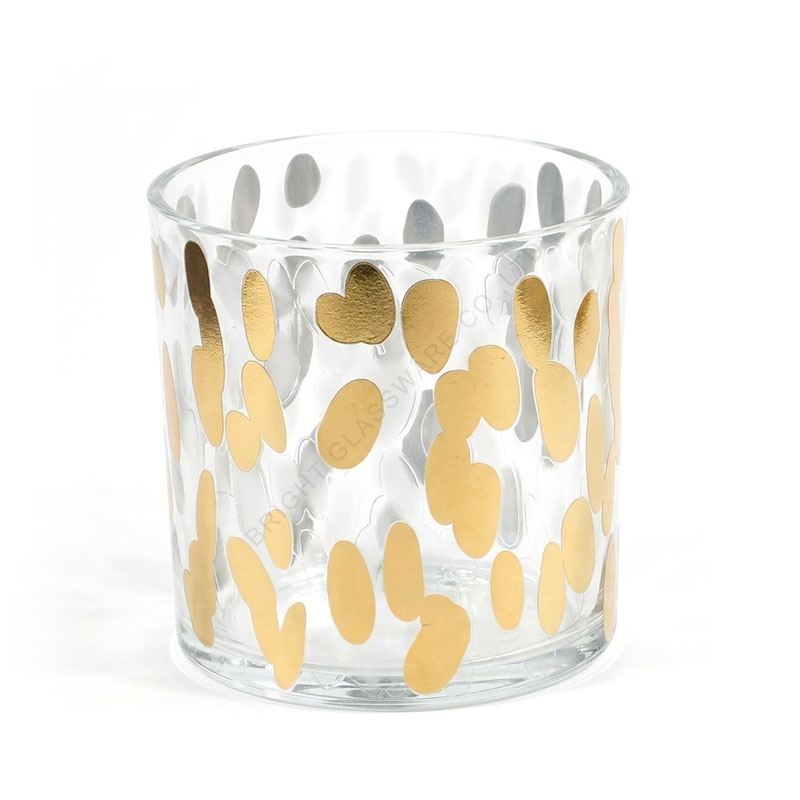
Specify gold-color or silver-color decorative foil when describing the appearance. If the project requires a particular composition or durability result, ask for the material declaration and relevant test documentation for that foil system.
Comparing Both Logo Methods Side by Side
| Logo method | What to approve |
|---|---|
| Screen printing | Color, contrast, alignment, readability, and ink coverage. |
| Hot stamping | Metallic shade, edge definition, gaps or breaks, and retention during the agreed handling test. |
Inspecting Samples From the Shopper's Angle
When you receive your printed or foil-stamped sample jars, do not inspect them only from a flat top-down view on your desk. Pick up the jar, hold it at eye level, and rotate it to the front-facing angle that a shopper sees on a retail shelf. Check the vertical centering, look closely at thin strokes in your font, and inspect every foil edge for tiny gaps or fuzziness. This physical check is especially valuable when the jar has a tapered wall, a visible mold seam, or decorative vertical ribs.
How Do You Prepare Artwork for a Curved Candle Jar?
Many packaging buyers send a flat square logo file to a glass factory and expect a straight wrap around the vessel. That shortcut often creates slanted baselines, stretched typography, or artwork colliding with vertical mold seams. Proper pre-press setup prevents avoidable printing defects.
Start with the supplier’s vector template for the selected jar. Confirm the printable width and height, front orientation, taper, and placement relative to seams before approving a physical sample.
Why the Factory Vector Template Comes First
When a logo is the main design element, we can share the template for the selected jar. An outside diameter or total height alone won’t show where the wall curves at the shoulder or base.
Mark the print area and specify the logo baseline and reference point. Use the sample to check how that placement reads on the curve.
Artwork Preparation Checklist for Candle Brands
Before you send final files for sampling, ask your designer to verify six technical details:
- Use editable vector formats: Supply AI, EPS, or print-ready PDF files rather than PNG or JPEG images.
- Convert all fonts to outlines: Outlining prevents unexpected font substitutions on the factory computer.
- Separate decoration layers clearly: Put screen printing ink layers and decorative foil layers on distinct named layers.
- Check minimum line thickness: Keep fine strokes and negative spaces thick enough so ink does not bleed or foil does not bridge.
- Reference color codes for direction: Include the Pantone reference and the foil swatch code if available.
- Confirm front orientation: Agree on where the logo sits relative to any visible seam, and check alignment on the sample.
Managing Wall Taper, Mold Seams, and Texture
Straight, smooth walls are generally easier to evaluate for printing or foil. On a tapered jar, lettering that looks level in a flat file can read differently on the curve. Have the prepress team adjust the artwork where needed, then check the physical sample.
For flutes, raised patterns, or seams, check whether a smooth area can take the artwork. If the design needs a label, agree on the panel and test the finished application. Candle jar artwork and label placement
Where Should Decoration Stop on a Jar That Will Be Burned?
A seamless full-wrap render looks sleek in a brand deck, yet coating the wrong surfaces creates real risks once a candle burns. Paint or foil placed near the flame or inside the glass can peel or discolor. Setting clear keep-out zones early protects both appearance and performance.
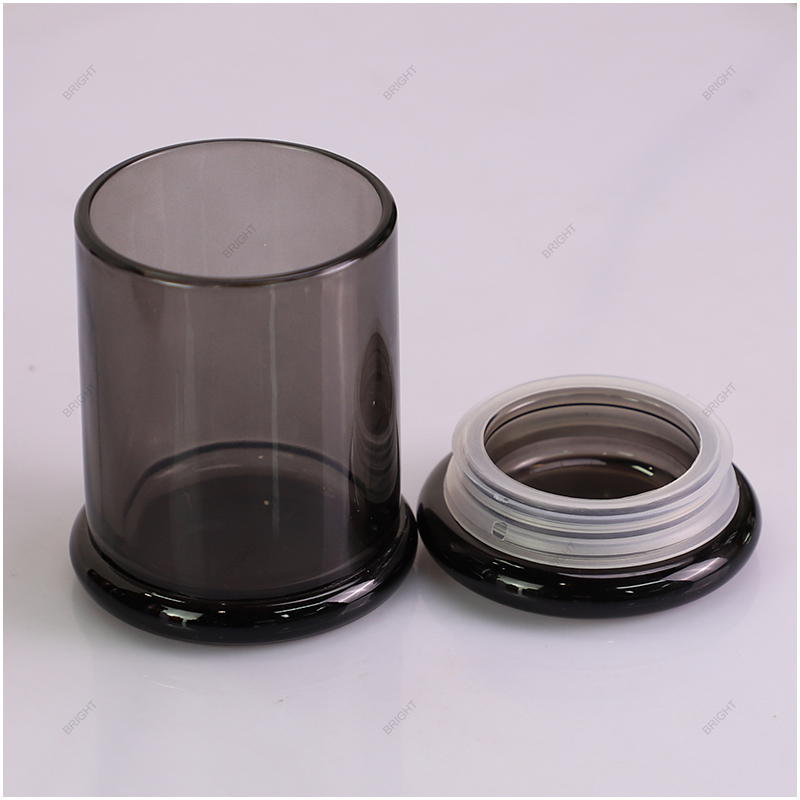
For the exterior decoration route described here, define an uncoated rim margin and keep the interior free of the selected exterior finish. Mark these boundaries on the drawing before sampling.
Mapping Exterior Zones and Keep-Out Areas on Your Proof
A reliable factory artwork proof does more than show your logo size. It acts as a manufacturing blueprint that explicitly defines where surface materials belong and where bare glass must remain exposed. Before you approve a pre-production proof, verify that it labels these boundaries clearly:
- Exterior decoration zone: Define the exact upper and lower start-and-stop lines for spray coatings, screen printing, and decorative foil on the outside wall.
- Top rim clearance: Mark where the finish stops and verify that the lid fits without rubbing it.
- Interior wall: Leave it free of coating, ink, and foil in this design. Review any proposed treatment in contact with wax separately for its intended use.
- Base resting ring: Agree whether the resting ring stays clear. Check the finished base and how it sits on the intended surface.
Why Empty Vessel Checks Cannot Replace Burn Testing
Even when a factory maintains clean exterior boundaries and passes visual sample checks, an empty jar cannot predict how a finished candle will perform in a consumer's home. Heat intensity varies widely depending on wax formulation, fragrance load, vessel wall thickness, and wick sizing.
Run a finished-candle burn evaluation with the actual decorated jar, wax, fragrance, and wick. Follow the test plan through the intended burn stages and applicable stop point.
Safety note: Check coating placement and adhesion on empty glass. Evaluate burn performance separately on the finished candle with the planned materials and construction.
What Should You Check Before Approving Bulk Production?
A phone photo can show the design direction. For production approval, review the sample against the artwork, color reference, lid, and agreed handling checks.
Inspect the decorated sample under agreed lighting. Review it with the planned wax and lid, complete the agreed finish checks, and sign off the physical sample and drawing used for production.

Agreeing on Practical Verification Tests Up Front
Different candle projects face different handling conditions, from high-volume e-commerce shipping to heavy fragrance pouring lines. Rather than assuming every factory runs identical lab protocols, you should define and agree upon practical verification tests in writing before mass production starts.
Common project-agreed checks for decorated glass candle jars include:
- Cross-cut check: Agree on the layer, method, and acceptance criteria with the supplier. Review the ISO 2409 scope and limitations when selecting a method for the coating and substrate.
- Rub and abrasion check: Agree on a dry or damp rub where relevant and assess the results against the project’s handling and packing conditions.
- Alcohol or fragrance oil contact check: Where relevant, specify the liquid, contact time or wipe count, and acceptance criteria. Record any transfer, smudging, or softening on the sample.
- Documentation review: If your market or retailer demands chemical compliance disclosures, emissions records, or formal durability certifications, confirm those document requirements early and verify the actual test reports rather than relying on verbal assurances.
Using a Physical Pre-Production Sign-Off Checklist
At Bright Glassware, I recommend keeping a signed pre-production jar and recording the artwork version, finish, and assembly it represents. Keep a matching reference for inspection on the supplier’s side.
| Sign-off item | What to check on the reference sample |
|---|---|
| Color and surface | Shade, opacity, gloss, and frost evenness in the agreed lighting. |
| Logo or foil | Centering, small details, coverage, and foil edges from the shopper’s viewing angle. |
| Wax and lid | Appearance with the actual wax, seating height, and lid fit. |
| Decoration boundaries | Rim and interior against the approved drawing. |
| Export protection | Check for contact, abrasion, or movement inside the proposed retail and transport packaging. |
Checking packaging alongside decoration is easy to overlook, yet matte sprays and metallic foils can scuff during international shipping if jars rub directly against rough cardboard partitions. Confirming protective sleeves or smooth dividers during sample approval protects the exact surface finish you worked hard to perfect.
Frequently Asked Questions
Can I decorate the inside of a glass candle jar?
For the decorative systems discussed here, keep the selected exterior finishes off the rim and inside of the jar. A proposed finish that could contact melted wax needs its own material and finished-product evaluation.
Does hot stamping on candle jars use real gold or silver?
Gold and silver names can describe the look of decorative foils. For example, foil manufacturer Foilco describes a metallized foil structure using an aluminum layer. Ask for the actual material declaration whenever composition matters.
Why does my sprayed candle jar look different from the Pantone swatch?
Pantone is a useful way to communicate color. Pantone notes that the substrate can affect appearance. Approve the actual glass, wax, and coating in the agreed lighting.
What tests should I run before launching a decorated candle jar?
Confirm the relevant surface checks, including any cross-cut, rub, or liquid-contact methods. Then evaluate the finished candle with its actual wax, fragrance, wick, and decorated jar. Follow the burn test plan through the intended use stages.
Conclusion
Decide whether color or the logo leads. Compare finishes on the actual jar with the planned wax and lid, mark the clear rim and interior areas, and approve the physical reference sample with the project’s checks.
Browse our wholesale glass candle jars or share your jar selection and artwork with Bright Glassware for a decoration sample and quote.
Keep Reading