
Candle Packaging · Lid Measurements and Fit
Candle Jar Lid Sizes & Matching
A candle jar lid size depends on where it is measured. Identify the jar opening, the rim and the surface that will contact the lid before selecting a catalogue reference.
Send a drawing with the measuring points marked or a finished jar sample. Check the selected lid with its ring or gasket in place.
Compare the Current Lid Size References
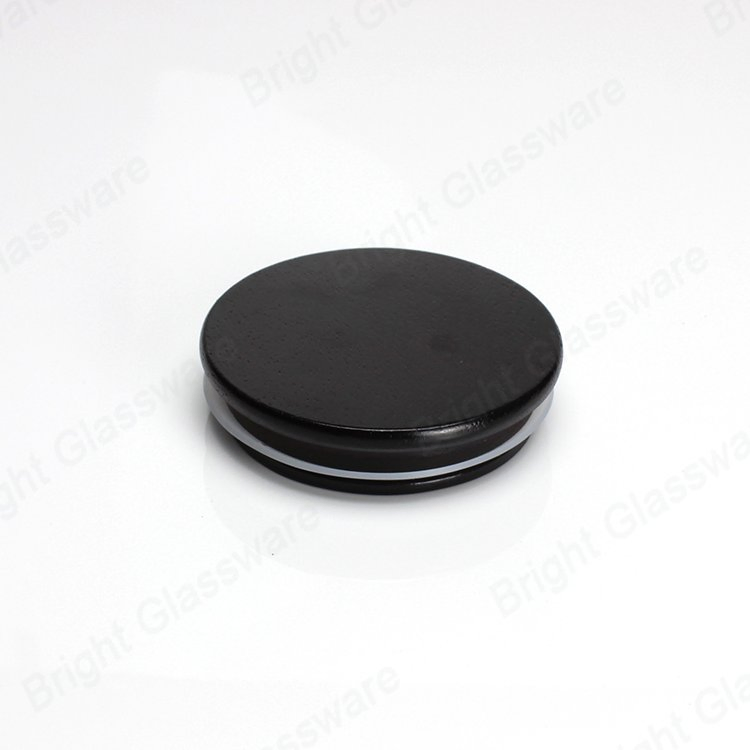
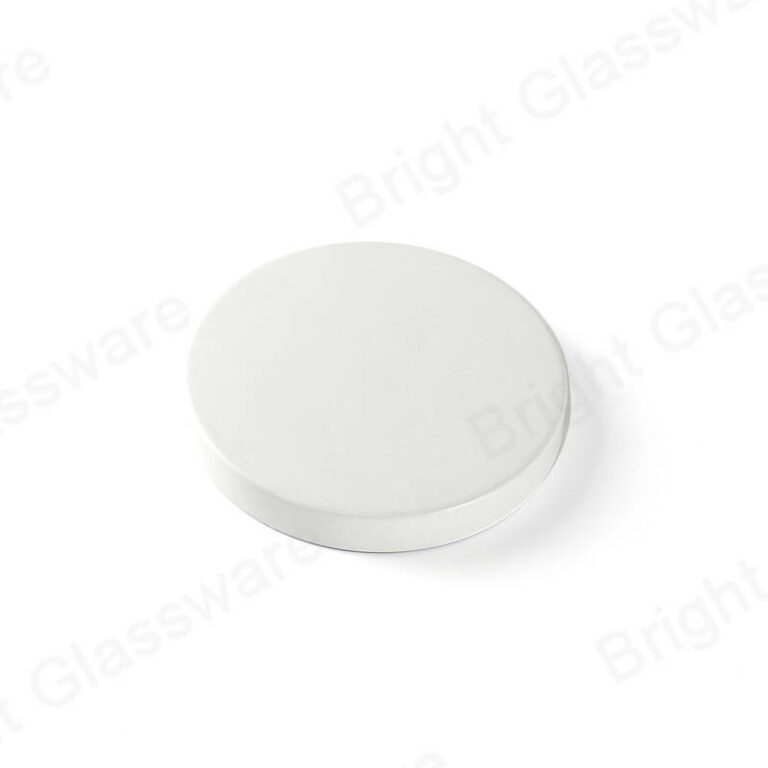
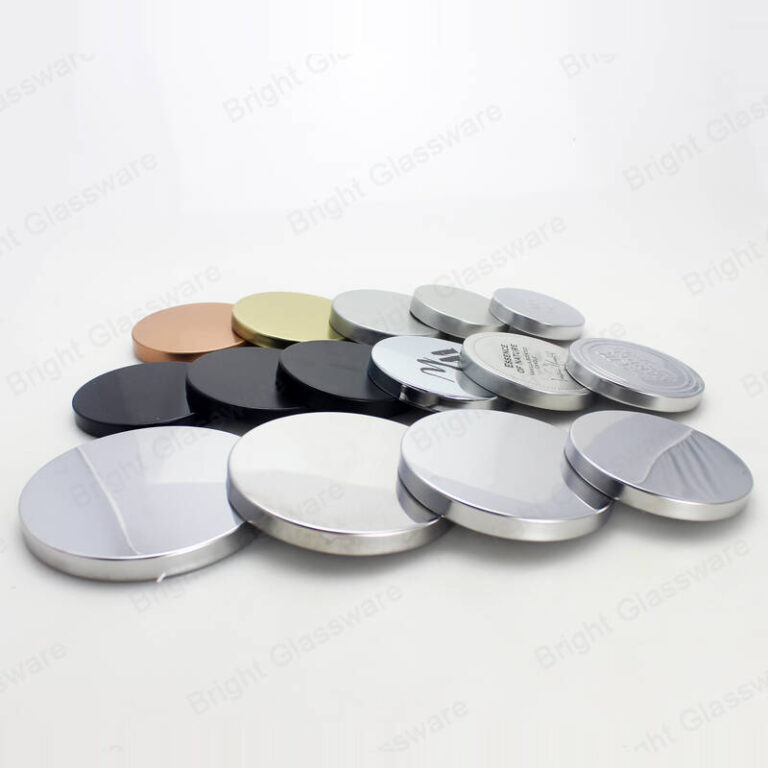
GLM042 lists eight metal lid references from 78 to 113 mm. GLM80 is a separate 80 mm catalogue reference, and GLW004 is a stepped wood lid with a ring to measure on sample. Confirm what each listed number refers to before matching it to a jar.
Send Your Jar Rim Measurements
Include the jar model, inside opening and outside rim measurements. Mark the seating surface and send a lid reference or sample if available.
Where to Measure Before Choosing a Candle Jar Lid
Use the same reference points when comparing the jar and lid. For a round opening, check across more than one axis at the same height.
Show where the caliper touches
Mark the top inside and outside rim measurements on a photo or drawing.
Mark the Jar Opening and Rim
Mark the inside opening, outside rim and the surface where the lid will rest or engage. On a stepped or tapered rim, note the height at which you took each measurement.
Review the Jar Measurements →
Read the Catalogue Labels
GLM042 uses eight discrete labels at 78, 79, 80, 82, 85, 86, 99 and 113 mm. The reference image repeats 78 and 85 mm. Confirm the pictured version and measuring point. GLM80 has its own 80 mm label.
Review the Model Reference →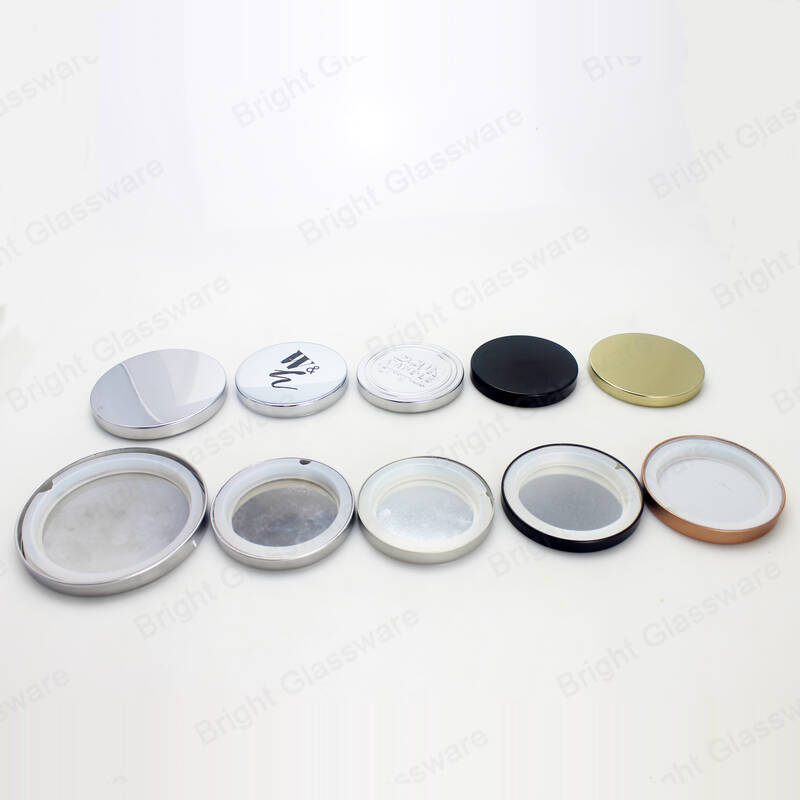
Measure the Lid Contact Face
Measure the feature that engages the jar, such as the lid skirt's inside width or a lower step that enters the opening. Record the lid's full outside width separately.
Review the Contact Dimensions →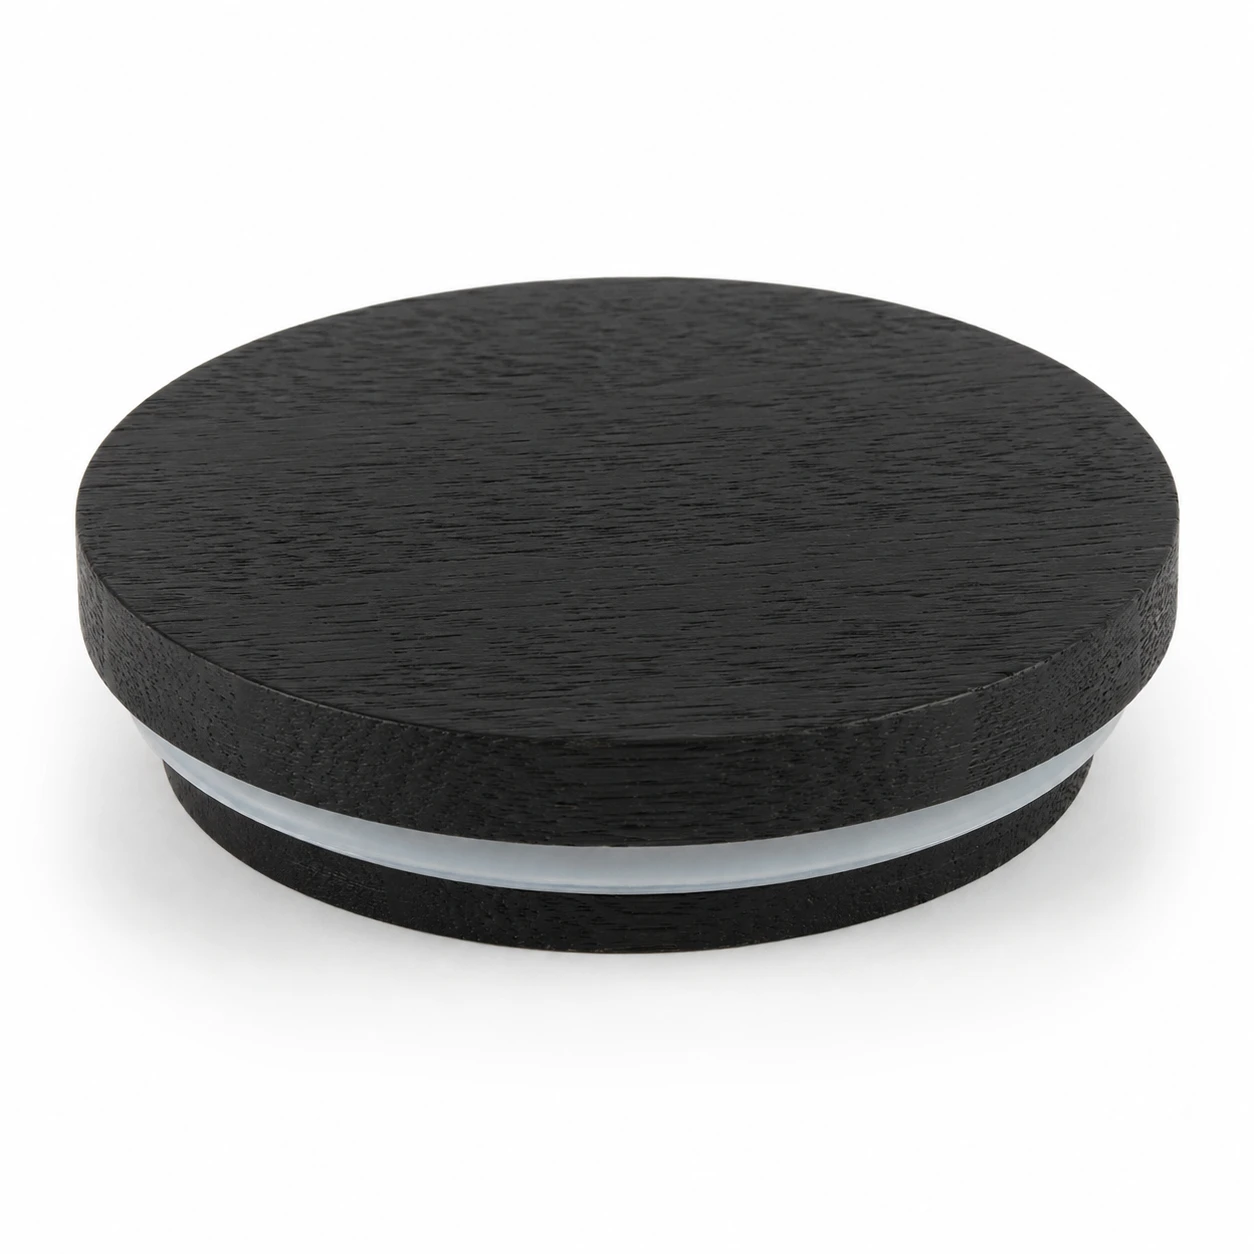
Check Seat Depth and Ring
Measure the depth of the proposed seat from a marked reference point. For GLW004, check the stepped lower profile and try it on the jar with the actual ring fitted.
Review the Fitted Parts →Measure below the seat
Record the depth available beneath the rim and the underside of the intended lid.
Approve the Seated Clearance
Seat the lid on the finished jar. Check how it sits and lifts, and measure the assembled height and the space available under the lid.
Review the Assembly Check →Record the finished dimensions
Check several finished jars if samples are available and show the observed minimum and maximum.
Repeat the Measurement on Samples
Repeat the fit check on representative finished samples. Record the measurement points and observed variation, then agree the acceptance criteria for the actual pair.
Review the Sample Record →Measure the Usable Top Before Sizing the Artwork
Once the lid fit is approved, measure the top area available for the mark and the margin to the edge. Review a decorated sample if the finish changes a surface used for seating.
Build a Fit Record for the Exact Jar and Lid
The GLW004 image shows a lower step and ring. Mark where the selected lid touches the rim and agree how to measure the finished assembly before approving the fit.
- Jar opening. Mark the inside opening, outside rim and contact level on the drawing.
- Lid contact. Identify the part that engages the jar and record its width and depth.
- Fitted part. Record the ring or gasket reference and check it installed on the selected lid.
- Sample agreement. Review seating, removal and assembled height on representative finished samples.
RequirementsJar drawing and reference points
SelectionLid model and ring
Sample ReviewMeasure the fitted pair
Order SpecificationAgree recorded fit and limits
Final ReviewVerify pack clearance
Lid Size and Seat Approval Checklist
| Specification | What to Review | Approval Reference |
|---|---|---|
| Jar opening and rim | Record inside and outside measurements and the height where each was taken. | Marked jar drawing or measured sample |
| Lid contact and depth | Measure the engaging skirt or lower step and the relevant seating depth. | Lid drawing with contact features marked |
| Ring or gasket | Confirm the component profile and how it sits on the finished jar. | Approved lid and fitted part sample |
| Assembled fit | Check seating, removal, inside clearance and overall height on the selected pair. | Matched sample and agreed fit record |
| Packing envelope | Use the maximum outside width and assembled height to review the insert. | Approved packing sample |
Request a Quote Using the Actual Fit Measurements
Send the jar model, rim and seat measurements, lid reference, any ring or gasket and quantity. Include the fit drawing or a sample reference.
Request a Project Quote →Pack Each Approved Lid Size Separately
Use the actual finished lid dimensions to plan packing. If lids ship with jars, review the fitted height and full outside width of the pair.
Retain the approved fit sample
Label the jar and lid together so receiving staff can compare the correct pair.
Separate Sizes in the Carton
Keep different lid references in separate groups. Confirm how the pack supports the finished faces and edges.
Check the seated height
Measure the full assembly with the lid fitted before setting the retail insert height.
Check Clearance in the Insert
Measure the widest point and total height of the packed item. Check insert clearance for a loose lid or for the complete jar when the lid is fitted.
Mark sizes by part code
Ask for each lid and gasket variation to be identified by its approved reference.
Label the Lid and Fitted Part
Record the model and ring or gasket reference for each group. Keep those labels with the corresponding jar fit record.
Confirm how the order is split
List lid counts by reference and note whether the gasket arrives fitted or separately.
Confirm Quantity by Matched Size
List quantity by approved lid reference and fitted component. Confirm the units per pack and destination before ordering.
Plan Your Packing & Delivery
Share your order quantity, destination and retail or export packing requirements.
Discuss Packing & Shipping →Check the Seat at the Point of Contact
Compare the lid and jar at the level where they engage. Check insertion depth where applicable and review any ring or gasket in the assembled position. Record the actual contact measurements and keep them with the approved sample.
Use the Photos to Identify the Features to Measure
The photos show features to inspect on a sample. Confirm the actual measurements and components for the pair you intend to order.

Identify the Jar Opening and the Lid Step
The black GLW004 lid appears beside a clear reference jar. Measure the actual jar opening and the lower lid profile before comparing the ring and seating surface.

Separate the Label from the Lid Measurement
The white GLM80 lid is shown by itself. Use 80 mm as its catalogue reference and ask which feature the number describes.

Measure the Lid Once Seated
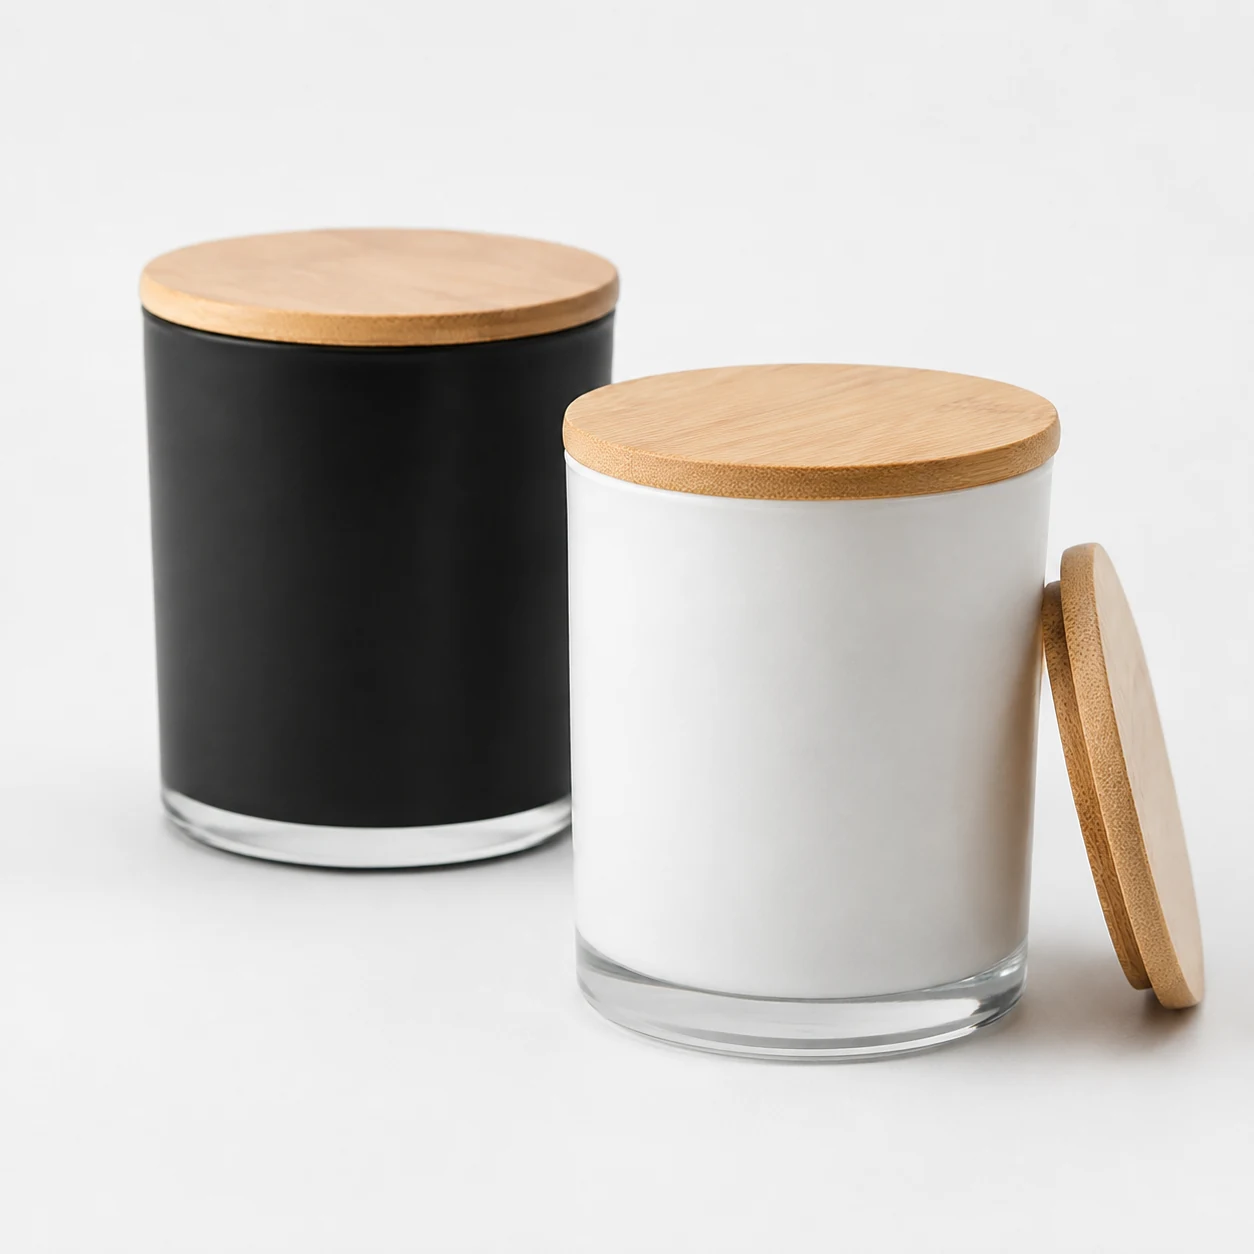
The white lid is shown on a reference jar. Measure the overall height and seated position on your selected jar and lid. Confirm the parts covered by the order.
What to Include in a Lid Size Inquiry
Send the measured features, target quantity and any tolerance requirement. We can review sample and quotation options for the actual configuration.
ModelJar drawing and marked rim points
SampleLid model and fitted component
ArtworkMeasurements and agreed fit needs
PackingQuantity, packing and destination
How Bright Glassware Supports Lid Fit Review
Send the actual jar reference so the team can review the lid and its fitted components on the same brief.
Glass Packaging Since 2005
Bright Glassware has supplied glass packaging and related components since 2005. Start with the current lid references or share the existing jar you need to match.
Sample Matching Support
We support sample review for the selected jar and lid. Use a marked drawing or finished sample to identify the surfaces that need to meet.
Component Coordination
We can coordinate the selected lid and any required ring or gasket for review. Confirm the parts and quantities on the quotation.
Finished Surface Review
We can review decoration and artwork on the actual lid. If finish reaches the seat, include the decorated sample in the fit check.
Packing Around Actual Dimensions
We can coordinate protective packing around the approved dimensions. Share whether lids ship loose or fitted to the jar.
Quality and Export Support
Our project support includes agreed quality checks and export coordination. Keep the approved fit and packing references with the order.
Candle Jar Lid Size and Fit Questions
Is 78–113 mm one adjustable lid size?
GLM042 lists eight separate catalogue references. Confirm the selected version, measuring points and fit on your jar.
Will a catalogue 80 mm lid fit an 80 mm jar opening?
Ask which feature the catalogue label describes. Compare it with the relevant contact measurement on the jar, then approve the physical pair.
Where should I measure a stepped jar rim?
Mark the inside and outside rim, the level where the lid sits and any step it engages. Record the measurements at those marked levels.
Do I measure a ring separately?
Record the ring or gasket as its own component. Check the lid with the actual part installed to verify how it seats and lifts.
What if two jars give different readings?
Record the readings and where they were taken. Review fit across representative finished samples and agree the acceptance limits for the order.
Still Have a Product Question?
Send your requirements or a reference so our team can review your project.
Ask Our Packaging Team →Related Collections & Project Resources
Glass Candle Jars
Explore Collection →Jar volume is a separate measurement
Use the vessel size page to choose capacity and check the rim separately.
Candle Jar Sizes
Explore Collection →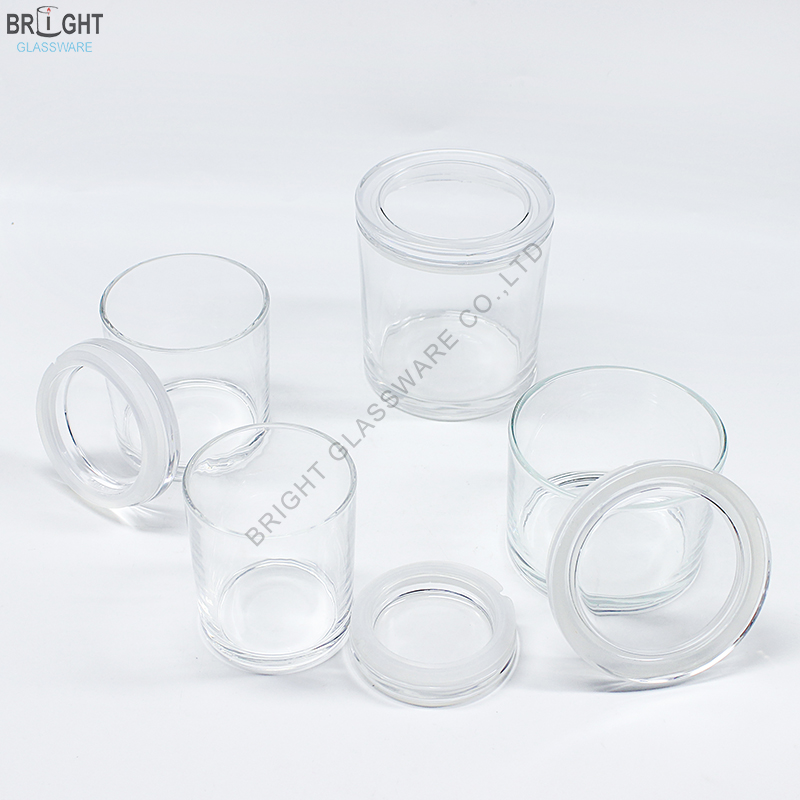
Candle Jars with Lids
Explore Collection →
Unique / Fancy Candle Jars
Explore Collection →Specify the opening for a new jar
Show the rim profile and the intended lid contact point in the same drawing.
Custom Candle Jars
Explore Collection →Keep the label clear of the seat
Check the label top edge and the visible overlap of the fitted lid.
Candle Jar Labels
Explore Collection →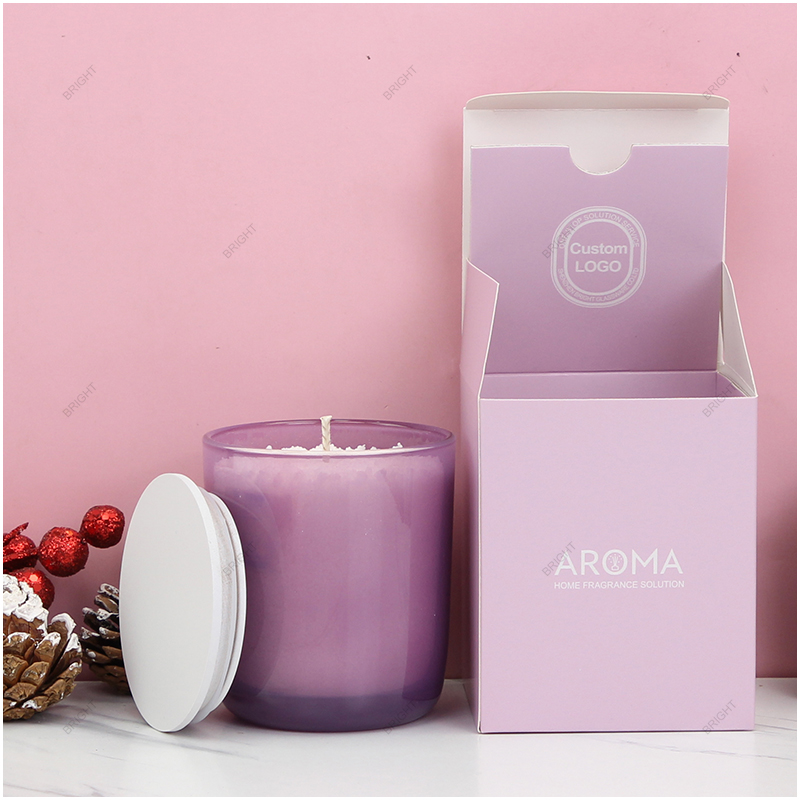
Candle Jar Boxes
Explore Collection →
Candle Jar Lids
Explore Collection →Approve artwork on the selected lid
Mark the print area and keep the underside fitting surfaces visible in the brief.
Decoration & Artwork Review
View Resource →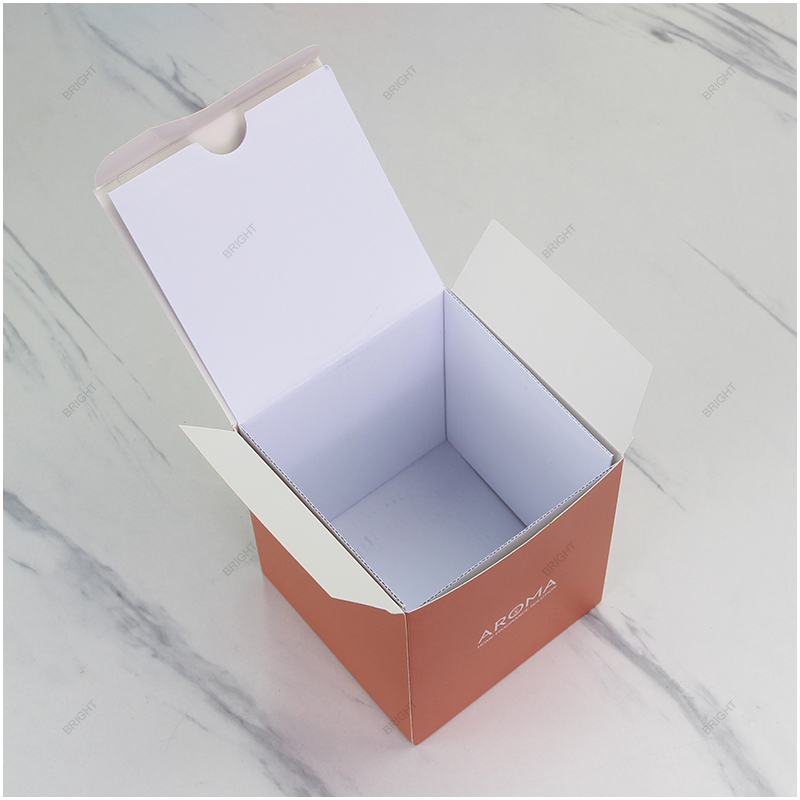
Retail Packaging & Inserts
View Resource →Mark the Inside and Outside of the Rim
Show where each measurement starts and ends. Use a section view or a finished sample when the rim shape makes the contact level hard to describe.
Use the Catalogue Reference to Identify the Lid
Confirm the model code and reference number. Ask for the feature behind that label and compare it with the corresponding feature on your jar.
Measure the Fitted Profile
Check the lid with the intended ring or gasket installed. Record how far it seats and how much height and inside clearance the assembly needs.
Keep the Approved Fit Record
Keep the drawing, observed sample measurements and approved jar and lid together. Review the fit again if the rim, finish or fitted component changes.
Browse Our Product Categories
– Glass Bottles & Fragrance Packaging –
– Glass Candle Jars & Related Containers –

– Glassware & Packaging Solutions –
Request a Quote
Talk to Our Packaging Team
Share the model, capacity, color, closure, decoration, packaging and estimated quantity you need. We can review the options with you.
Category: Candle Jar Lid Sizes