Existing design reference
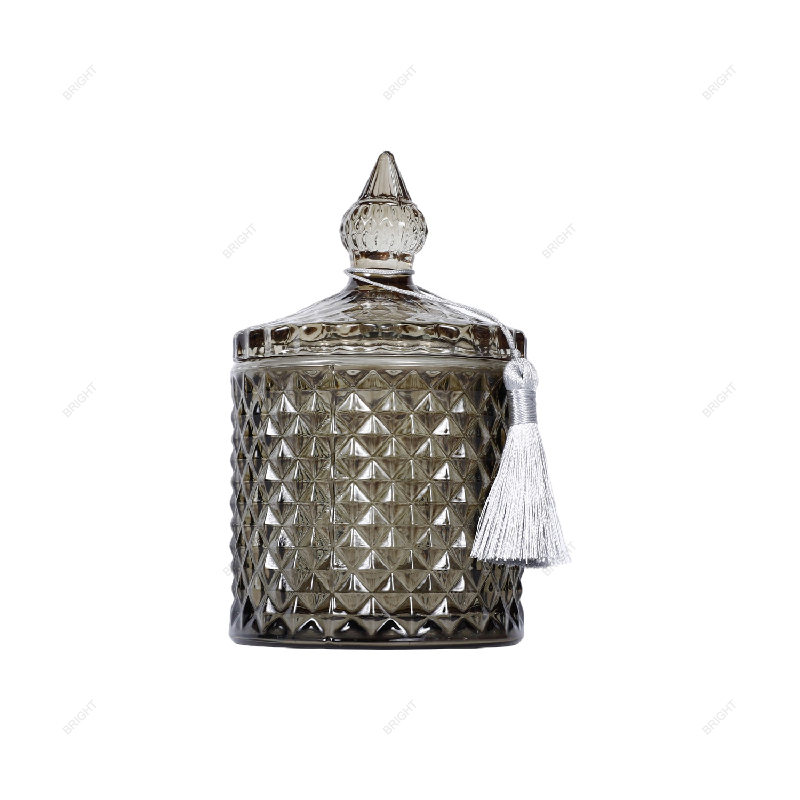
GB117 Geometric Glass Candle Jar
GB117 shows a diamond-pattern body, pointed finial lid and tassel. It provides a reference for how a textured body and projecting closure change the outline and pack.
View Product Details →Concept · Prototype · Validated Design
Start an ODM candle jar project with the problem the vessel needs to solve. It may need a new silhouette, more working candle space or a different way for the lid and glass to fit together.
Bring a sketch, reference or sample and mark the limits that are fixed. We can discuss which details still need design work and what to check at each sample stage.
Use the two linked glass jars to compare body and closure designs. Your concept can borrow a proportion or solve a different fit problem.
Existing design reference
GB117 shows a diamond-pattern body, pointed finial lid and tassel. It provides a reference for how a textured body and projecting closure change the outline and pack.
View Product Details →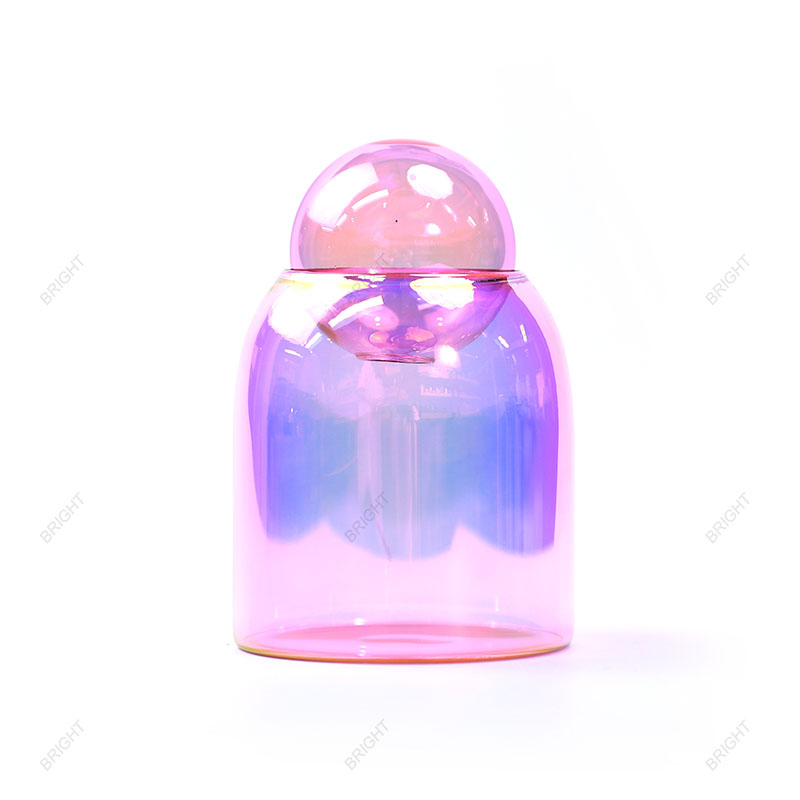
Existing design reference
The nominal 500 mL HC283 shows a reflective pink borosilicate body and glass ball lid. Use it as a reference for the round closure, opening and assembled proportions.
View Product Details →Tell us what the existing jars cannot do for your range. Add the target fill, one sketch or sample and any fixed dimensions.
Identify the features that have to work and the parts of the design that are still open.
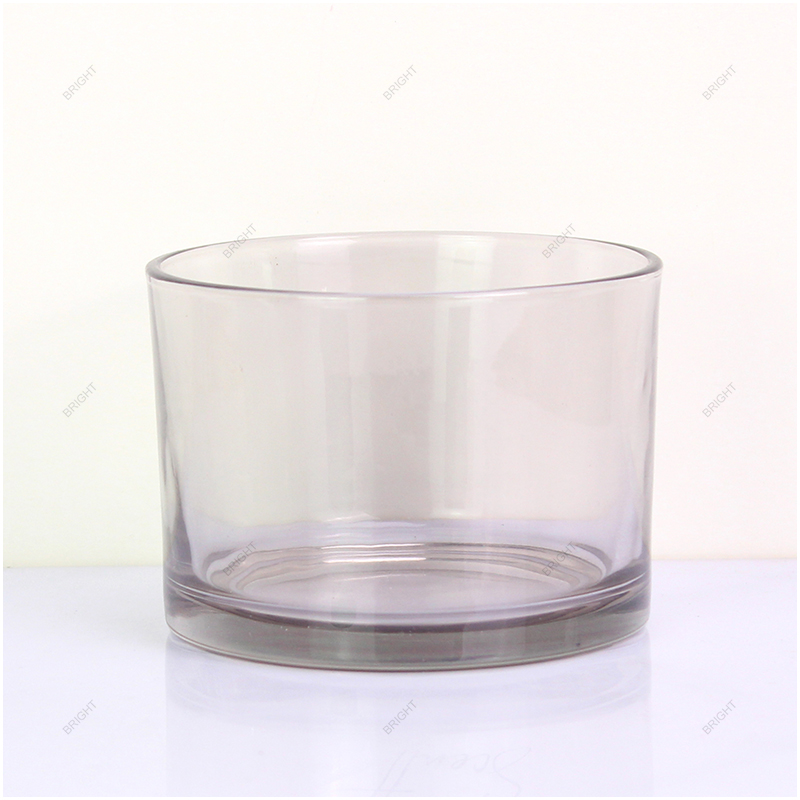
Give the intended wax fill, maximum width and shelf height. Use these limits to decide how the vessel can look without losing the space the candle needs.
Review the Specification →Separate shape example. Check the intended fill, width and height on the proposed vessel.

If a lid or insert is already chosen, share it early. Mark where it seats, how it lifts out and which parts of the new glass should support it.
Review the Specification →
Choose the face that needs a readable mark. A curve, relief or narrow wall can change the usable area as the shape develops.
Review the Specification →Separate artwork example. Proof the mark on the selected glass, finish and geometry.
Include fill target, shelf height, preferred closure, artwork area and what can still change.
Mark the features the design must keep, such as a specific opening or pack height. Identify which curves, finishes or proportions can change.
Review the Specification →Use the form sample to check proportion and the real glass sample to check fit, surface and decoration.
Use a form prototype to review proportion and handling. Use actual glass to check the critical dimensions, surface and fitted parts.
Review the Specification →Agree the approved profile, critical dimensions and approval stage before requesting a tooling quote.
Compare the proposed form with available tooling. If new tooling is required, review the production drawing, trial sample and approval steps before committing.
Review the Specification →Discuss the cavity, opening and closure before fixing the visible shape. Bring artwork or pack constraints into the same review so there is room to adjust the concept.

Review the concept against the intended fill, external limits and component fit. A drawing or form prototype can help compare alternatives while those decisions are still open.
Once the shape is ready for a tooling discussion, agree the dimensions and the drawing revision. Review an actual glass trial sample before releasing the finished assembly for bulk supply.
Separate measurement example. Compare the selected glass sample with the agreed drawing.
| Specification | What to Review | Approval Reference |
|---|---|---|
| Design problem | Review intended use, fill, limits and design priorities. | Reviewed design brief |
| Form prototype | Compare outline, handling and basic part arrangement. | Form reference and open decisions |
| Drawing and tooling | Confirm the dimensions and revision for a trial. | Reviewed production drawing |
| Actual glass approval | Check the glass, finish, closure and protective pack. | Approved assembled sample |
Send the design problem, sketches or references, working fill and fixed dimensions. Include a planned lid, pack limit, estimated quantity and the sample date you need.
Request a Project Quote →Use the actual assembled sample to set the box and insert. The finished dimensions can differ from the first sketch or form prototype.

Check the widest points, the height with the lid fitted and the room needed to lift the jar out.
Divider example. Check clearance and contact points for each selected component.
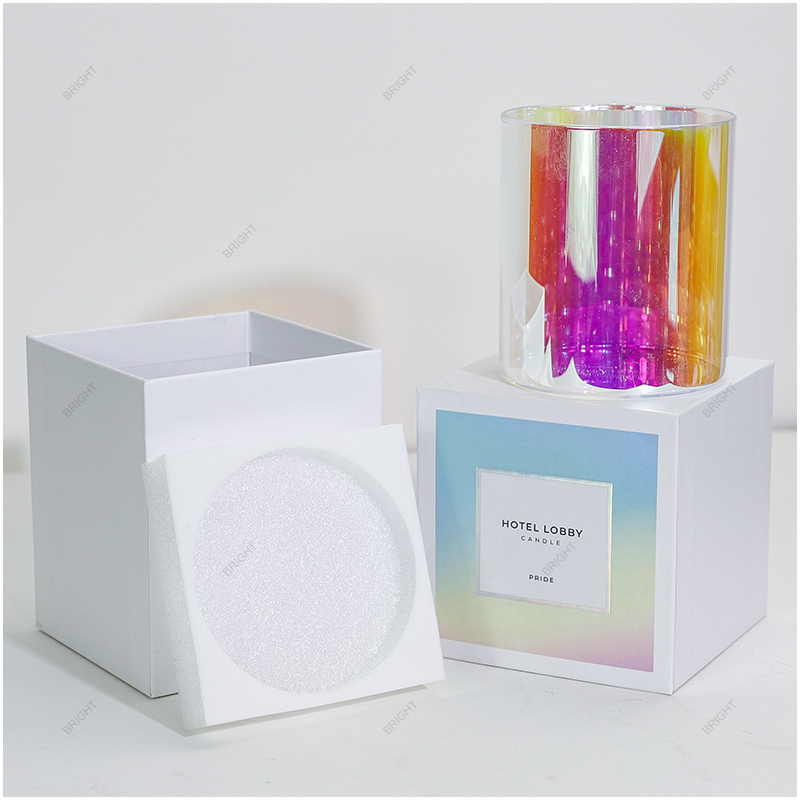
Support the body where the glass can bear contact. Allow clearance around raised details and any lid that extends beyond the body.
Separate insert example. Check the chosen profile, closure and decorative surface together.
Label the approved jar, closure and insert revision on the package reference for each size.
Keep a separate fit and packing reference for each proposed size. A change in shape or closure can change the insert.

List the target destination, pack scope and estimated quantities. Confirm the carton after the actual assembly and insert have been reviewed.
Carton example. Confirm quantities, assembly and destination on the order.
Share your order quantity, destination and retail or export packing requirements.
Discuss Packing & Shipping →A form model can help check the shape and basic fit. Use the selected production glass for final dimensions, finish and assembly checks, and evaluate the finished candle separately with its intended fill and wick.
Bring the part of the design that still needs a decision, and explain what the sample needs to demonstrate.

Show the profile you want at shelf distance and the space the candle needs inside. Mark the outer limits that cannot change.
Show how the vessel, lid and insert are meant to sit before approving the complete set.
Share the lid or closure direction before fixing the opening. Review how the parts meet, how they lift apart and how the customer handles them.
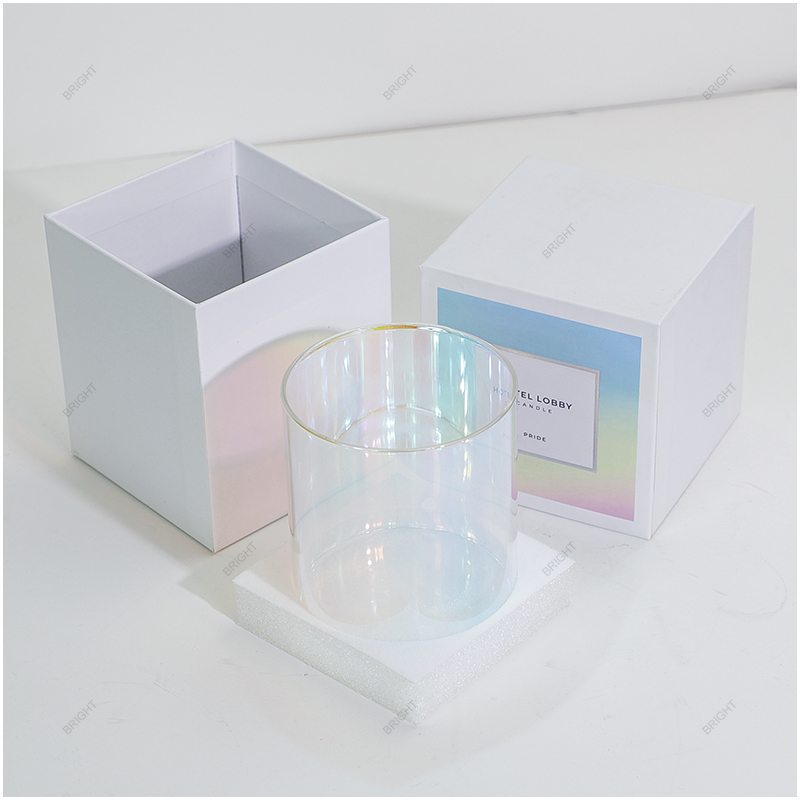
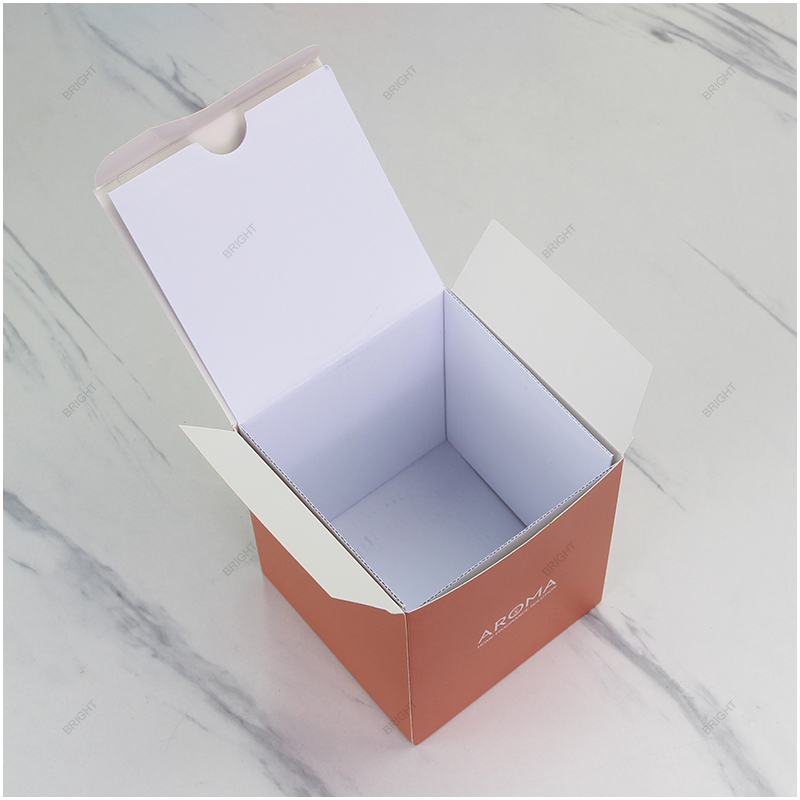
Show which face of the glass should be visible when the box opens. Include the logo area, support points and removal space in the concept review.
Separate packaging example. Approve the exact closure, insert and opening view.
Confirm whether the quote covers concept work, a form sample, trial glass, tooling or a finished pack. Quantities and timing depend on the agreed scope.
Bright Glassware can review the vessel brief, discuss glass and component options, and coordinate the next sample and packaging checks for the selected design.
Show what the current options miss and which part of the design matters most to the range.
Mark the maximum width, assembled height or opening limits. Identify the proportions that can still change.
State working wax fill and headspace separately from a target container volume. Check the actual interior as the design develops.
Include the closure, visible artwork area and box limits. Review how they influence the glass before finalizing the profile.
Use a form sample for outline and handling, then check the actual glass for dimension, finish and fit.
Decide which drawing and sample will govern any new tooling review. Confirm what the proposed quote includes.
Use an ODM discussion when the shape, usable cavity or component layout still needs development. If you already have an approved drawing and specifications, send those for an OEM review.
Send sketches, references and target fill. Mark any fixed opening, width, height, lid or packaging limits and tell us what you want the sample to answer.
Yes. An existing model may solve part of the brief. Compare it against the need for a new form, then decide which features still need development.
Use a form prototype to check proportion and basic handling. Review the actual production glass and evaluate the finished candle in the intended configuration separately.
Send your requirements or a reference so our team can review your project.
Ask Our Packaging Team →Include a profile sketch, target dimensions and the intended opening or display view.
Document the critical dimensions, visible surfaces and approval sequence with the drawing.
Provide the accepted drawing, finish sample and component responsibilities for review.




Explain what the new form needs to do. A design image is more useful when it shows which opening, capacity, profile or pack requirement the vessel needs to meet.
Mark the dimensions and interfaces that cannot change. Review which features a current model could supply and which need to be developed.
Check proportion and basic fit on the form model. Compare the trial glass against the drawing and fit the actual lid and insert.
Keep the reviewed drawing, actual glass and approved parts together. Resolve the finish, pack and finished-candle validation requirements before releasing a bulk order.
Request a Quote
Share the model, capacity, color, closure, decoration, packaging and estimated quantity you need. We can review the options with you.
Category: ODM Candle Jars