
Developing a new candle line is exciting, but you're likely facing the challenge of ensuring all your components work together perfectly. You have a beautiful container, a promising wax blend, a new fragrance, and a chosen wick, but will they perform as a safe and cohesive system? Simply hoping for the best can lead to poor performance, wasted inventory, and brand damage from issues like sooting or container failure. A documented burn test gives your team evidence about the particular combination you plan to produce. Basic observations support development decisions; they do not, by themselves, establish finished-product compliance.
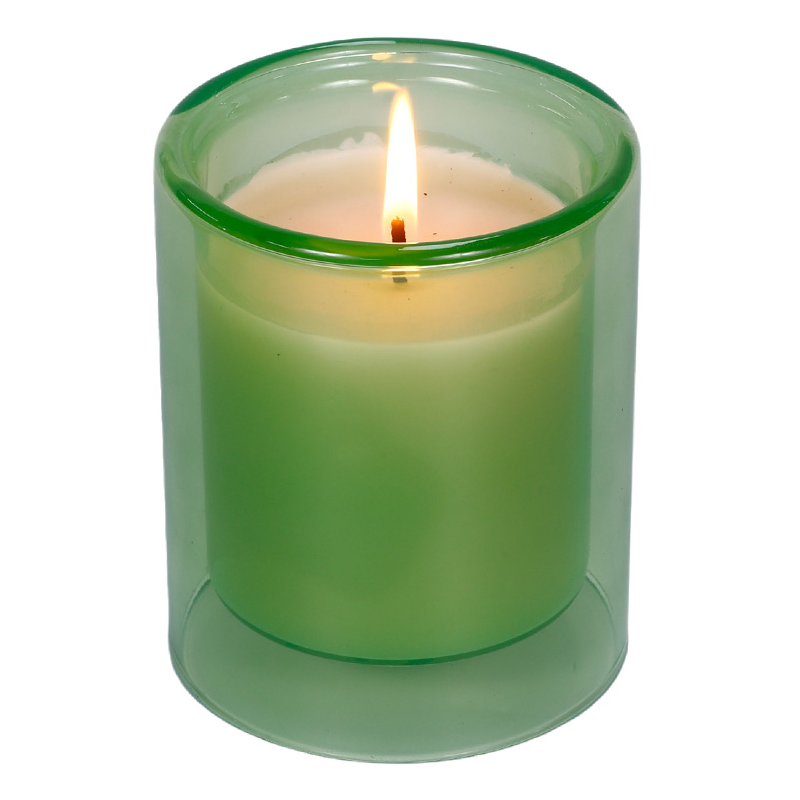
A basic burn test evaluates a finished candle through documented burn-and-cool cycles, recording its configuration, flame behavior, wax pool, soot, wick position and any relevant container measurements. In an actual project, we used four-hour burns followed by at least six hours of cooling and a return to room temperature. That is a project example, not a universal testing standard. Preparation, cycles, acceptance criteria and the stopping point must suit the selected materials, intended use and applicable method.
Now that you have the core definition, let's explore the practical steps for setting up a reliable testing process. The goal isn't just to see if a candle burns; it's to gather actionable data that informs your manufacturing and procurement decisions.
What Should You Document Before Starting a Burn Test?
It might seem faster to just light a new candle sample and see what happens. But when you're comparing two versions and one performs poorly, you won't know why. Was it the wick, the new fragrance load, or the container itself? A detailed test sheet is your most powerful tool for ensuring consistent, comparable results, turning guesswork into a scientific process.
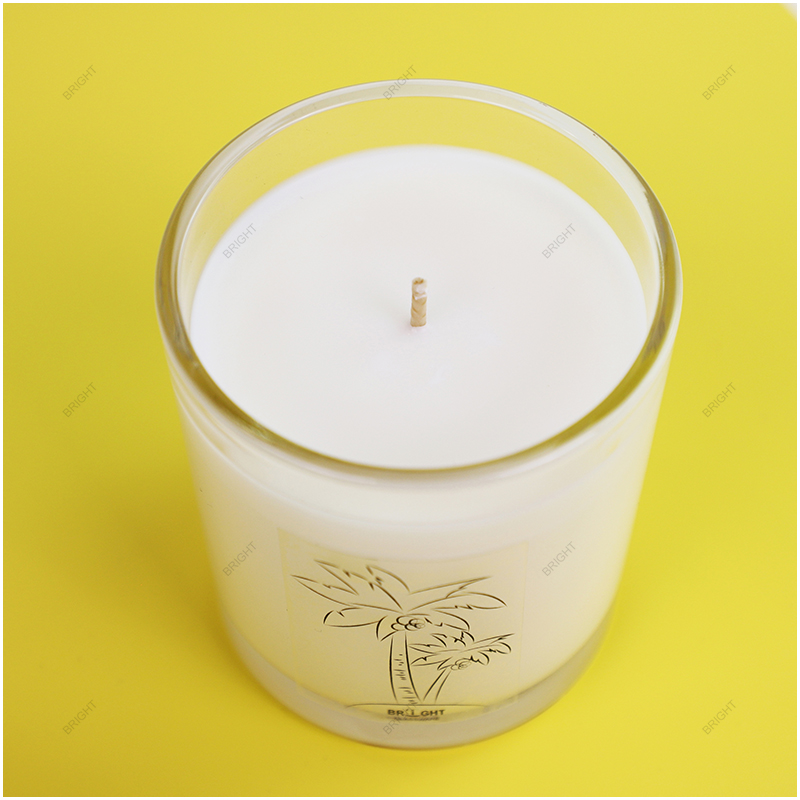
Before lighting the wick, record the configuration you are evaluating: the glass candle jar and its finish, wax, fragrance and load, wick specification and placement, fixing method, and actual wax fill weight. Give the sample a version or reference that connects it to those details.
Dive Deeper: Control Your Variables
When discussing candle development with clients, a practical point is to avoid changing too many things at once. If you switch to a new jar, use a different wick, and adjust the fragrance load all in the same test, you can't isolate the cause of any change in performance. Even if the candle burns better, you won't know which adjustment was responsible, leaving you without a reliable formula for mass production.
For a straightforward comparison, keep the other relevant conditions consistent while changing the factor you want to investigate. Review suspected wick issues alongside the wax, fragrance and vessel before choosing a revised sample. More complex development may require a planned set of trials; a simple one-factor comparison should not be described as the only valid testing approach.
A useful pre-test record can include the following details.
- Container: Record a traceable vessel reference, material, dimensions and any surface finishes, such as spray color or electroplating. Use samples representative of the intended production configuration.
- Wax: Note the exact type, manufacturer, and any additives.
- Fragrance Oil: List the oil's name or reference and the actual load percentage, including how that percentage is calculated.
- Wick: Document the series and size, number of wicks, wick clip, fixing material, positions and placement method. For a multi-wick candle, identify the complete layout rather than recording only the wick count.
- Production Details: Note the date poured, the final wax weight in grams or ounces, and the total curing time before the test begins.
- Test Conditions: Record ambient conditions, the agreed burn/cool schedule, observation intervals, measurement methods and stopping criteria.
This documentation becomes the foundation for every observation you make. It allows you to compare tests accurately and provides a clear reference for your container supplier and candle manufacturer when discussing results.
How Do You Establish a Proper Burn Test Cycle?
A few attractive early burns do not describe the full intended life of a candle. Its behavior can change as the wax level falls, so the test plan should include the later stages up to the defined stopping point. A repeatable burn-and-cool schedule helps your team compare those stages without confusing a change in conditions with a change in the product.
In one of our actual project methods, each burn lasted four hours, followed by at least six hours of cooling and a return to room temperature before relighting. We have not specified that project's wax and wick here, so these numbers should not be copied into every new product's procedure. Agree the appropriate method and endpoint for the configuration being developed.
Dive Deeper: The Importance of Consistency
Choose the schedule from the applicable method and intended product use, then document and follow it consistently. Consistency does not make an unsuitable duration valid. If the procedure changes, identify the change rather than treating the results as directly equivalent to the earlier trial.
Setting the Test Environment
Your test environment has a major impact on burn performance. A reliable burn test must be conducted under controlled conditions.
- Location: Use a draft-free room with stable ambient temperature. A draft can cause the flame to flicker, leading to incomplete combustion and sooting.
- Surface: Use a stable, level, heat-resistant surface with appropriate clearance from combustible materials.
- Supervision: A burn test should never be left unattended. You must be present to observe and intervene in case of any anomaly.
Curing Time and Wick Maintenance
Two often-overlooked details can invalidate a test before it even starts: curing and wick trimming.
- Curing: Follow preparation guidance for the selected wax and formulation, and record the sample's age and storage conditions. Do not assume one curing interval is appropriate for every wax and fragrance, or describe curing as proven chemical crosslinking between all fragrance oils and waxes.
- Wick Trimming: Use the preparation specified for the selected wick, product instructions and test method. Record the starting condition and any between-cycle trimming. A length used in an introductory tutorial is not a universal requirement for every wick construction.
For the project timing example above, a documented cycle can be described as follows:
- Identify the sample and record its starting condition; weigh it if the method calls for this.
- Prepare the wick as specified by the agreed procedure.
- Set up the sample under the recorded test conditions.
- Light it and record the start time.
- Observe at planned intervals and document any abnormal behavior.
- Extinguish by the specified method at four hours, or earlier if a stopping condition occurs.
- Allow at least six hours of cooling and a return to room temperature before the next cycle.
- Record the cooled sample's condition and any required measurements.
- Repeat only while the sample remains within the agreed method and endpoint.
This example is a description of a project arrangement, not a substitute for a complete test protocol. Keep the test attended and follow the planned response to abnormal behavior.
What Key Observations Should You Make During a Burn Test?
A useful observation describes what happened and when, without immediately assigning a cause. Review early and later cycles together: wax remaining at the edge, carbon at the wick tip, flame movement and soot need context. The aim is to build a record that helps the team decide what to investigate next.
Record wax-pool development, flame behavior, soot, wick condition and position, and the container observations required by your procedure. If temperature is measured, record the location, instrument and method with the reading. These observations need to be interpreted together, rather than used as isolated pass/fail shortcuts.
Dive Deeper: From Observation to Diagnosis
Don't rush to judgment based on a single phenomenon. CandleScience's introductory burn-test guide explains that early edge wax can melt in later cycles and that wick construction can contribute to mushrooming. Neither observation, on its own, establishes a single cause. Review the trend across the candle's intended life.
In our own project work and test discussions, we have encountered localized overheating, wick movement and fixing failure. Those experiences are a reason to look beyond the first attractive flame. They do not justify assuming that every similar symptom has the same cause.
Here are the critical observations to track:
| Observation | What to Record | How to Use the Record |
|---|---|---|
| Melt Pool | Development over time, edge wax and any measurements required by the procedure. | Compare stages and configurations; do not impose a universal one-hour-per-inch rule or pool depth. |
| Flame Height & Behavior | Height where required, movement, repeated flaring and when changes occur. | Review against the applicable criteria, room conditions and complete configuration; no single height here is a universal pass value. |
| Sooting/Smoke | Frequency, duration, deposits and the stage at which they appear. | Investigate the wick, formulation and test conditions together; soot alone does not identify one cause. |
| Wick Behavior | Carbon buildup, leaning, movement, clip position and the fixing condition. | Record changes without moving the wick to make the sample continue; review fixing, placement and the complete candle. |
| Container Condition & Temperature | Visible condition and any readings, with positions, times, instrument and settings. | Use the agreed assessment method. A surface reading is not a thermal-shock limit or proof of finished-candle safety. |
This data helps you have a productive conversation. Refer to the sample version, cycle, elapsed time, visible change and any measurement position or settings, rather than simply saying that it burned badly. Keep observation separate from diagnosis. For infrared work, FLIR explains the importance of emissivity and reflected-temperature parameters; do not treat an unqualified glass-surface reading as a material failure threshold.
How Do You Define and Manage the End of a Burn Test?
Define the stopping point before testing. It should follow the applicable method, product instructions and intended use, rather than be chosen after seeing a result. Include the later stages of the intended candle life, but do not extend a basic development test until all wax is consumed simply to demonstrate that a jar is strong.
There is no single residual-wax height stated here as a universal standard. Container geometry, candle construction and the applicable procedure matter. Stop earlier if an abnormal condition or the agreed stopping criteria require it, and document the reason.
Dive Deeper: The Final Report and Next Steps
The final report should identify what was tested, how far the evaluation proceeded and any limitations. A product photograph, a stable-looking flame or a single temperature reading cannot stand in for that record.
Container quality and finished-candle assessment have different scopes. Material, dimensions, visible defects and annealing information can be relevant to reviewing a vessel, but a thick base or a particular glass composition does not guarantee that the complete candle will avoid overheating, cracking or fixing failure. The CPSC's candle guidance separately lists consensus standards for containers, finished-candle fire safety, emissions and labeling. A basic development observation should not be presented as completed conformity to all of them.
H3: Concluding the Test and Making Decisions
The outcome should apply to the documented configuration and the defined assessment scope.
- Results meet the agreed criteria: Record the exact version, procedure, observations and acceptance criteria. The result may support the next development or approval step; it is not an unrestricted safety guarantee or automatic approval for every future production batch.
- Issues or unresolved observations remain: Record them, review possible contributors with the relevant partners, and plan the next controlled comparison. Mushrooming plus a high flame is a reason for investigation, not enough by itself to prescribe a particular wick change.
Keep any approved reference sample tied to its specification and the evidence supporting that approval.
The final test report, complete with documentation and observations, is an essential tool for communicating with your partners. It allows your container supplier, candle manufacturer, and brand team to review the same data and collaborate on a solution. When you decide to change the jar, fragrance, or wax in the future, this process gives you a clear framework for re-validation.
Frequently Asked Questions
How long does a candle burn test take?
Plan the time around sample preparation, the selected cycle, complete cooling, the intended endpoint, the number of samples and any repeat trials. The four-hour/six-hour project example does not establish a reliable calendar estimate for every jar size or wax fill.
What is "tunneling" in a candle?
Tunneling describes a candle burning down through a central area while substantial wax remains around it. Assess the wick, formulation, vessel and burn history together. A little edge wax during an early cycle is not enough to diagnose permanent tunneling.
What is wick "mushrooming"?
Wick "mushrooming" is carbon buildup at the tip. Its significance depends on the wick construction, formulation and accompanying observations. Record it alongside flame behavior and soot rather than treating the shape alone as proof that the wick is too large.
Can I change the fragrance oil without re-testing?
Do not transfer approval automatically to a changed fragrance. Review the revised formula and repeat the relevant finished-candle evaluation before approving it. Fragrance is among the variables considered in CandleScience's wick-selection guidance; a fragrance oil's flashpoint alone does not tell you how the finished candle will perform.
Conclusion
A useful burn test connects a specific candle configuration with a documented method, observations and decisions. It helps your team identify what can proceed, what needs adjustment and what further assessment is required. Keep the approved version traceable and review the validation scope when the container, finish, wax, fragrance or wick changes.
At Shenzhen Bright Glassware, we provide relevant container information and participate in sample and testing discussions with customers. If you are developing a new line, discuss your glass candle jar requirements with us, including the vessel, finish and samples needed for evaluating your actual candle configuration.
Keep Reading