Candle Packaging · Patterned Glass
Textured & Embossed Candle Jars
Choose a textured glass candle jar for a range where the pattern is part of the design. Compare irregular bubbles, raised dots and a water-ripple finish.
Check where your mark can sit, how a selected cover fits and where the finished jar touches its packaging. Bring a drawing if you are developing a custom motif.
Compare Bubble, Dotted and Water-Pattern Candle Jars
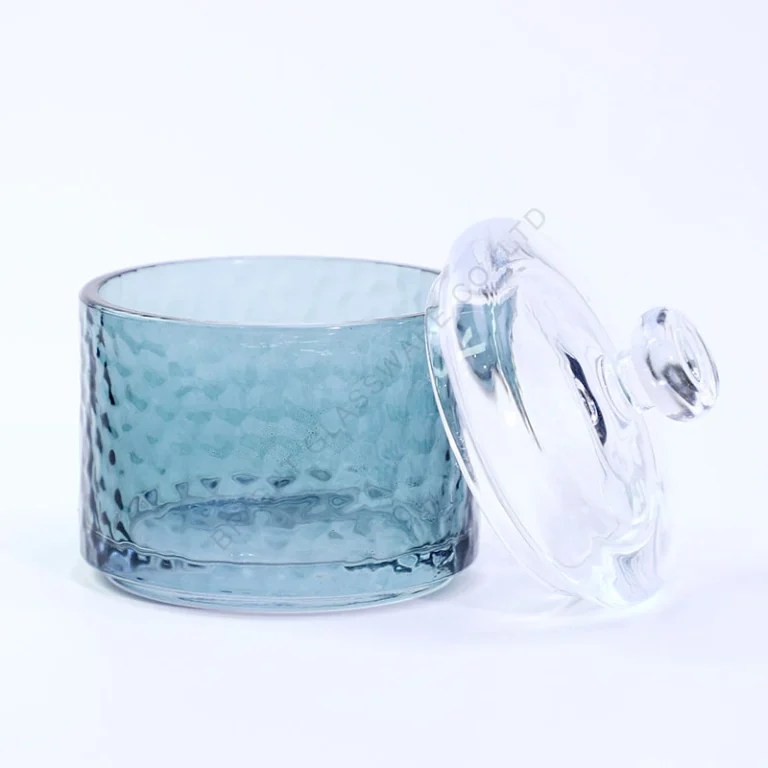
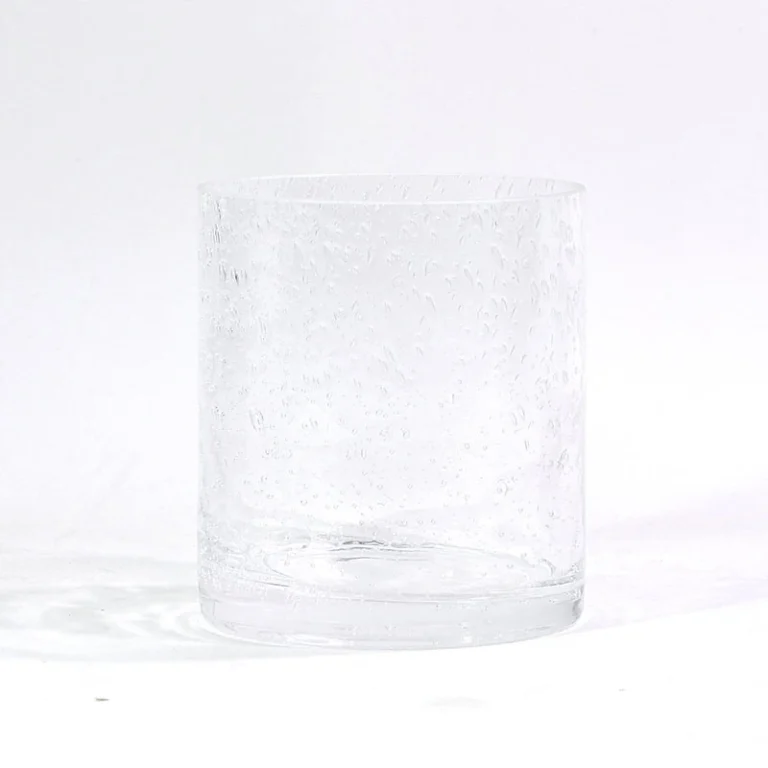
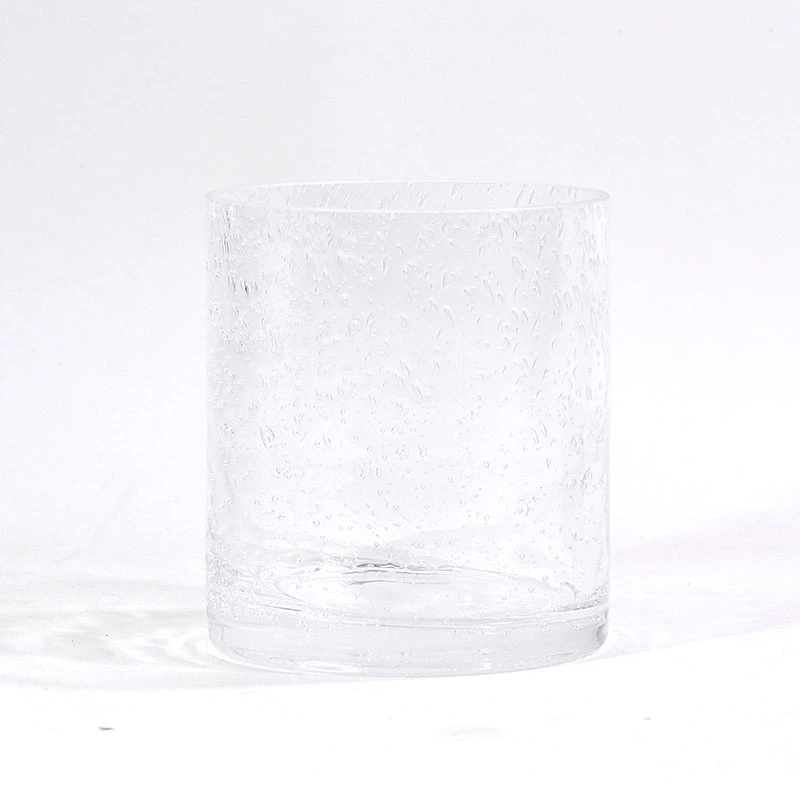
The 580 mL bubble-textured jar has clear and reflective gold-toned references. The 360 mL dotted jar with lid has a framed front area to review for artwork. The 380 mL water-pattern jar pairs a blue body with a clear knobbed cover.

Request a Textured Jar Sample or Quote
Send the model or motif reference, artwork dimensions and quantity. Include any lid and retail box requirements.
How to Specify a Textured or Embossed Jar
Start with the pattern you want buyers to notice. Then review the actual jar, artwork and pack as a set.
Compare Relief Patterns
Look at the size, placement and depth of the detail on the full jar. Check how the surface reads from the front and side at normal shelf distance.
Review the Pattern Sample →
Review the Framed Artwork Area
Use the GB181 framed front as an artwork-area example. Confirm the usable footprint on the actual sample and test how the chosen label stock makes contact.
Review the Artwork Footprint →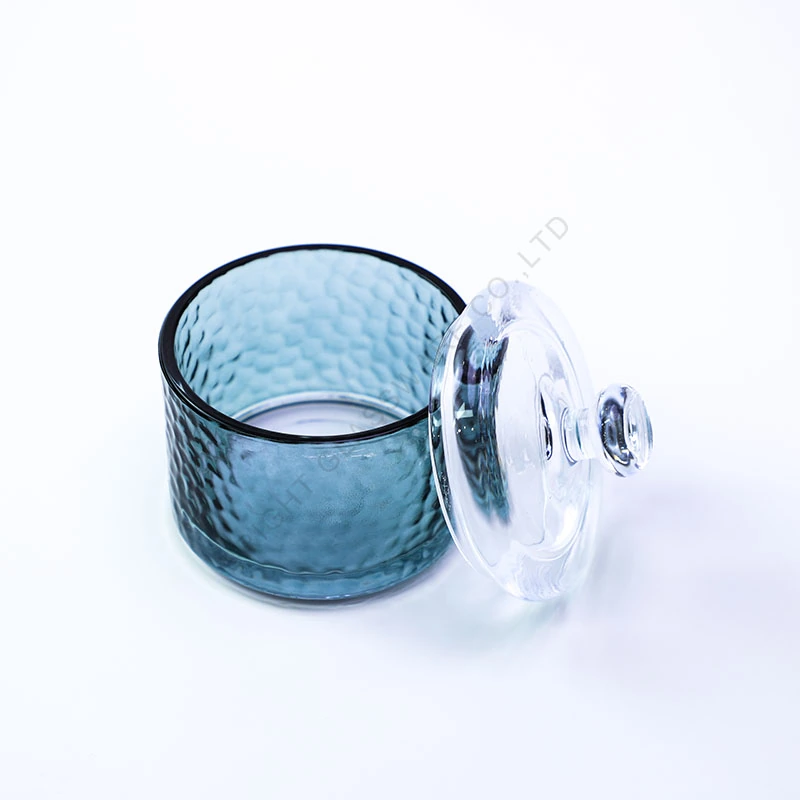
Approve the Glass and Finish
Review the chosen glass color and surface appearance under display lighting. Check whether reflections affect the legibility of the brand mark.
Review Finish Approval →Start with the motif outline
Mark its position and raised profile before asking for a tooling review.
Review a Custom Motif
Send the motif drawing, target placement and any required relief depth. Review line detail, seam position and tooling feasibility before approving a sample plan.
Review the Tooling Brief →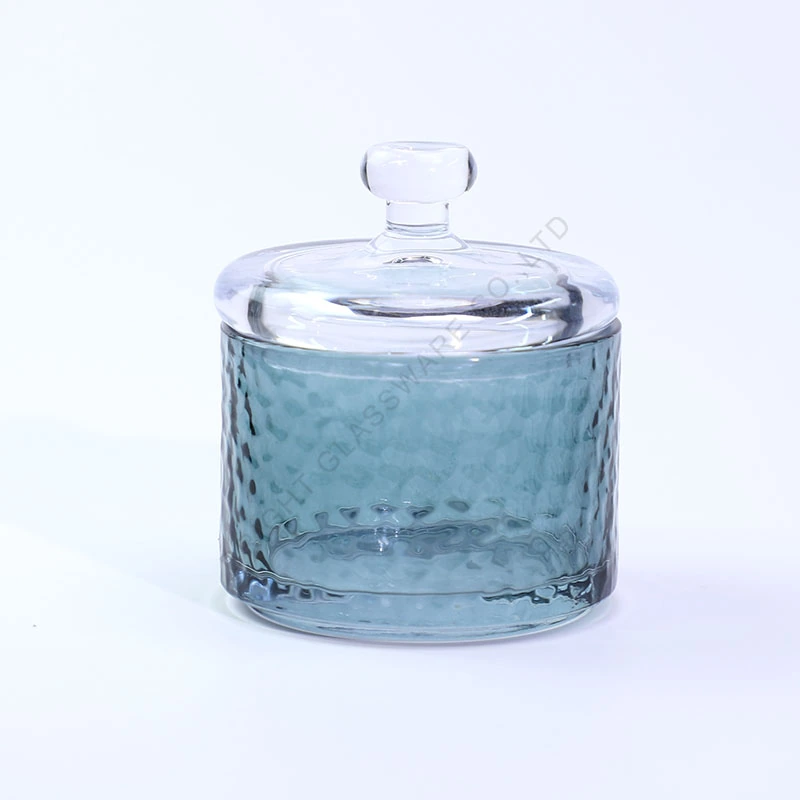
Check the Jar and Cover Together
Check the opening, seated cover and overall height for the chosen model. Allow for any projecting knob when you design the pack.
Review Cover Approval →Check contact around the highest points
Use the packed sample to protect the relief and any glass knob.
Keep Raised Details Clear of Packing Contact
Identify the high points of the pattern. Review where dividers and inserts touch the assembled jar to avoid concentrating pressure on a raised detail.
Review the Packing Sample →Give the Motif and Artwork Separate Space
Place a small mark in a suitable smooth area or carry detailed information on the box. Bright Glassware can review decoration on the chosen glass and coordinate labels or boxes. If the logo itself should stand in relief, submit the artwork for a separate tooling review.
Approve the Pattern and Artwork Before Ordering
For an existing pattern, request a sample in the finish you want to order. For a new motif, share the glass profile and a dimensioned drawing so the proposed tooling and sample scope can be reviewed.
- Pattern layout. Mark the front, relief area and seam location on the selected jar or drawing.
- Artwork footprint. Check legibility and label contact on the proposed finish.
- Cover details. Approve the fitted pair and measure height to the top of any knob.
- Packaging contact. Check where the insert supports the jar and where it clears the raised surface.
RequirementsModel, pattern and order quantity
SelectionExisting finish or custom motif
Sample ReviewArtwork, cover and pack contact
Order SpecificationApproved pattern and components
Final ReviewCheck finish and insert fit
Textured and Embossed Jar Approval Checklist
| Specification | What to Review | Approval Reference |
|---|---|---|
| Pattern or motif | Confirm position, scale and any new tooling questions. | Marked sample or reviewed artwork drawing |
| Artwork landing area | Apply the label or review a print proof in the usable area. | Artwork proof on the selected jar |
| Glass finish | Check how color and reflections affect pattern visibility. | Approved physical finish sample |
| Vessel and cover | Review seating, removal and assembled height. | Approved jar and cover reference |
| Packing contact | Check support points, clearance at raised details and cover protection. | Reviewed divider or insert sample |
Quote the Patterned Jar and Its Pack
Send the model or motif drawing, artwork and finish, order quantity and destination. Specify the cover and any retail box or insert you need.
Request a Project Quote →Protect Relief Details and Knobbed Covers
Review packing on the complete jar and cover. Allow room for the widest part of the relief and the full assembled height.

Separate the Raised Surfaces
Use a divider to keep adjacent glass pieces apart. Check whether the finish rubs at the raised details as the jar moves in the carton.
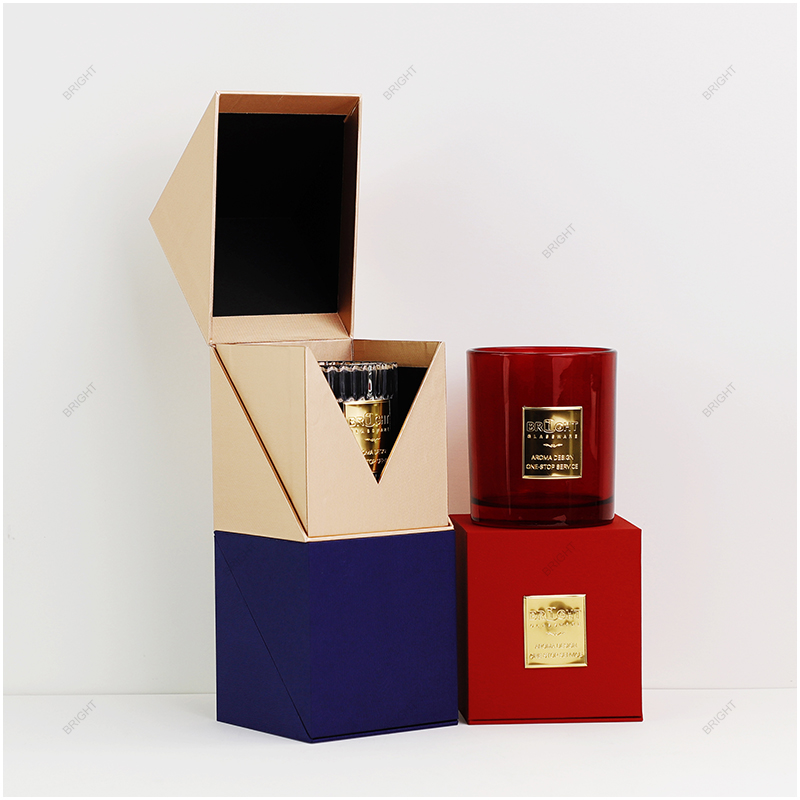
Open-carton divider reference. Check where the texture or knob could touch the pack.
Check the Insert at the High Points
Check which parts of the glass carry the load in the insert. Leave clearance around protruding patterns and space above a knobbed cover.
Record the relief and cover version
List the finish, body, lid and insert on the same packing approval.
Identify the Jar and Cover Version
Record the pattern, finish and fitted cover together. Mark any version change before approving the retail box or reordering the pack.

Confirm Carton and Delivery Details
Confirm carton count, orientation and destination using the selected assembly. Agree how to protect any cover packed separately.
Plan Your Packing & Delivery
Share your order quantity, destination and retail or export packing requirements.
Discuss Packing & Shipping →Check the Candle Cavity Separately
Measure the inside dimensions and usable opening of the selected jar. Develop the working fill and wick with your own wax and fragrance, and check headspace under the proposed cover.
Choose a Pattern for the Finished Candle Range
Compare the three current models by pattern, artwork area and assembled presentation.
A Coordinated Water-Pattern Set
Review the 380 mL GJ084 with its clear cover seated. Check how the blue body and the knobbed cover read together in the intended display.
Review the Opening and Artwork Area
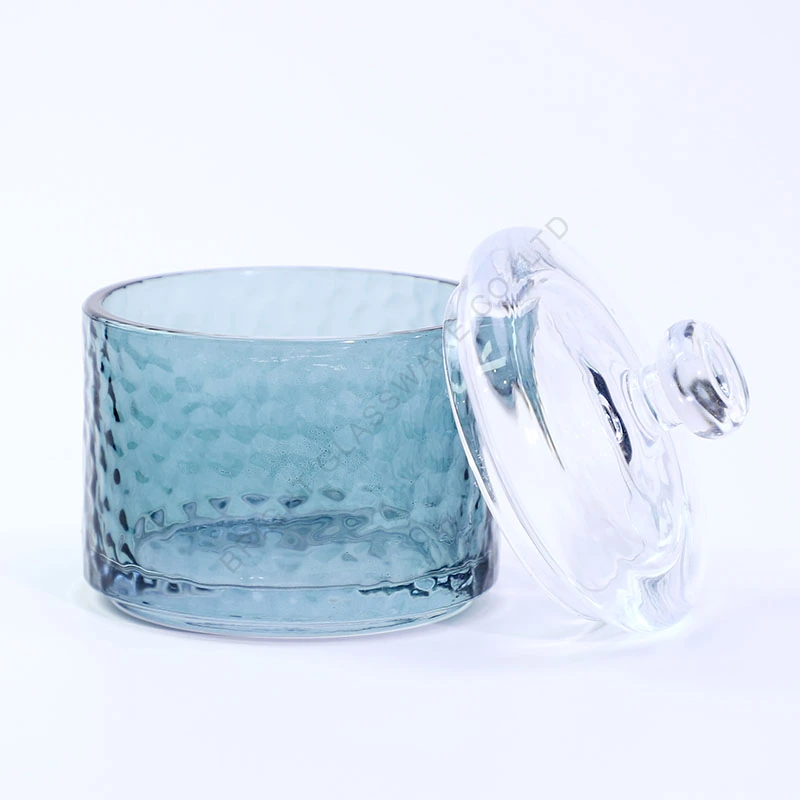
Use the open sample to check access for filling, the cover seat and the usable artwork area around the patterned body.

A Framed Front for Branded Gifts
Use the framed area of the nominal 360 mL GB181 to test your brand mark. The white cylinder in the photo is a display prop. Confirm the jar, cover and packing on the selected sample.
What to Send for a Patterned Jar Quote
Separate existing-model orders from new motif development so the sample scope, MOQ and schedule can be discussed for the chosen project.
ModelExisting model or proposed pattern
SampleFinish, jar and cover sample
ArtworkArtwork or dimensioned motif drawing
PackingRetail pack and delivery destination
How Bright Glassware Supports Patterned Jar Projects
We can review the glass, artwork and related components on a single project brief.
Glass Packaging Since 2005
Bright Glassware has supplied glass packaging and related components since 2005. The current textured collection offers three distinct glass patterns for sample review.
Samples for Pattern Selection
We support sample selection for the pattern and finish you want to order. Bring a reference if the project calls for a different motif.
Artwork and Decoration Review
Bright Glassware supports glass decoration, including screen printing where the surface and artwork are suitable. We can discuss artwork placement on the chosen sample.
Component Coordination
We can coordinate a compatible cover and related components for review on the selected jar. Confirm the exact parts and material at quotation.
Retail Packing Support
We can coordinate labels, boxes and inserts around the approved glass and lid. Review the pack where it meets any raised features.
Quality and Export Support
Our project support covers agreed quality checks, packing and export coordination. Include any critical finish or packing checks in the order brief.
Textured and Embossed Candle Jar Buying Questions
What is the difference between texture and an embossed motif?
Texture describes the patterned surface. A relief motif is a specific raised design or mark. Share a sample or drawing to identify the appearance and construction you want.
Can a label sit over a raised pattern?
Test the intended label stock on the actual jar. Use a framed or smoother area where the label can make sufficient contact and the edges stay flat.
Can I request a logo or motif in relief?
Send dimensioned artwork and the jar shape. The relief detail, seam and mold scope need a feasibility review before sampling or quoting production.
Do the textured jars all include a cover?
The GB181 and GJ084 are shown as lidded references. Confirm the selected cover, its material and included parts for the exact order.
How can I compare sample and order terms?
Send the model or motif, finish, quantity and packaging scope. An existing-pattern sample and a new tooling request have different requirements.
Still Have a Product Question?
Send your requirements or a reference so our team can review your project.
Ask Our Packaging Team →Related Collections & Project Resources
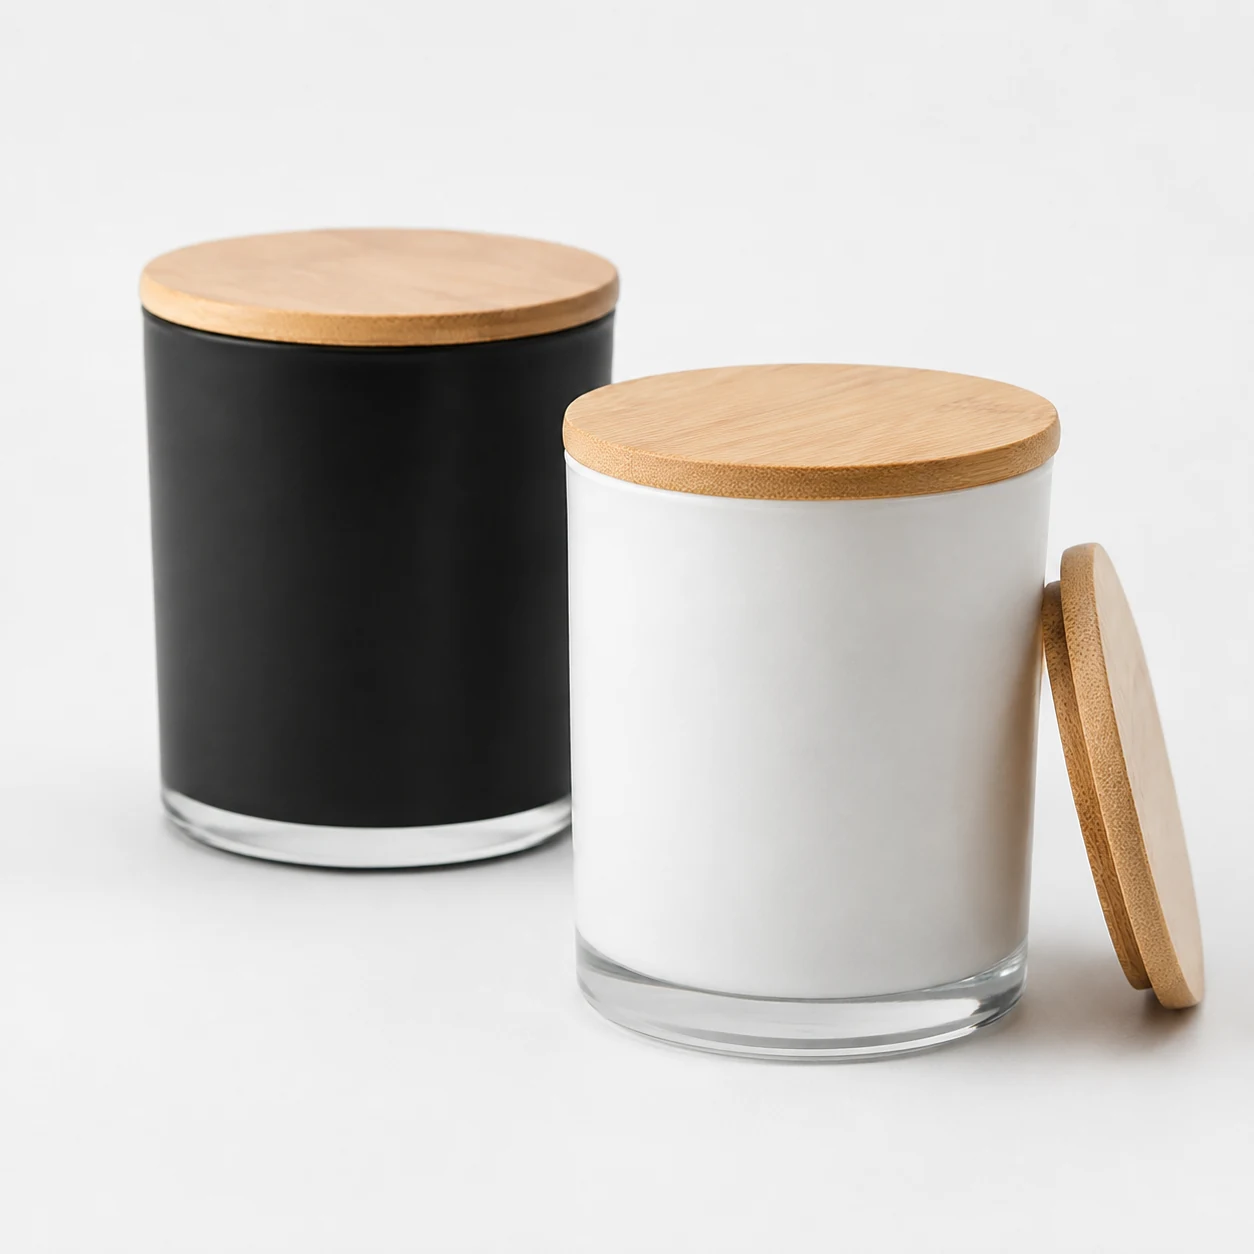
Glass Candle Jars
Explore Collection →Start with the intended fill
Choose a jar by the measured wax fill and room below the lid.
Candle Jar Sizes
Explore Collection →Candle Jars with Lids
Explore Collection →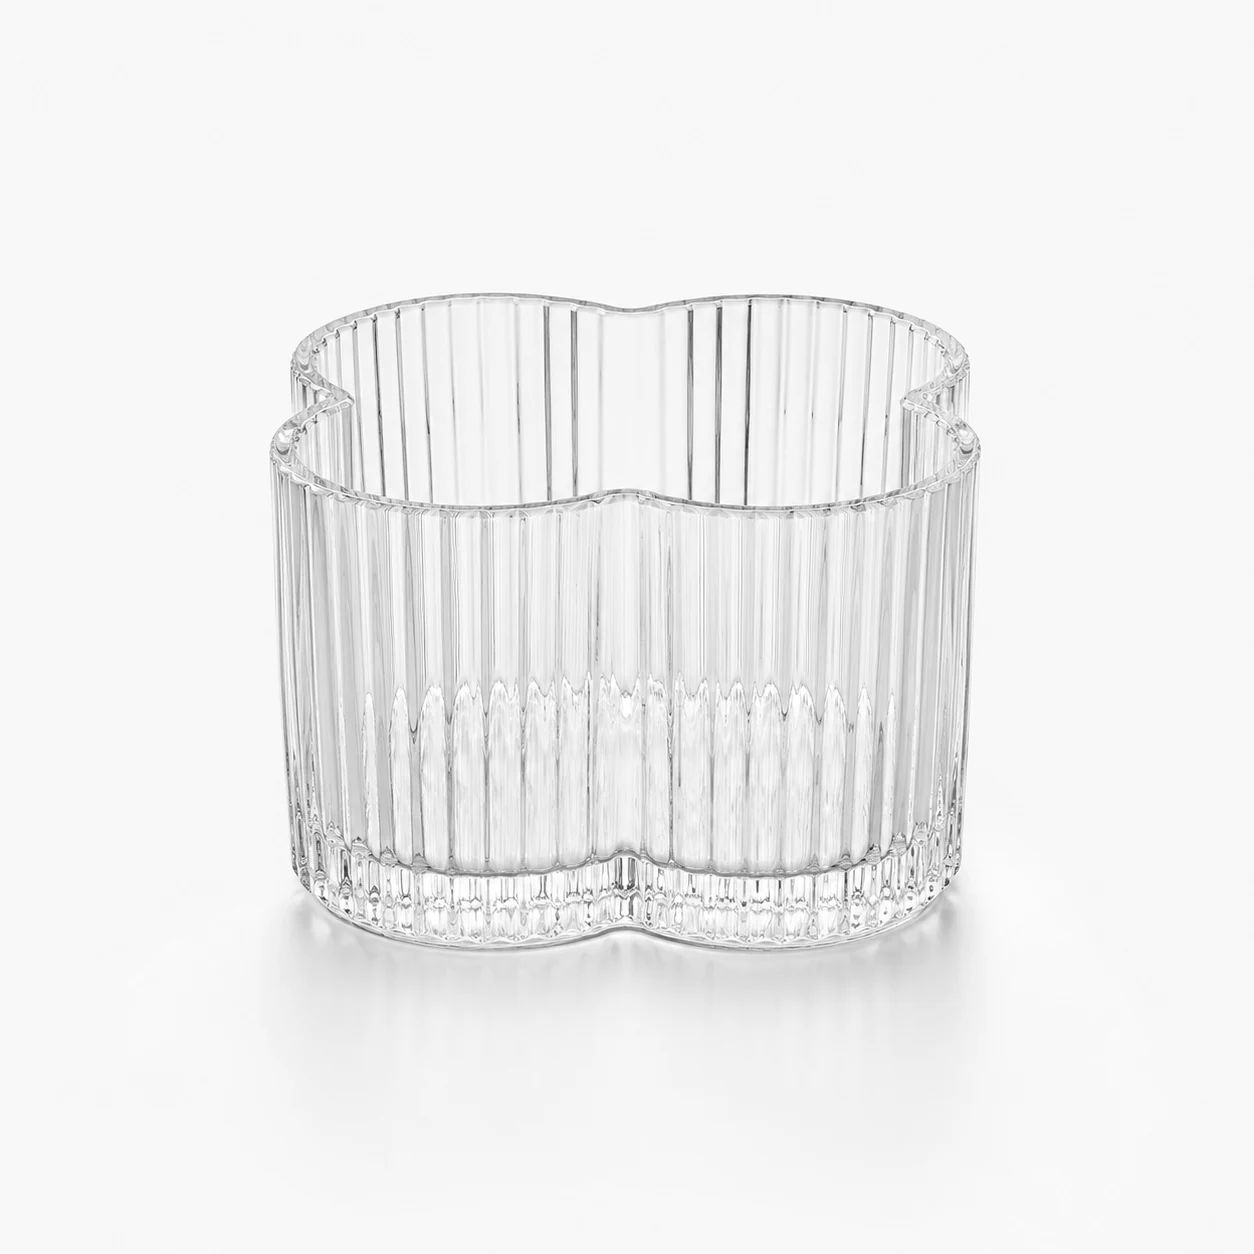
Unique / Fancy Candle Jars
Explore Collection →Bring the artwork and relief position
Identify the front face, intended motif and label dimensions.
Custom Candle Jars
Explore Collection →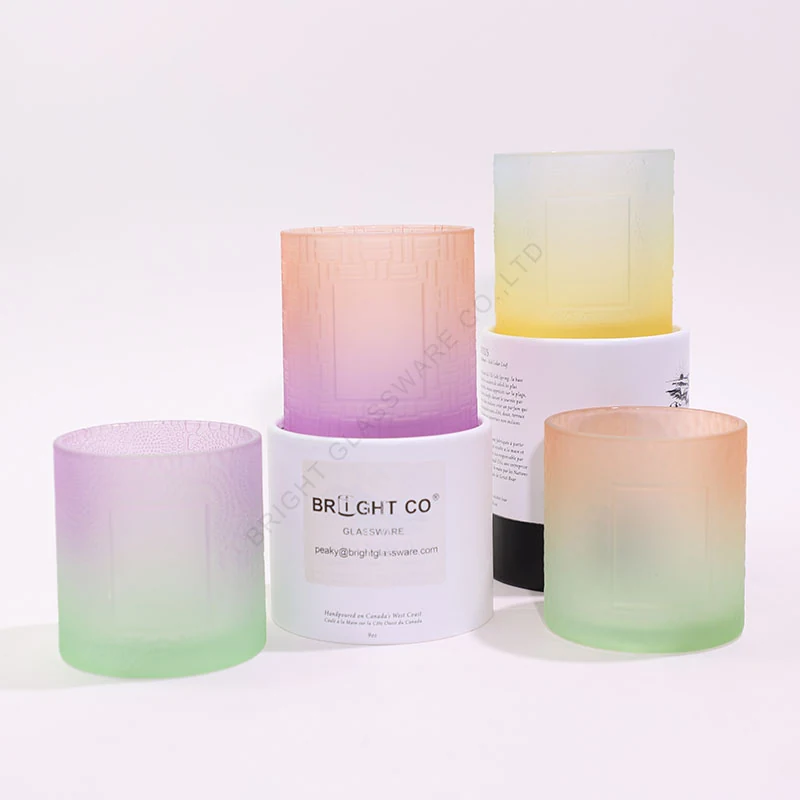
Candle Jar Labels
Explore Collection →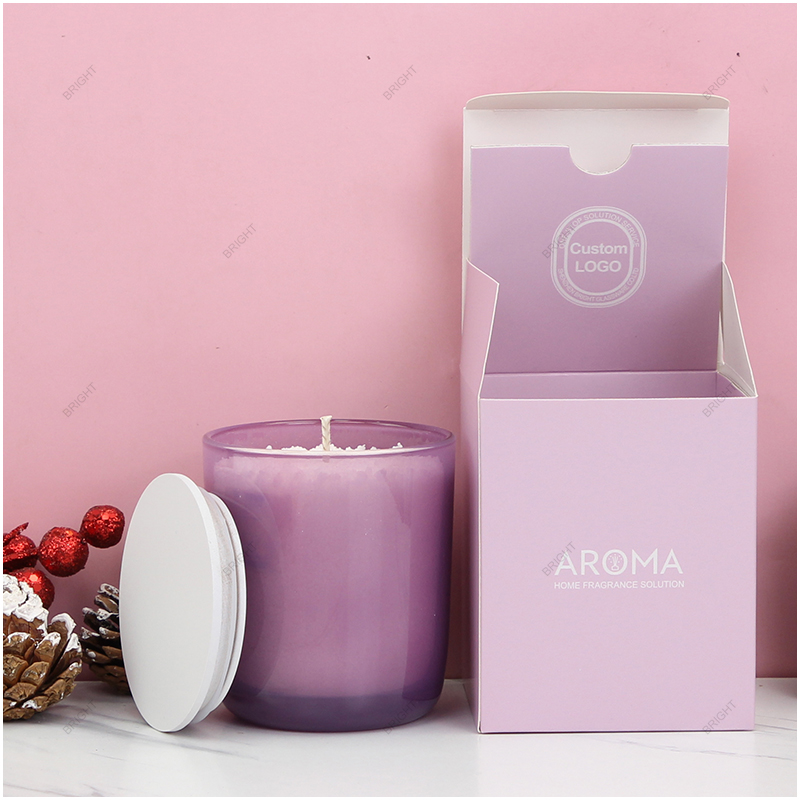
Candle Jar Boxes
Explore Collection →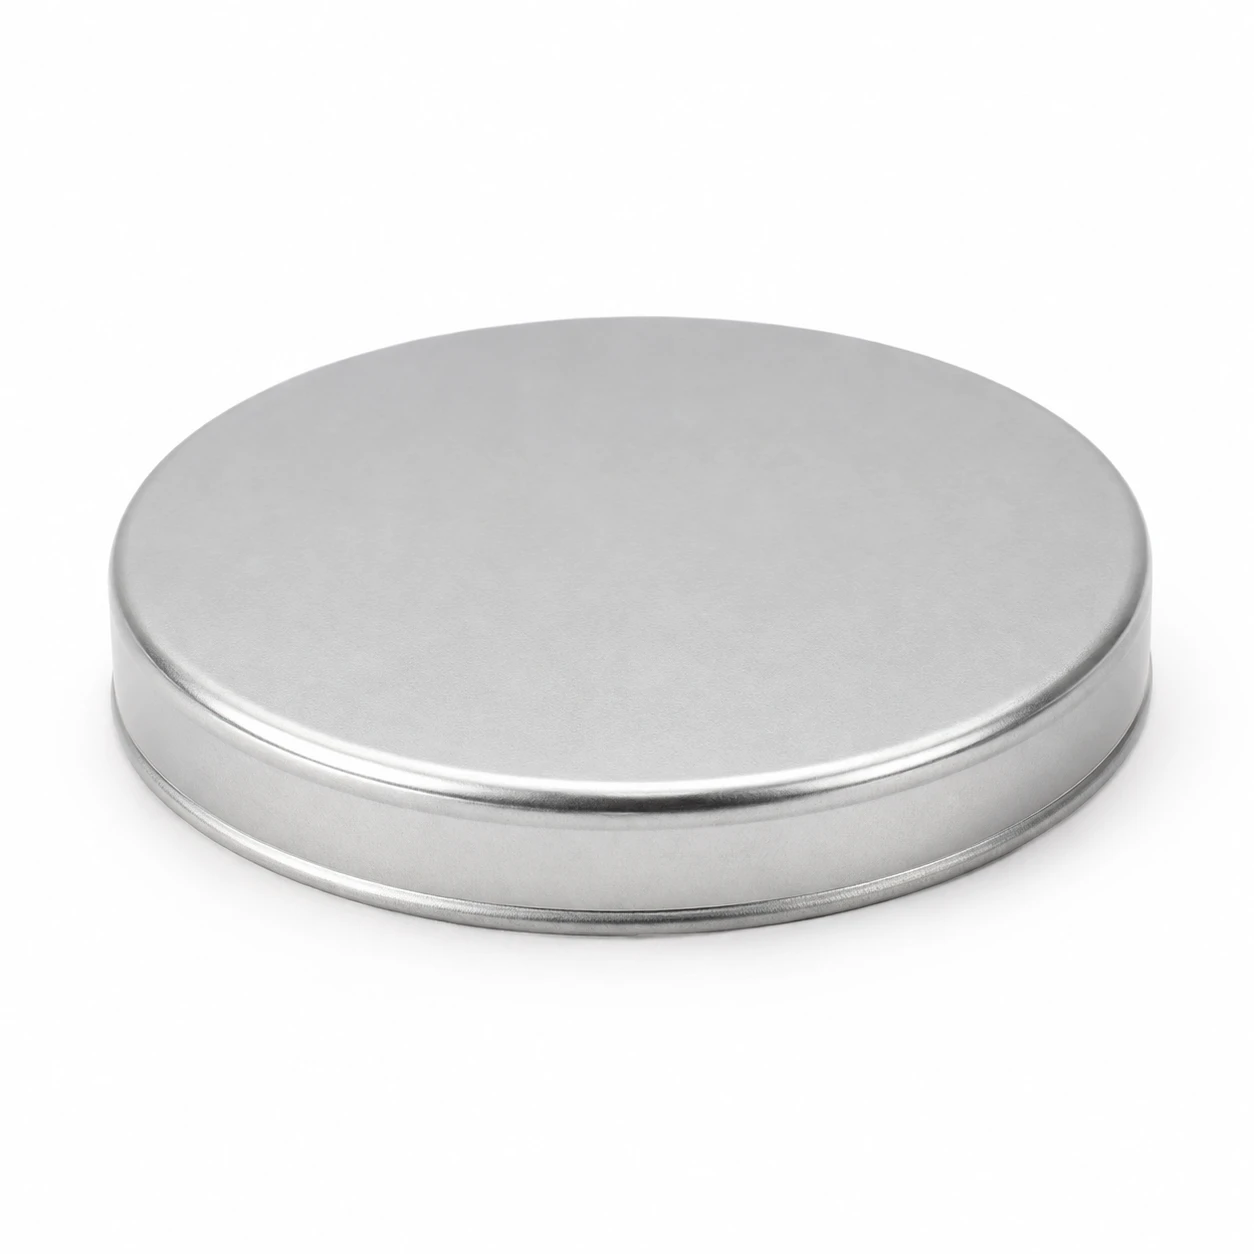
Candle Jar Lids
Explore Collection →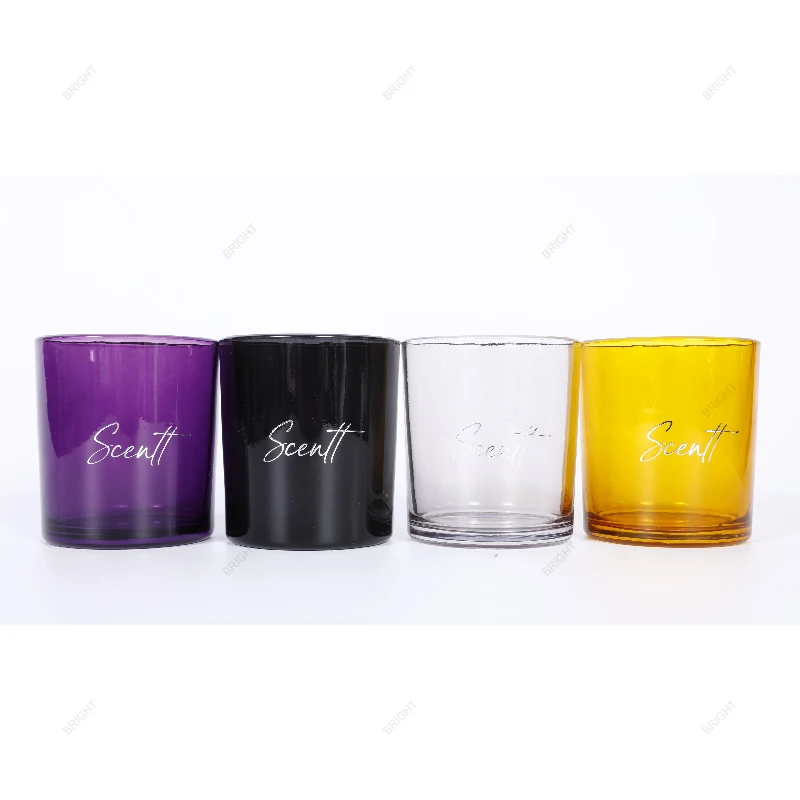
Decoration & Artwork Review
View Resource →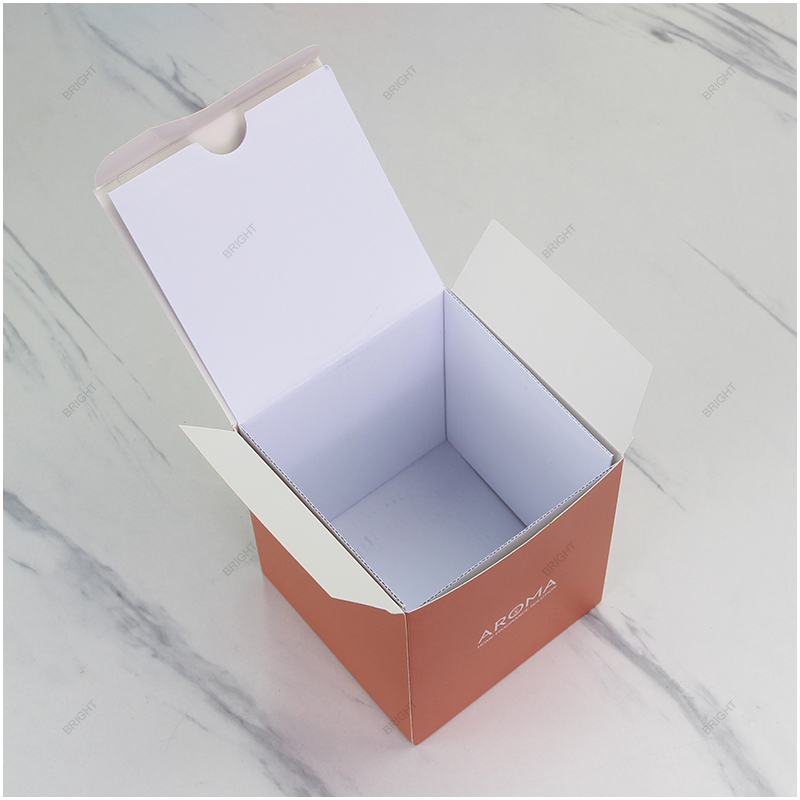
Retail Packaging & Inserts
View Resource →Choose the Visible Side First
Turn the jar in the light and mark the face that will point toward the customer. Check where the seam or changes in relief fall on that side.
Approve the front with the intended mark before preparing the rest of the pack.
Use the Jar and Box to Share Information
Put the information that needs a broad, readable area on the box or a suitable smooth panel. Check the label stock on any curved glass area where it will be applied.
Keep the Tooling Brief Specific
For a custom motif, identify the exact jar profile and the line sizes and relief depth you want reviewed. Agree what the first sample needs to demonstrate.
Approve the Pack on the Complete Jar
Review the complete jar and cover in the proposed insert. Record clearance around the motif, top of the lid and other raised points before approving the carton.
Browse Our Product Categories
– Glass Bottles & Fragrance Packaging –
– Glass Candle Jars & Related Containers –

– Glassware & Packaging Solutions –
Request a Quote
Talk to Our Packaging Team
Share the model, capacity, color, closure, decoration, packaging and estimated quantity you need. We can review the options with you.
Category: Textured & Embossed Candle Jars