Container Reference
350 mL Straight-Sided Glass Candle Jar
The nominal 350 mL BGC086M has a near-upright wall. Measure the usable area above the base and below the rim on the actual finished jar.
View Product Details →Custom Labels and Stickers for Candle Jars
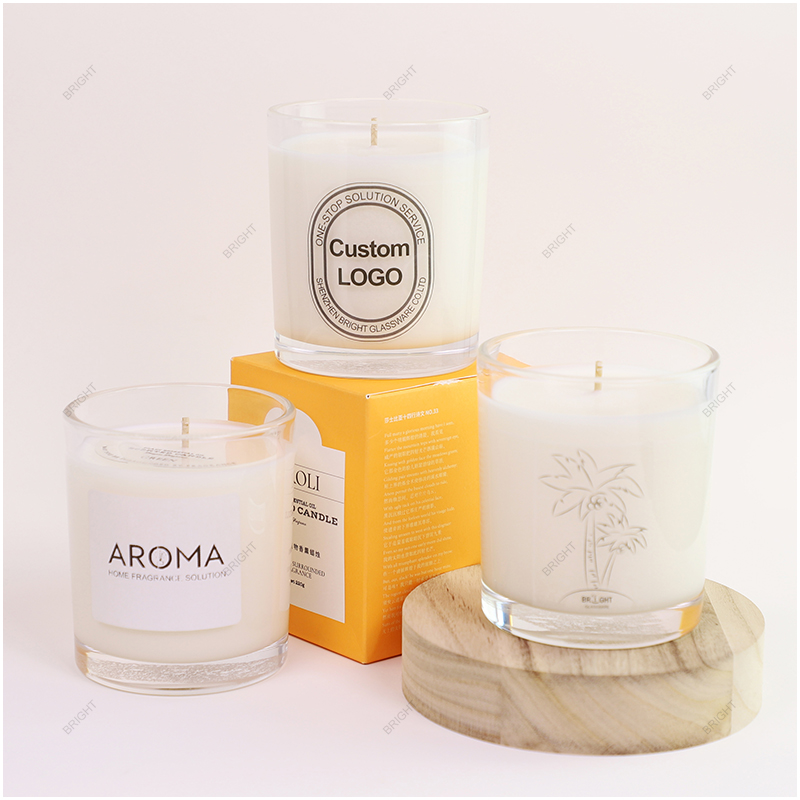
Develop the label around the jar you plan to use. Measure the usable wall, check the finished surface and decide where the front label and supporting information will sit.
Apply a proof to the actual jar before ordering. Check readability, the cut edge and the wrap seam with the intended glass finish and candle fill.
These linked jars are examples for planning label fit. Compare their wall shapes and finishes, then measure and proof the selected surface for your own order.
Container Reference
The nominal 350 mL BGC086M has a near-upright wall. Measure the usable area above the base and below the rim on the actual finished jar.
View Product Details →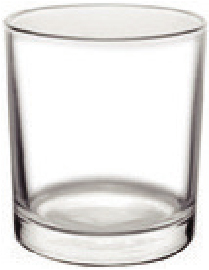
Container Reference
The nominal 500 mL clear BGC001 narrows toward the base. Try a paper mock-up at the intended label height and check how the edges and seam meet.
View Product Details →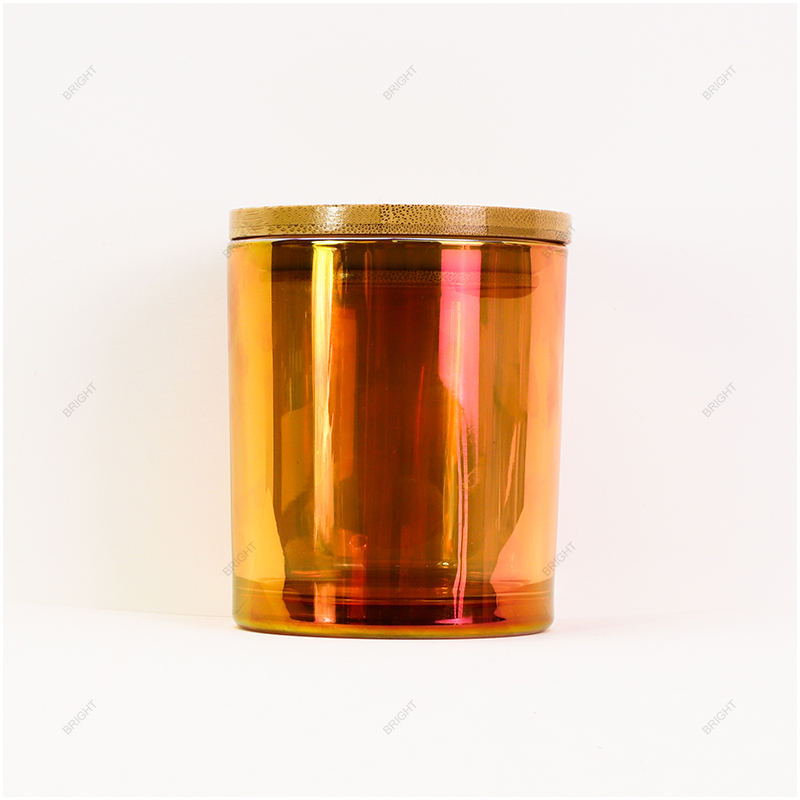
Container Reference
The nominal 300 mL BGC8090 is shown with a reflective finish and flat-lid examples. Check print contrast and label contact on the finish you want to order.
View Product Details →Send the jar or drawing, finish, usable label area, artwork and quantity by design. Tell us how you plan to apply it.
Use the actual jar and finish to choose the label footprint, material and placement.
Use the finished jar and measure where the label can sit without crossing a curve, texture or lid edge.
Measure the straight or gently curved area between the rim and base transition. For a tapered body, measure at the proposed top and bottom of the label and test the shape on a sample.
Review the Panel Measurements →Apply documented paper and film swatches to the same finished surface and review the visible result on the intended fill.
Compare paper and film samples for the appearance you want. With clear film, check the edge and text against the glass and the intended fill. Ask which material and print options suit the design.
Review Stock and Print Options →Use a wrapped physical proof to record the start, end and overlap positions on the finished glass.
Mark the front and seam on a full-size mock-up. Check the planned gap or overlap and keep the main artwork clear of the join. Recheck on every jar size in the range.
Review the Seam Layout →Proof the brand name, scent name and approved information on the curved surface at final scale.
Provide approved retail copy and any barcode, product information or warning text required for your project. Mark its location on the jar label or the box and approve it on the proof.
Review the Artwork Brief →Record the chosen face stock, adhesive, glass finish and application conditions before comparing proof samples.
Apply the proposed stock and adhesive to the actual surface. Check for lifted edges, wrinkling or gaps where the jar is tapered, ribbed or coated, under the handling conditions you specify.
Review the Applied Sample →Record the jar version, label reference and approved proof so repeat orders use the same file.
Keep the final dieline, artwork and application position together by jar and scent. Approve the applied proof and confirm the quantity for every version.
Review the Version List →Approve the full-size label footprint on the finished jar. Then check the dieline, text margins and seam position. For transparent stock, review text opacity and contrast on an applied proof.
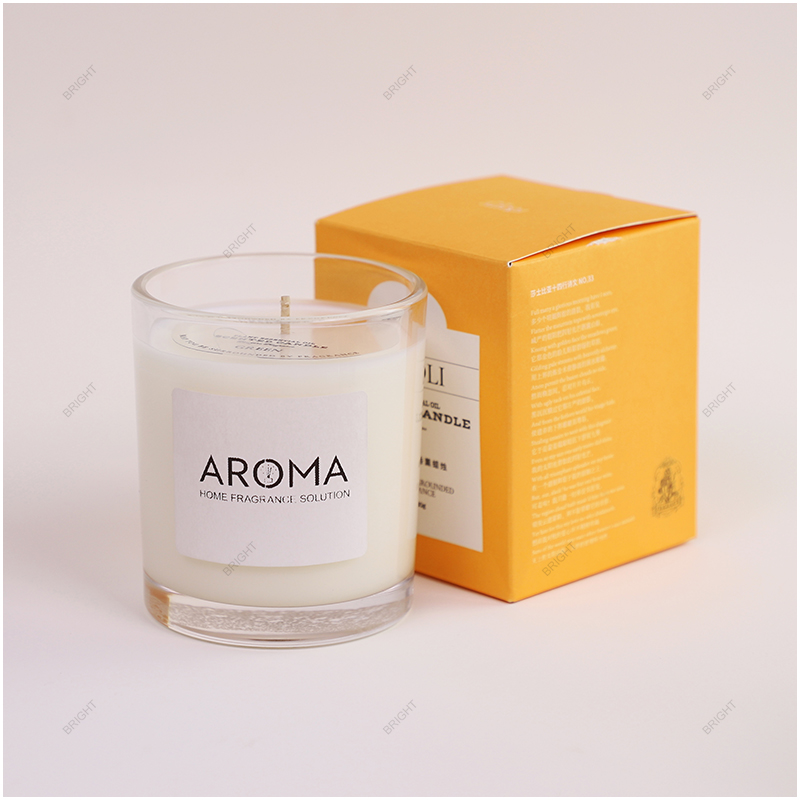
Bright Glassware can coordinate labels, wraps and sleeves for the selected packaging project. Start with the jar model, final surface and how you intend to apply the label.
Review a full-size mock-up before approving the print file. Apply a proof on the actual finish and confirm the cut edge, alignment, contrast and handling with the intended pack.
| Specification | What to Review | Approval Reference |
|---|---|---|
| Jar and application surface | Measure the usable wall and identify the finish where the label will sit. | Marked drawing or finished jar sample |
| Label stock and adhesive | Review the proposed stock and adhesive on the actual surface. | Applied sample on the chosen jar |
| Dieline and artwork | Check cut line, seam, margins, contrast and supplied information at actual size. | Approved dieline and applied proof |
| Versions and quantity | Record the jar, scent or artwork version, placement and order quantity. | Approved version and quantity list |
Send the jar model, finished surface, label dimensions, artwork and quantities by design. Tell us if you need loose labels or want application and packaging quoted.
Request a Project Quote →Review the applied label with the selected lid, sleeve, insert and box. Check where the pack touches the label as the jar is handled.
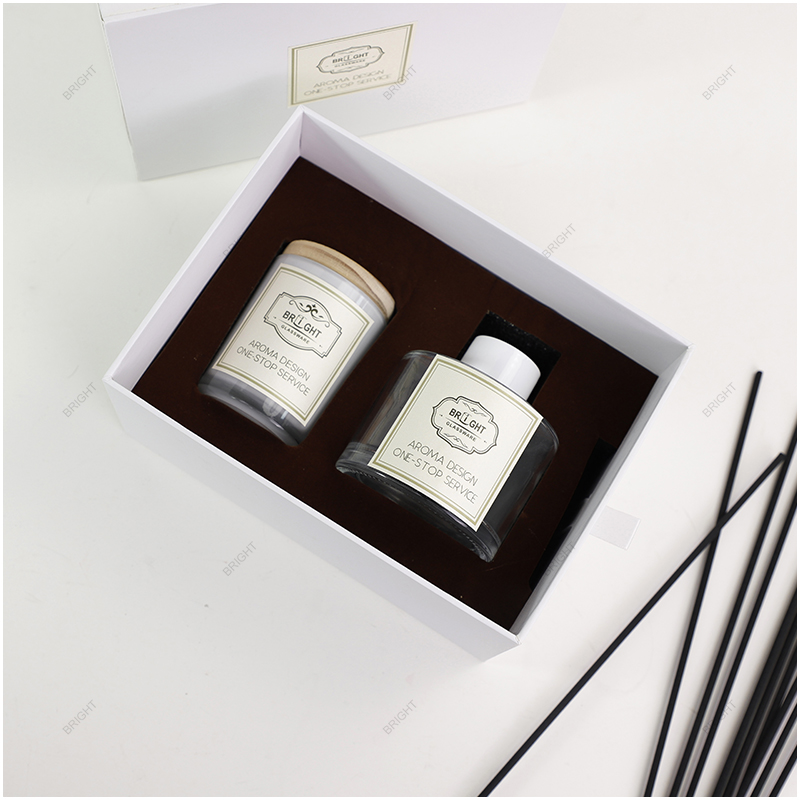
Check whether an insert edge or sleeve contacts the label seam, edges or printed face. Try removing the jar from the actual pack.
Tray example. Check contact points on the selected packed sample.
Match the printed label reference to the finished jar and box variant before packing.
Label each print version and quantity in the order brief. Keep the artwork reference with the jar size and scent when labels and boxes are packed together.
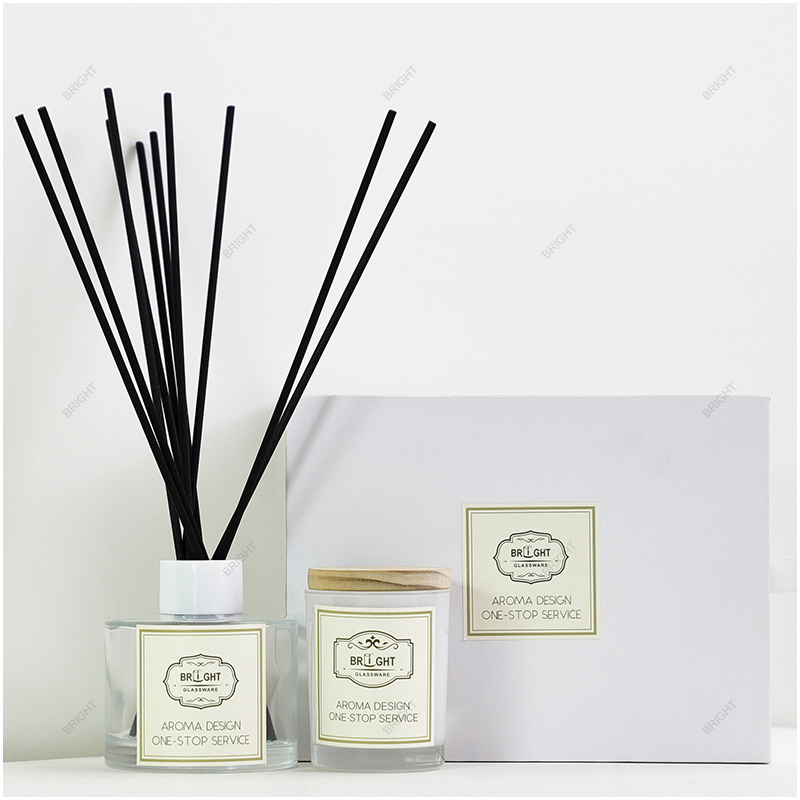
Compare the printed box and the applied jar label for color and placement. Confirm the buyer-approved copy appears on the intended surfaces.
Give label quantities, application responsibility, packaging and destination for each approved version.
Specify loose labels, applied labels or coordinated boxed sets in the quote. Include the required quantities by design and the delivery destination.
Share your order quantity, destination and retail or export packing requirements.
Discuss Packing & Shipping →Apply the proposed label stock and adhesive to the finished jar. Check alignment, edge contact and appearance under the expected storage and handling conditions you provide.
Use the buyer-approved wording in the final artwork. The print proof shows how that wording will appear at the selected size and location.
Use the same approval steps when launching, adding a scent or changing the artwork.
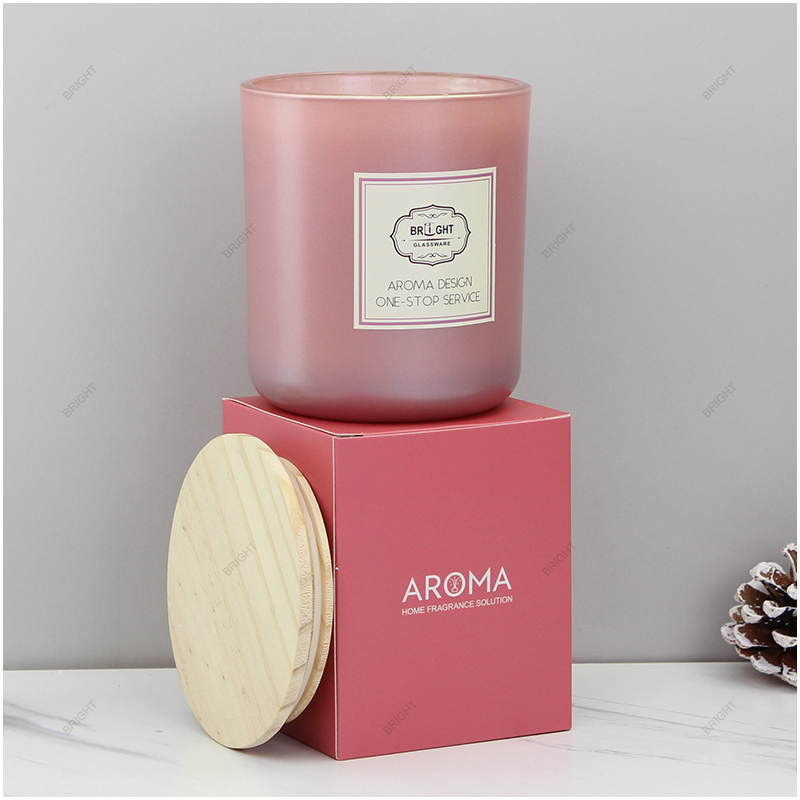
Set the front position and label size on the selected finish. Use an applied proof to check the brand and scent name at their intended scale.
Compare scent names at final size and keep a single approved reference for each version.
Keep the shared layout and placement fixed where appropriate. Track the artwork file, jar model and quantity for each scent.
Check how the updated label reads on the approved glass finish and in the current box.
Check the new cut line and seam against the current vessel and pack. Approve an applied proof before ordering the refreshed print run.
Share the actual jar, material direction and application method, with artwork and quantities by version. Confirm sample and production terms for the chosen configuration.
Coordinate the label with the chosen jar and finished pack on one brief.
Bright Glassware has supplied glass packaging and related components since 2005. Use the selected jar and finish as the starting point for the label.
We can support a review of the sample jar and its usable wall. Share the finish you plan to label so the applied proof uses the intended surface.
We can coordinate labels, wraps or sleeves for the selected packaging project. Confirm the stock, adhesive and supplied configuration in the quote.
We can coordinate artwork and print proof review at actual size. Provide the final version, marked placement and any buyer-approved retail copy.
We can coordinate the label and box using the approved jar, lid and insert. Review contact and version identification on the complete sample.
Our support includes agreed quality checks and export coordination. Keep the approved print and packing references with the order.
Measure the usable wall on the actual jar. Mark the top, bottom, front and any wrap seam before preparing a full-size mock-up.
Check the wall at the intended top and bottom of the label. Use a mock-up to assess the shape, seam gap or overlap and edge contact.
Compare samples on the actual glass, ceramic or coated surface. Share the look, application method and expected handling so the stock and adhesive can be reviewed.
Apply a clear-label proof to the intended jar and fill. Check text contrast, label edge and background visibility before approving the print.
Send your requirements or a reference so our team can review your project.
Ask Our Packaging Team →Identify which artwork belongs on the vessel and which belongs on the carton.
Open a packed sample and confirm the label faces the intended direction and clears the insert contact points.
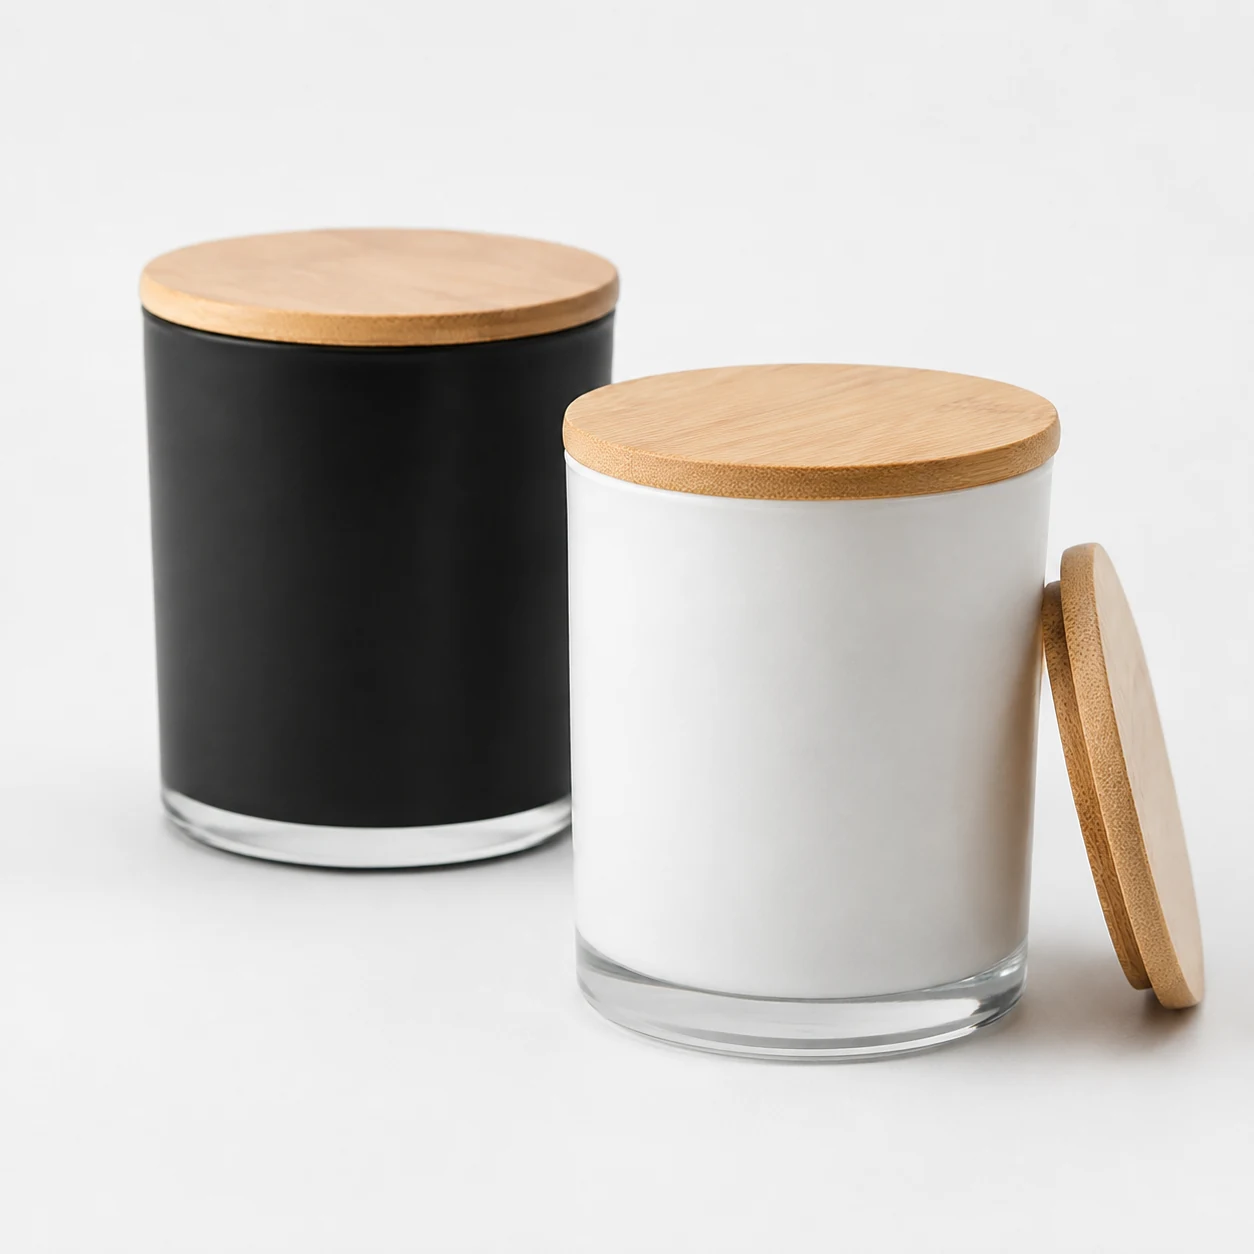
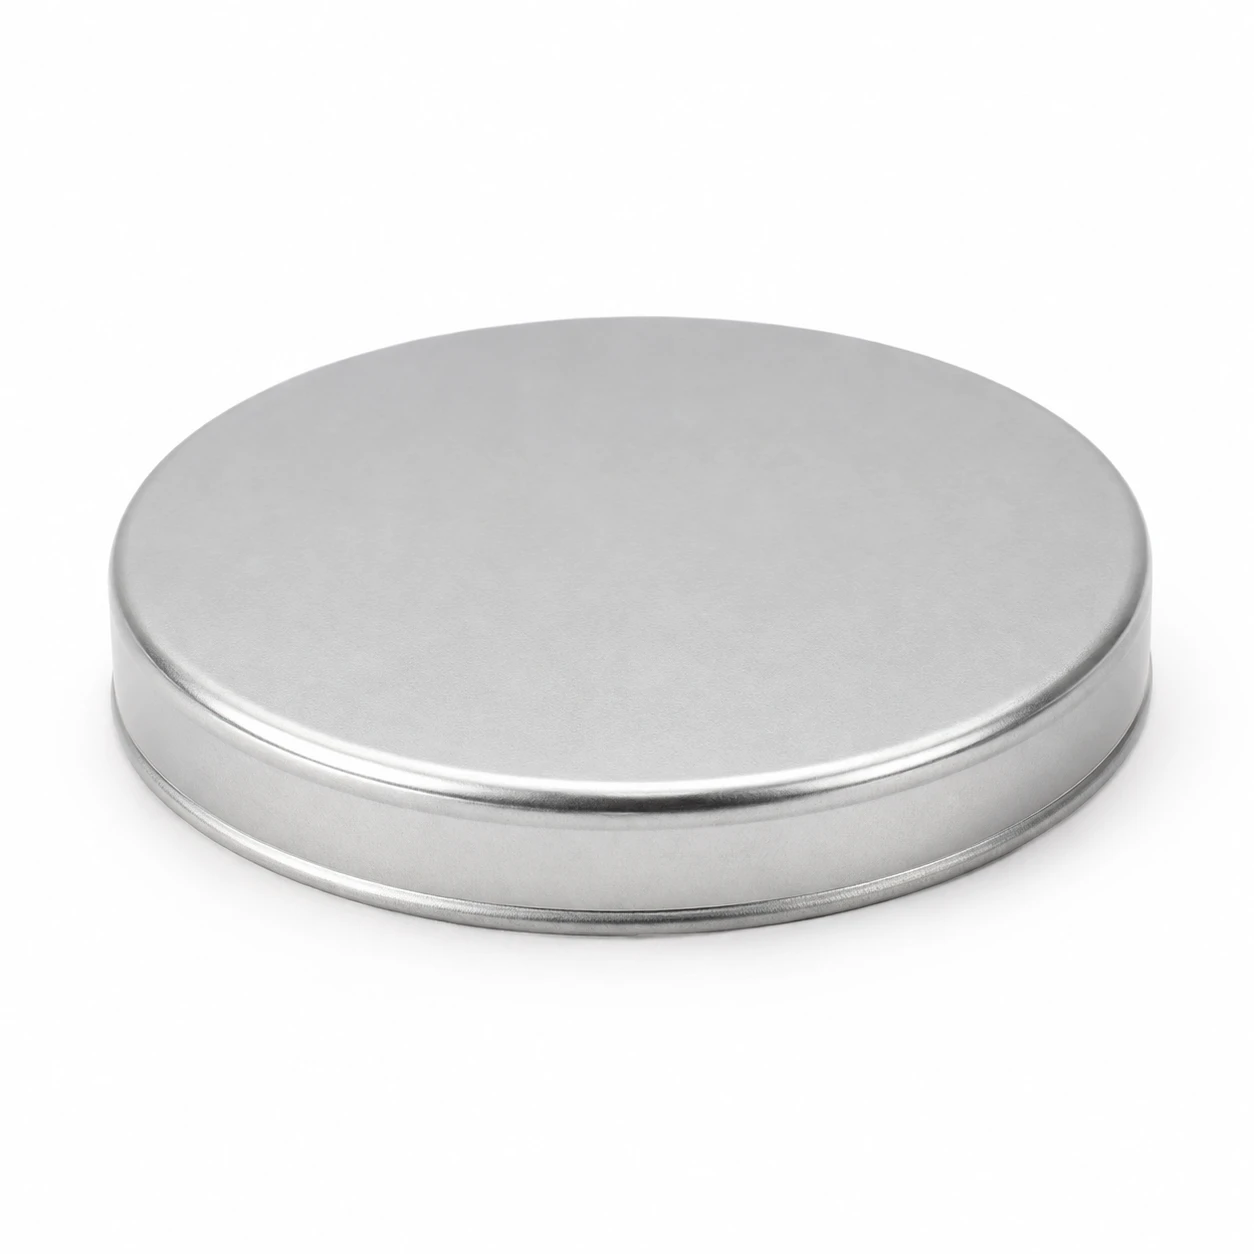
Check where accessories sit so the box brief identifies anything that can touch the label.
Share the actual jar shape and finish so label position can be checked on the right sample.
Send the label version, vessel reference, quantities and agreed application instructions.
Share the intended glass color, finish and artwork scale for review on a physical sample.

Decorated glass example. Confirm the application method for your design.
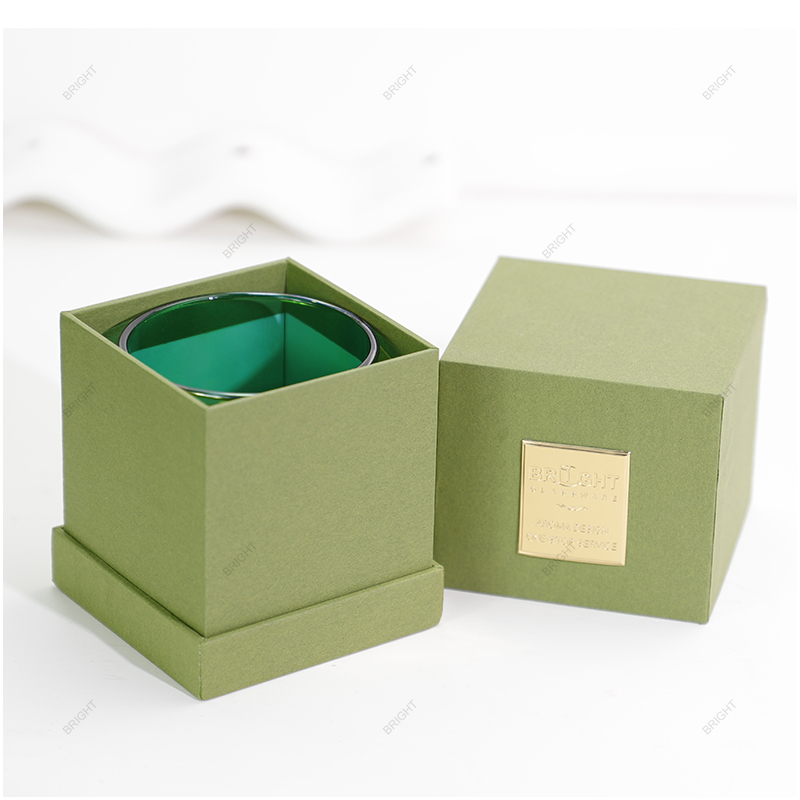
Measure the wall where the label will sit. Mark shoulders, curves or ribs that reduce the usable contact area.
Decide what belongs on the front label and what belongs elsewhere. Supply the approved text and check readability at actual size.
Wrap a full-size mock-up around the jar. Check the seam, gap or overlap and try the proposed stock on the final finish.
Keep the print file, dieline, placement and sample under the same version reference. Recheck when the jar, finish or artwork changes.
Request a Quote
Share the model, capacity, color, closure, decoration, packaging and estimated quantity you need. We can review the options with you.
Category: Candle Jar Labels