Vessel & Surface
Identify the material, model, finish and dimensions. A front and side photo can show the usable area and any curved or raised sections.
Vessel Reference · Artwork · Process Confirmation
Planning engraved candle jars for a brand or gift range? Start with the vessel and the mark you want, whether that is a frosted-looking logo, a line pattern or personalized lettering.
Share the glass or other material, the existing finish and a view that shows the intended location. We can review the brief and discuss a sample for the chosen vessel.
Start with the base jar and artwork. The same mark can look different on clear glass, a reflective coating and a curved or textured wall.
Identify the material, model, finish and dimensions. A front and side photo can show the usable area and any curved or raised sections.
Send the artwork at its intended size and mark its position on the jar. Note the details that must remain legible.
List quantities by design, whether any lid also needs a mark and how the finished pieces will be packed.
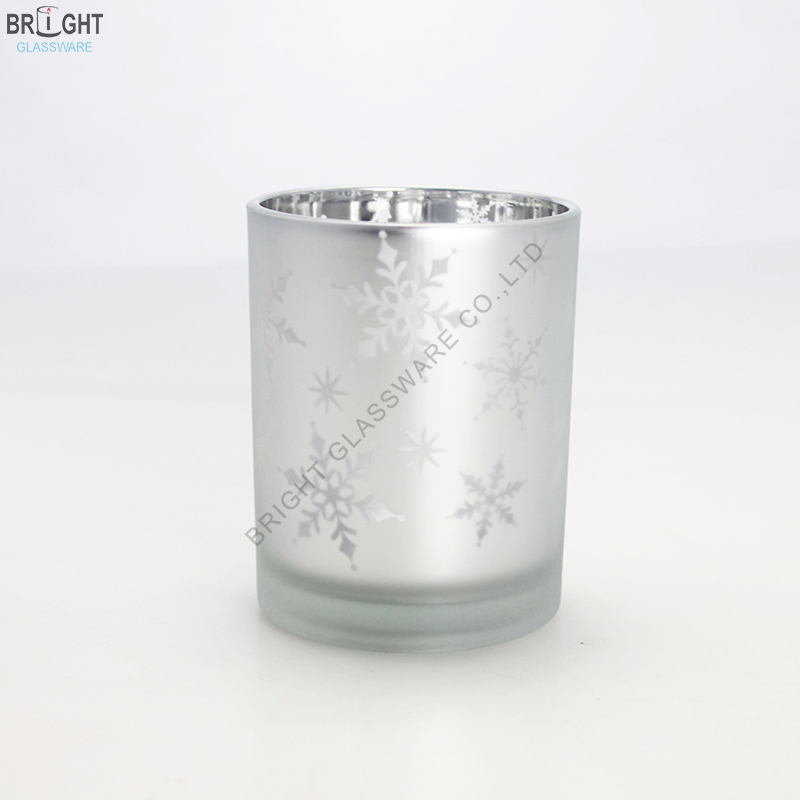
Owner pattern sample. Confirm the marking route and contrast on the vessel you select.
Send the vessel model or photo and the artwork, with the intended size and location marked.
Agree what the mark should look like and where it goes before choosing a method for the selected vessel.
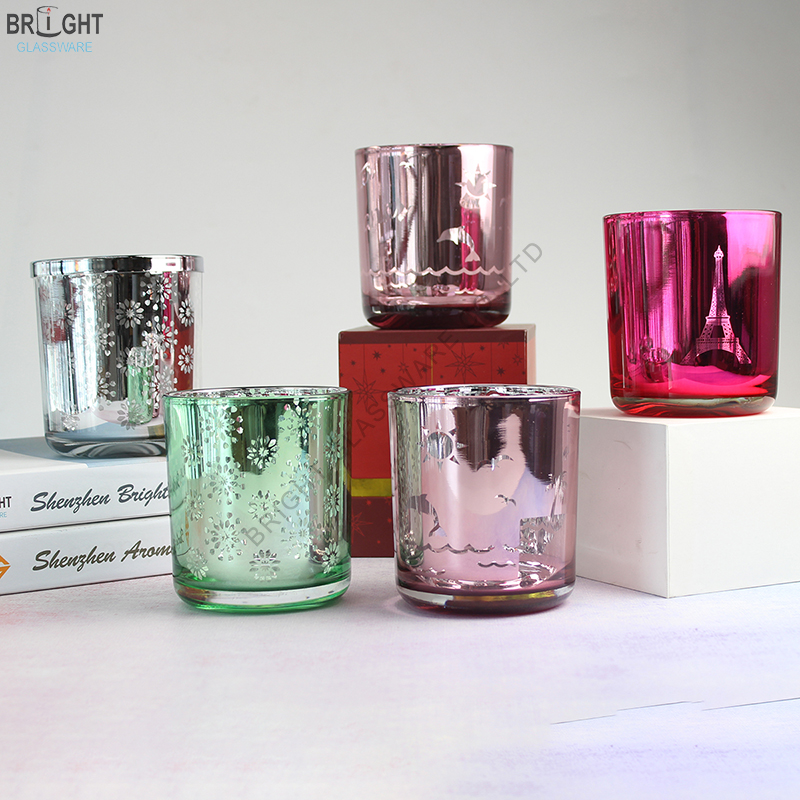
Identify the exact material and existing finish. Marking bare glass and marking through a coating are different requests, and each needs a review on the actual surface.
Review the Specification →Surface examples. Confirm the material and existing finish before selecting a marking method.
Mark the front, reading direction and nearest rim or curve on the drawing or jar photo.
Supply a vector file if available and a view showing the position. Check the scale against the visible front or selected lid before sampling.
Review the Specification →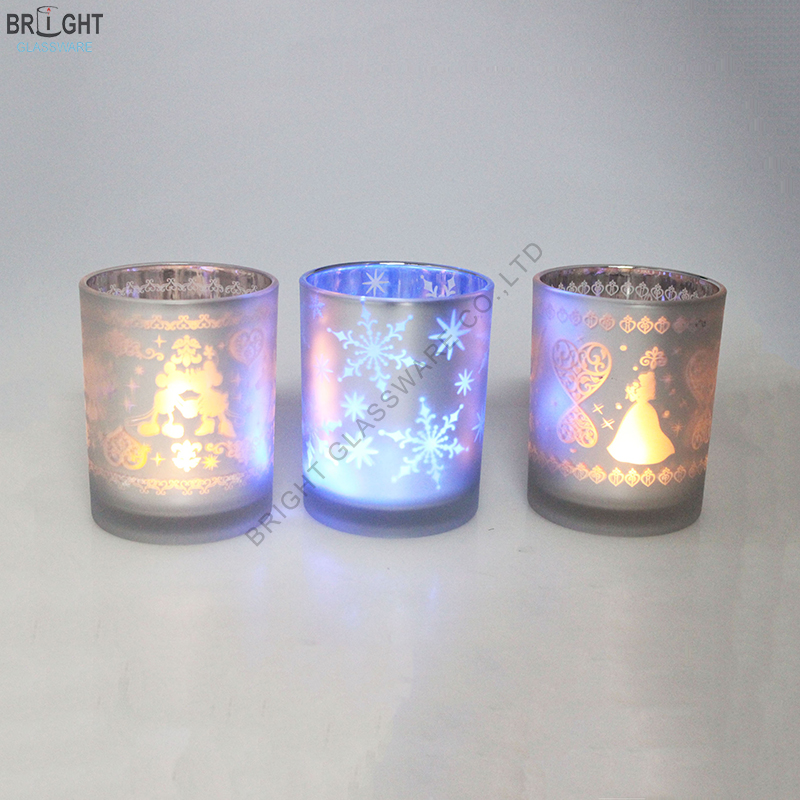
Review how the proposed mark reads against the finish and intended wax. Use the actual display light to check weak contrast and small details.
Review the Specification →Lighting example. Judge the same mark in the light specified for your project.
Include legibility, contrast and whether the mark should feel different from the surrounding surface.
An engraved or etched mark alters the selected surface. A raised molded motif is formed into the vessel. A printed logo adds an artwork layer. Choose the effect first.
Review the Specification →Share the substrate and any existing decoration before choosing engraving, printing or relief.
If laser engraving is required, state it in the brief. Confirm feasibility for the exact material, finish and shape before fixing the artwork or committing to a run.
Review the Specification →Record the finish, artwork file version and approved inspection conditions together.
Approve the physical mark, exact artwork revision and location. Keep the sample and file together so a repeat order uses the same reference.
Review the Specification →For a colored mark, compare the print option. For a raised shape, discuss a molded detail. For a mark in the surface, identify the selected material and check which engraving or etching route can be sampled.

Send the glass model, finish and artwork at size. Use a front view or drawing to mark the area, the distance from the rim or base and the details that must stay visible.
Review the prototype on the intended jar before setting a run quantity. Keep any printed, engraved and molded options separate in the quote and sample approvals.
Separate decoration example. Verify the marking route and proof for the actual project.
| Specification | What to Review | Approval Reference |
|---|---|---|
| Vessel and surface | Record the model, material and existing finish. | Selected vessel or physical reference |
| Artwork and placement | Check scale, orientation and clearance at the actual location. | Approved artwork and marked view |
| Physical approval | Review the mark, contrast and edge detail on the actual material. | Approved decorated sample |
| Components and order | Confirm quantities, any closure and the packaging scope. | Final order and pack brief |
For a wholesale project quote, send the vessel, artwork, quantities by design and sample requirements. Include any closure, retail pack or arrival date that affects the brief.
Request a Project Quote →Use the approved decorated sample to review the pack. Check whether the opening view shows the mark and where the sleeve or insert touches the vessel.

Keep glass pieces apart. Check the marked face and contact points after placing the jar into and removing it from the proposed pack.
Divider example. Check where the chosen pack touches the decorated face.
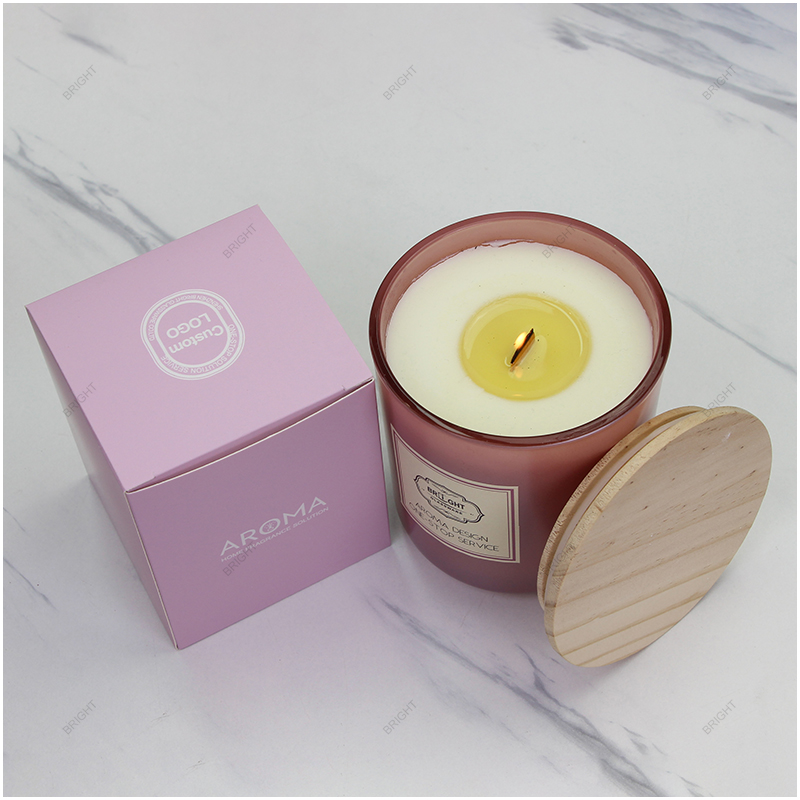
If the lid also carries a mark, check its orientation and height on the assembled sample. Decide how it will be kept in place or packed separately.
Separate assembly example. Confirm fit with your chosen jar, lid and pack.
Put the vessel model, final artwork file and protective pack revision on the same purchase brief.
Label each version with the vessel, approved finish and artwork revision. Keep the packaging reference with the selected mark.

Send quantities by artwork version, the packaging scope and receiving destination.
Carton example. Confirm the quantity, packing scope and destination for your order.
Share your order quantity, destination and retail or export packing requirements.
Discuss Packing & Shipping →Confirm the proposed method on the intended vessel and finish. Keep the decoration approval separate from any finished-candle evaluation for the actual glass and formulation.
Match the marking route to the visual result and the order you need to place.
Review the smallest lettering or lines from the intended viewing distance before signing off.
Use a marked view to set the logo position and scale. Check fine lettering on the actual sample rather than approving a screen preview alone.
List each artwork version, the required text and its quantity so it can be checked separately.
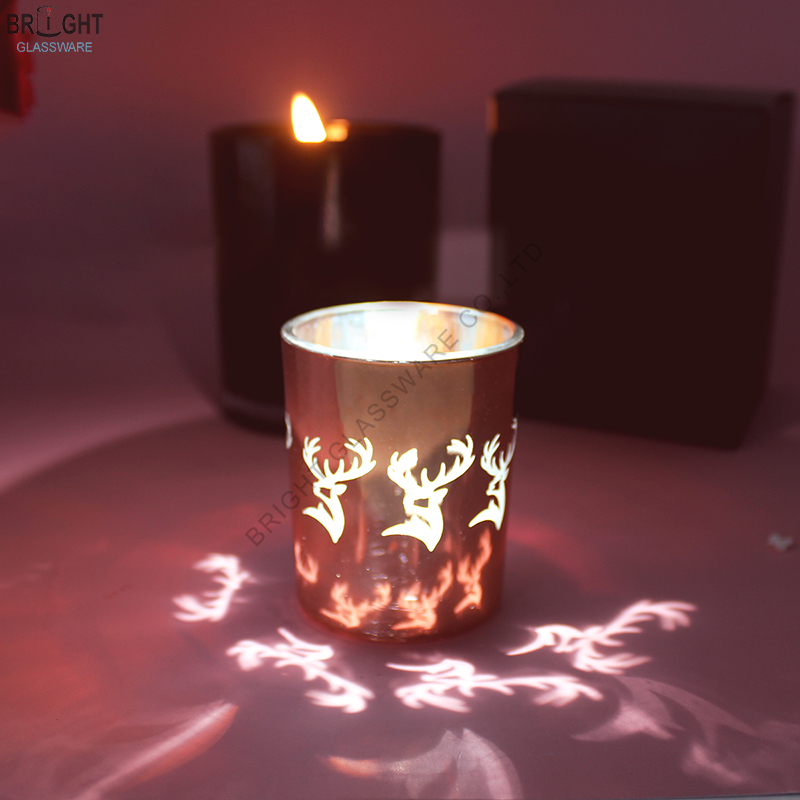
If a lid or box is part of the gift pack, check its orientation and which face will be seen when the box opens.
Separate gift display reference. Review the approved artwork under your intended lighting.
Check the mark on the exact new surface before using the prior artwork and process approval.
For a coated or reflective vessel, review the intended mark on that finish. Compare a printed or other decoration option if that better suits the artwork.
Confirm terms for the selected vessel, artwork versions, sample and packing requirements. The quote depends on the method agreed for the actual surface.
Bright Glassware can review the vessel and artwork brief and help compare the proposed marking and packaging for the selected model.
Identify the base model or provide a sample. Include any color, coating or molded detail already present.
Show whether you want a quiet surface mark, printed color or a raised shape. Each result needs a different approval.
Provide the final drawing and a marked jar view, including any minimum space around the design.
Check what can be sampled on the selected material. A mark on bare glass may look different on a colored or coated jar.
Inspect small letters, thin lines and the edges of the mark. Use the planned fill and display light if they affect contrast.
Keep the sample, model, finish, method and artwork revision together for the next run.
Engraving or etching changes the surface at the mark. Printing places a graphic on the surface. Molded embossing creates relief in the vessel shape. Use the intended result to guide the method.
Send the model, material, existing finish and a marked view of the intended location. A side view helps if the wall curves or has raised detail.
Ask about the exact color and finish. Review whether a sample can achieve the result before you commit to that route.
A clear reference is enough to discuss options. For a sample, send the intended size and artwork file, plus any variable text or design versions.
Send your requirements or a reference so our team can review your project.
Ask Our Packaging Team →State whether you need a surface mark, a printed color or a raised shape. Explain the effect and where it belongs before deciding which route to request.
A clear wall and a coated or reflective wall can show different contrast. Review the intended mark on the actual finish.
Check thin strokes, small letters and spacing on the physical vessel. Turn the jar to see how the curve affects the visible design.
Use the selected jar and artwork to approve the mark. Keep the sample, location, finish and artwork revision for the next order.
Request a Quote
Share the model, capacity, color, closure, decoration, packaging and estimated quantity you need. We can review the options with you.
Category: Engraved Candle Jars