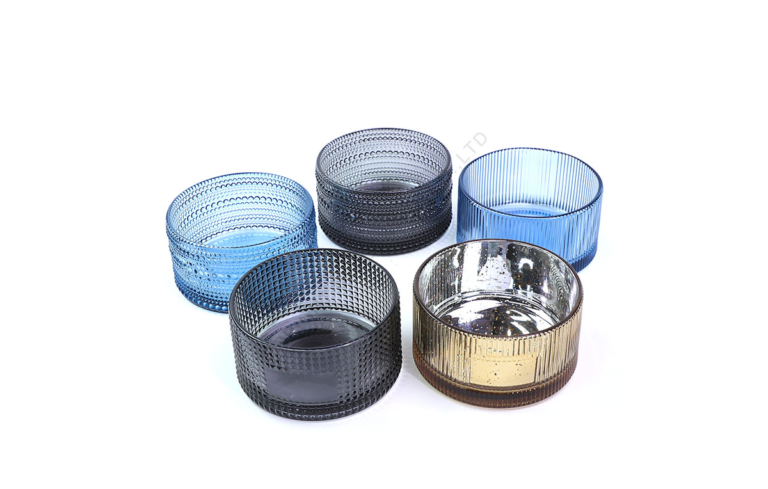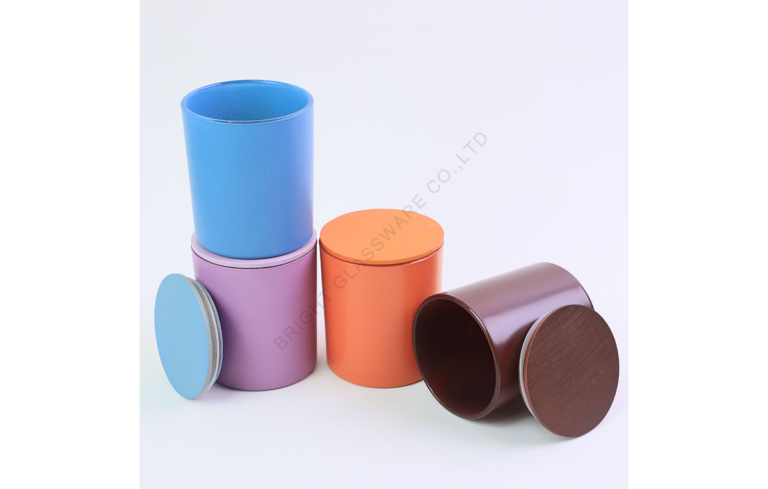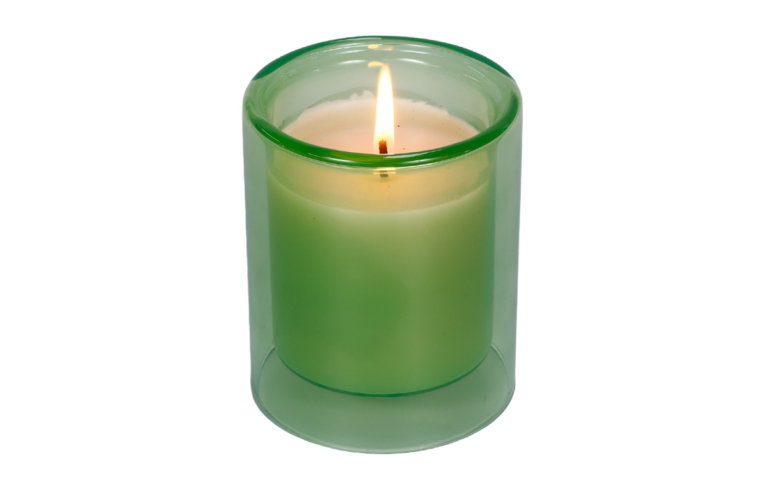

Choosing a candle jar starts with a practical question: will it accommodate the intended formula at the planned fill level? Confusing a container's named size, liquid capacity and wax-blend weight can distort sample selection and material planning. This guide explains how to estimate wax weight for candle containers and confirm the proposed fill with the actual vessel and formula.
Choose a working fill line, measure the water mass to that line, and use an applicable conversion factor or density for a planning estimate. Keep pure-wax mass separate from the total wax-and-fragrance mass. State the fragrance percentage basis, calculate its components, then check the actual fill weight, cooled wax level and lid fit through trial pours before agreeing production specifications.
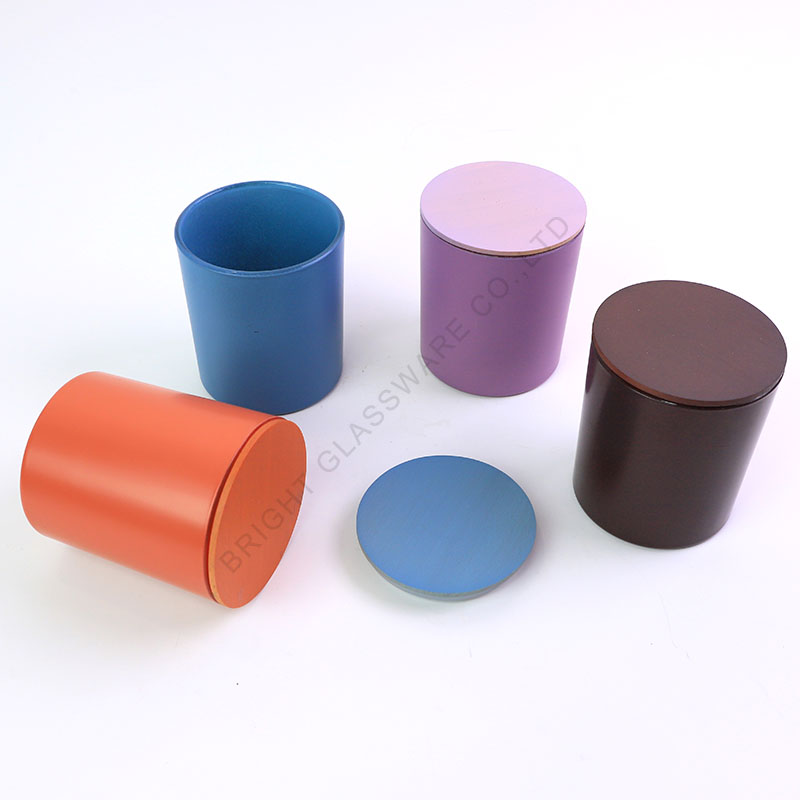
The calculation helps you plan a sample and a batch. Its accuracy depends on the inputs, and confirming the fill does not by itself establish the finished candle's burn performance.
Why Is Candle Jar Capacity Different from Wax Weight?
An "8 oz" container name does not establish that it holds 8 oz of your wax blend. First ask whether the number is a nominal product name, liquid volume or a suggested fill weight. The difference matters when comparing suppliers and planning a finished candle.
Keep fluid ounces or milliliters for volume separate from ounces or grams for mass. For example, CandleScience distinguishes overflow volume, estimated wax weight to a fill line and nominal container naming. That supplier's definitions illustrate why the actual specification needs checking; they are not a universal naming convention.
Dive Deeper
When a procurement specification or product listing mentions "8 oz," the first question should always be: does this refer to the container's liquid overflow capacity or the intended net weight of the finished candle? These two values are not interchangeable. For a brand, agree the target net mass of the wax-and-fragrance blend together with the working fill position. Keep the empty glass and other components separate from this material calculation; label compliance is a separate requirement.
Let's break down the terms:
- Fluid Ounce (fl oz): A measure of volume. It describes how much space is inside the container. 1 US fl oz is approximately 29.57 milliliters (ml).
- Avoirdupois Ounce (oz): A measure of weight (mass). It describes how heavy something is. 1 oz is approximately 28.35 grams (g).
These are different unit categories in the NIST conversion tables. Eight U.S. fl oz is about 236.6 mL, whereas 8 oz by mass is about 226.8 g. A density or an applicable mass-conversion factor is needed to relate volume to the particular material's mass; the numbers cannot simply be copied across.
For rough water measurements, USGS explains that water density is approximately 1 g/mL and changes with temperature. The density of the actual wax or scented blend is a separate input. Do not assign a single coefficient to every wax family.
Glass weight alone does not tell you the usable internal volume. Wall and base geometry form part of that internal space, so jars with the same external size can have different usable capacities. Confirm the actual cavity and fill position rather than infer capacity from a premium-looking thick base. Ask whether the supplier's stated capacity is to overflow or to a specified working level.
How Do You Choose the Fill Line and Measure Usable Capacity?
Define the working fill position before converting volume to mass. It needs to suit the selected jar, proposed candle and closure arrangement. Filling to overflow leaves no planned headspace and should not be used as an assumed finished-candle specification.
The selected working line gives you a repeatable reference for sample measurements. It does not, by itself, establish a safe finished candle.
Dive Deeper
Before you can calculate any weights, you must first define your volume. The best way to do this is with a physical sample of your chosen container.
1. Establish the Headspace: In some of our projects, 10–12 mm below the top rim has been a starting reference for headspace. This is a project reference, not a universal safe-fill rule. Confirm the position for the particular vessel and candle, including:
- Container Shape: Equal headspace does not necessarily mean equal unused volume; it depends on the internal cross-section at that height.
- Lid Design: If your lid has an inner plug, silicone gasket, or other component that fits inside the jar opening, you must account for the space it occupies. Check where the actual closure enters the opening and agree the required clearance with the filled sample. A lid that can close has not, by itself, validated the candle.
- Aesthetics: The final wax surface should look balanced within the container.
2. Mark the Fill Line: Once you've determined the ideal level, use a non-permanent marker to draw a clear line on the outside of your sample jar. This marked line represents the top of your "usable capacity."
3. Measure the Usable Volume with Water: Use the marked position as the reference for a water measurement.
- Place the empty, dry candle container on a digital scale that measures in grams.
- Tare the scale to zero it out. This removes the weight of the glass itself from the measurement.
- Carefully fill the container with water exactly to the fill line you marked.
- Record the water mass shown by the scale. For rough planning at ordinary room temperature, grams of water can be treated as approximately the same number of milliliters; for a density-based calculation, use Volume = Water Mass / Water Density under the relevant conditions.
Record the water mass, line reference and measurement conditions. This complements the supplier's capacity information by describing the working level you actually plan to use. Drain and appropriately dry the sample before any wax filling.
How Do You Estimate Wax Weight from Water Weight?
You now have a measured water mass to a defined level. To estimate a wax or blend mass, you need an input applicable to that material and the relevant conditions. Grams and milliliters remain different units.
A water-to-material mass factor is a ratio for an equivalent usable volume. A density is mass per volume, such as g/mL. Either approach can support planning when its basis is clear; neither makes a generic coefficient a measured value for your formula.
Dive Deeper
For an applicable water-to-material factor:
Estimated Material Mass (g) = Measured Water Mass (g) × Applicable Factor
If working from volume instead:
Estimated Material Mass (g) = Usable Volume (mL) × Material Density (g/mL)
Specify whether the material is unfragranced wax or the final scented blend. A dimensionless factor and a density in g/mL are not interchangeable labels, even when their numerical values happen to be similar under a water-density approximation. Ask the relevant supplier for applicable data and confirm the fill with the chosen formulation.
Example Calculation:
As a hypothetical planning example, suppose the selected line holds 200 g of water and you use 0.86 as an assumed factor for the unfragranced wax:
- Estimated unfragranced wax mass = 200 g × 0.86 = 172 g.
The arithmetic is straightforward; the factor's applicability still needs verification. This is not a universal soy-wax factor or proof of the final scented fill. Adding fragrance changes the formulation, so this pure-wax estimate cannot automatically be relabeled as the same-volume total wax-and-fragrance mass.
Our Candle Making Calculators & Jar Sizing Tools provides editable planning inputs and separates estimated fill, wax and fragrance quantities. Use the input definitions shown on the tool, then confirm the final fill with physical samples.
How Do You Calculate Wax and Fragrance for a Fixed Fill Weight?
Once you choose a target total blend mass, calculate wax and fragrance as components of that total. First define what the fragrance percentage means and which ingredients are included.
If the entire target mass is treated as pure wax and fragrance is added on top, the resulting total exceeds that target. The actual fill level still depends on the formula and sample; a mass increase alone does not prove overflow.
Dive Deeper
For the following two-component example, define the fragrance rate as:
Fragrance Load % = (Fragrance Mass / Pure-Wax Mass) × 100
CandleScience's fragrance-weighing guidance illustrates oil calculated relative to wax mass and directs readers to the particular wax product's requirements. Confirm the definition and permitted use for your own materials; 8% here is an arithmetic assumption, not a recommended level.
For a separate hypothetical example, assume the selected target total is 172 g of wax plus fragrance, and fragrance is 8% of pure-wax mass. This total is an assumed planning target, not a verified outcome of the pure-wax calculation above. If other ingredients are present, account for their masses separately before using this two-component calculation.
Here is the correct way to calculate the required amounts for one candle:
1. Determine the Total "Parts": The total mixture consists of wax (1 part) and fragrance (0.08 parts).
- Total Parts = 1 + (Fragrance Load / 100)
- Total Parts = 1 + (8 / 100) = 1 + 0.08 = 1.08
2. Calculate the Wax Weight: Divide the total target fill weight by the total parts to find the weight of the wax alone.
- Wax Weight = Total Fill Weight / Total Parts
- Wax Weight = 172 g / 1.08 ≈ 159.26 g
3. Calculate the Fragrance Oil Weight: Multiply the calculated wax weight by your fragrance load percentage.
- Fragrance Oil Weight = Wax Weight × (Fragrance Load / 100)
- Fragrance Oil Weight = 159.26 g × 0.08 ≈ 12.74 g
4. Verify Your Calculation: The sum of the wax and fragrance should equal your total target fill weight.
- 159.26 g (wax) + 12.74 g (fragrance) = 172 g (total)
This split preserves the chosen total and percentage basis mathematically. It does not establish the volume or performance of the actual pour. If a specification instead defines fragrance as a share of total blend mass, use Fragrance = Total × That Fraction and Wax = Total − Fragrance. State which convention applies. For comparison, 172 g of pure wax plus 8% of that wax mass is 185.76 g in total; it is a different starting condition.
How Do You Confirm the Final Fill Weight with a Trial Pour?
A trial pour connects a calculation to the selected vessel and formula. It lets the team compare the actual added material mass, cooled wax level and closure space against the proposed specification.
We work with customers to measure containers and confirm fill quantities through trial pours. This confirms the fill arrangement under review; it is one part of development, rather than a complete production or safety approval.
Dive Deeper
During sampling, the following checks can help organize that review:
- Identify the Assembly: Use the selected jar and relevant fixed components. Record the empty assembly mass, excluding a lid unless the same lid will also be included in the later weighing.
- Prepare the Formula: Weigh the planned components and follow their applicable preparation instructions. Keep the formula version and percentage basis clear.
- Fill the Sample: Use the planned process and review the proposed level. Do not force all prepared material into a vessel merely to reproduce an estimate. Material retained in mixing or pouring equipment may not enter the sample.
- Cool and Weigh: Under the selected process conditions, let the sample cool appropriately. Weigh the same assembly again. Added blend mass = Filled Assembly Mass − Recorded Empty Assembly Mass. Recording both readings avoids depending on a scale retaining its earlier zero.
- Review Level and Closure: Compare the cooled wax surface with the agreed reference and check the actual lid fit and clearance.
- Record and Recheck: If the mass or position differs from the intended target, review the inputs, delivered material and process before agreeing a revised sample. Keep revised versions distinguishable.
For example, 170 g could be a hypothetical revised target. Confirm the selected value through your own sample review. An acceptable fill and lid fit do not replace evaluation of the complete jar, formula and wick combination; our basic burn-test guide discusses that separate stage.
How Do You Scale Per-Candle Quantities for Production?
After confirming the proposed per-candle quantities, scale them to the planned production count. Keep the theoretical material required inside finished candles separate from any additional preparation quantity for the actual process.
To scale effectively, you must use your confirmed per-unit specifications to create a master batch sheet. Critically, you should calculate production loss separately and not try to compensate for it by overfilling each individual candle. This keeps the intended per-candle fill separate from batch material planning.
Dive Deeper
With your confirmed recipe from the trial pour, scaling up becomes a matter of simple multiplication and disciplined documentation.
For a hypothetical batch-planning example, assume the following two-component target for one candle at an 8% fragrance rate based on wax mass:
- Container: The selected sample and closure configuration.
- Target Net Fill Weight: 170 g
- Wax Weight per Unit: 157.41 g
- Fragrance Weight per Unit: 12.59 g
1. Calculate Batch Totals: For a production run of 1,000 candles, your base material requirements are:
- Total Wax Needed: 157.41 g/unit × 1,000 units = 157,410 g or 157.41 kg
- Total Fragrance Needed: 12.59 g/unit × 1,000 units = 12,590 g or 12.59 kg
2. Account for Production Loss (Separately): Materials can remain in equipment or be lost during handling. Use an allowance supported by the actual process instead of assuming one percentage suits every factory or formula. Keep it out of the per-candle target.
As an arithmetic example only, a 3% extra preparation allowance on the rounded base quantities above would give:
- Wax to prepare: 157.41 kg × 1.03 = approximately 162.13 kg.
- Fragrance to prepare: 12.59 kg × 1.03 = approximately 12.97 kg.
This is a 3% addition to the base requirement, not a measured 3% loss of all prepared input. If an actual input-loss fraction is used, the calculation is Required Finished Amount ÷ (1 − Loss Fraction), under that loss model. These calculations describe planning quantities under the stated assumptions. The intended fill remains 170 g per candle; additional preparation material does not change it.
3. Create a Specification Sheet: This is a useful reference for sample approval and later orders. For every product SKU, you should have a spec sheet that includes:
- Container Model Number
- Lid Model Number
- Target Net Fill Weight (e.g., 170 g)
- Fill Line Description (e.g., "12 mm from rim")
- Wax Type and Wax Weight per Unit
- Fragrance Name and Fragrance Weight per Unit
- Fragrance Load Percentage and its definition
This document helps you, your team and your suppliers compare the same agreed configuration. When you need to re-order containers or switch fragrances, this sheet becomes the baseline for any new testing that may be required.
Frequently Asked Questions
What is a typical headspace for a candle jar?
In some of our projects, 10–12 mm below the rim has served as a starting reference. It is not a universal candle standard. Review the actual jar shape, fill plan, closure space and finished-candle requirements before agreeing a working level.
Does the glass container's weight affect how much wax it holds?
Empty glass mass alone does not determine usable capacity. Internal geometry, including the walls and base, and the selected fill position matter. A heavy jar does not necessarily hold more wax than a lighter jar of the same external dimensions. Measure the relevant internal capacity instead of converting glass weight into a wax quantity.
Why did my calculated wax amount not fill to the line?
Review the conversion input and its material/temperature basis, the selected fill reference, formula, amount actually transferred and cooling conditions. A level difference alone does not identify one cause. Compare recorded sample masses and conditions, then repeat the relevant fill review with the selected formula.
Should I include the wick's weight in my calculations?
Include the fixed wick assembly in the empty-assembly reference when it will also be present in the filled weighing. Subtract the mass of the same empty assembly from the filled assembly to determine added blend mass. In this calculation, wick and glass masses are excluded from the wax-and-fragrance quantity. Keep any packaging or labeling determination separate.
Conclusion
Calculating wax weight for candle containers connects vessel selection, formula planning and physical fill checks. Define the working level, measure the usable capacity, state the conversion assumption and fragrance basis, and review the actual filled sample. Keep the recorded per-candle target separate from batch allowances so teams can compare the same configuration when a jar, wax or fragrance changes.
Compare our glass candle jars and use the candle calculation tools to plan the next sample. For a sourcing discussion, share the selected jar, target fill, formula assumptions, lid and quantity requirements.
Keep Reading