
Learning how to attach a candle wick to a jar is simple in a small studio, where a crooked wick can be peeled up and reset by hand. On a commercial filling line producing tens of thousands of units daily, a 3-millimeter shift is a commercial disaster1. If a wick sustainer detaches or sits off-center, it causes wax tunneling, black soot on the glass, or localized overheating that can fracture the container2. By evaluating container geometry alongside your fastening materials, you can prevent bond failure and ensure safe burns across mass production runs.
To attach a candle wick to a jar reliably, select a heat-resistant adhesive rated for your pouring temperature3, verify that the interior glass base is clean and flat4, press the metal wick sustainer firmly into the true center of the inner cavity, and secure the top of the wick upright until the wax fully solidifies.
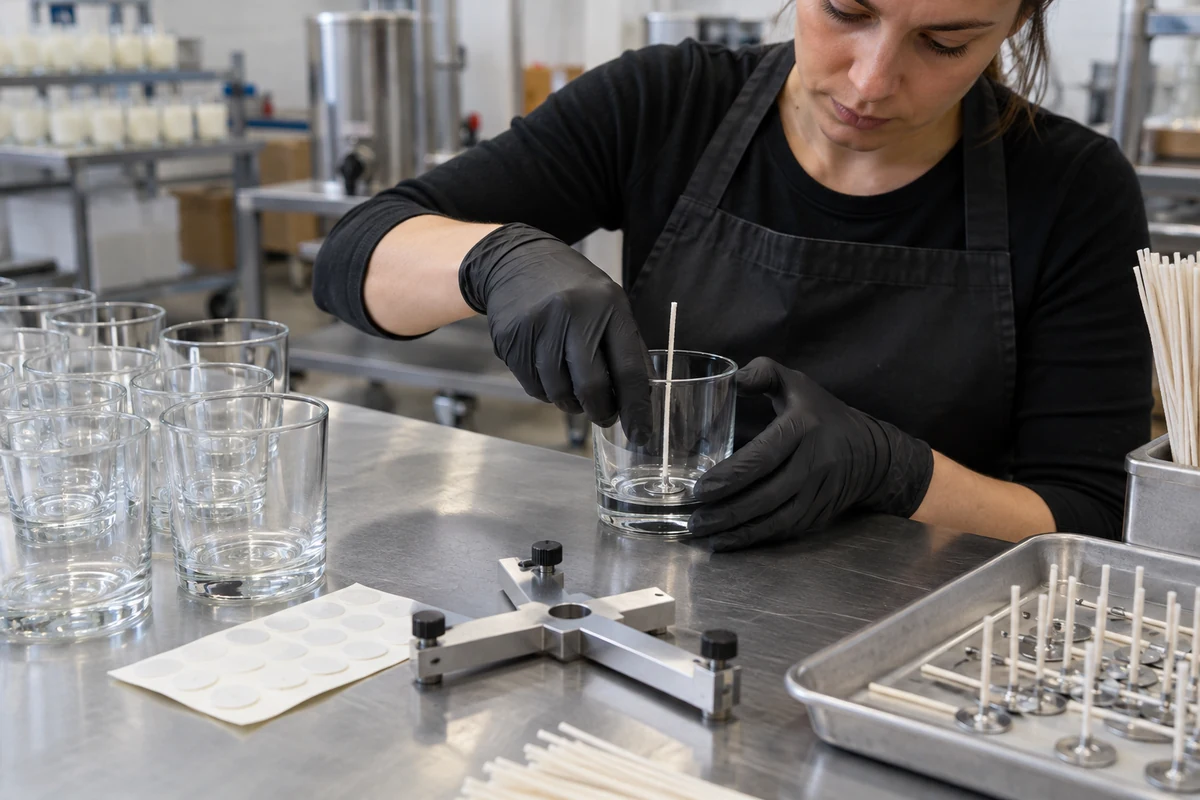
Securing the base is only the first step of commercial candle manufacturing. To understand why top-tier adhesives sometimes fail during hot pours, we need to look beneath the glue and examine the physical geometry and surface quality of the glass container itself.
How Do You Choose Compatible Fixtures and Materials When Learning How to Attach a Candle Wick to a Jar?
Many candle brands blame their 3M industrial wick stickers or high-temperature hot melt glue when wicks float up after pouring 75°C to 85°C wax. A floating wick ruins a production batch immediately. However, bond failure is rarely caused by the adhesive alone; it stems from a mismatch between the rigid metal sustainer and the glass base.
To choose compatible fixtures when planning how to attach a candle wick to a jar, pair flat-bottomed metal wick sustainers with high-temperature adhesives5 formulated specifically for candle making. Crucially, verify that the glass jar features a flat internal base so the rigid metal tab achieves complete surface contact without edge gaps.
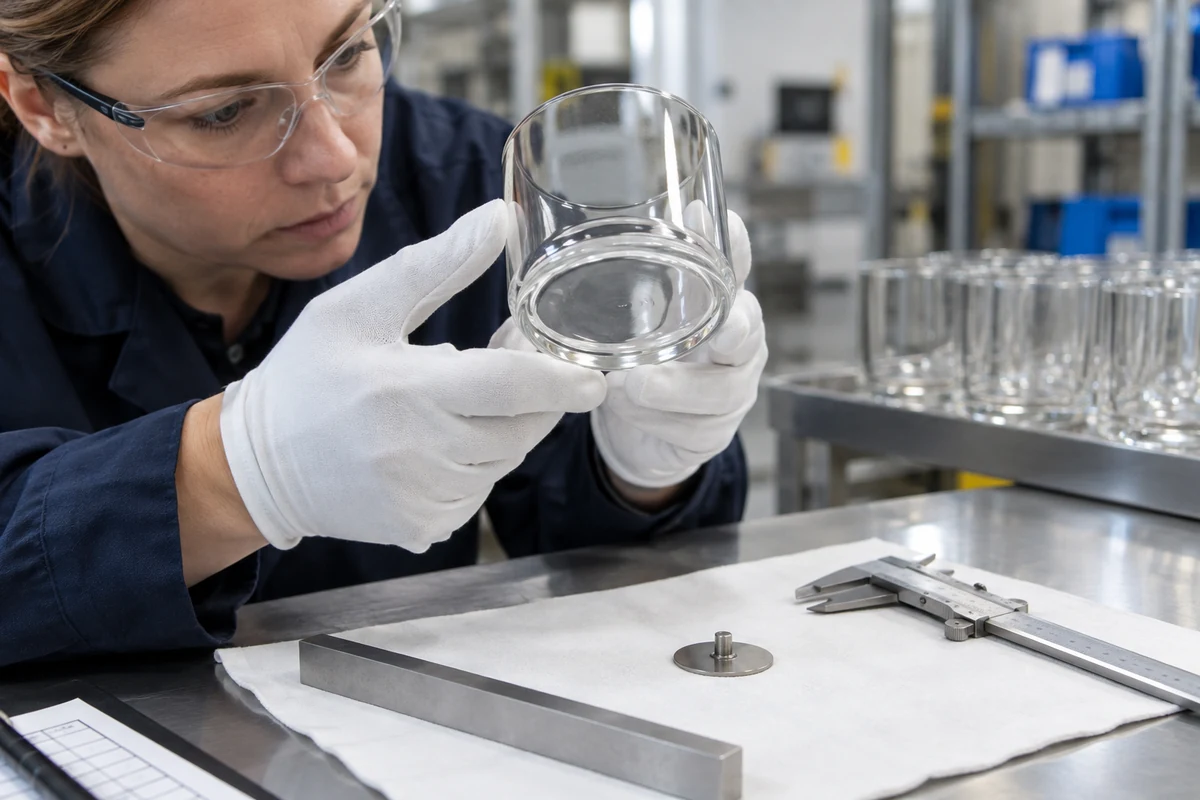
The Hidden Culprit: Internal Base Flatness
When procurement managers evaluate adhesives, they often overlook the underlying substrate. In my experience at Shenzhen Bright Glassware Co., Ltd., where we have manufactured glass packaging for global candle and fragrance brands since 2005, I tell buyers to check the inside bottom of their jars before changing glue suppliers.
Low-grade glass factories often struggle with mold cooling control6 or unstable blowing air pressure. Consequently, the internal bottom of the glass jar turns out slightly domed (convex) or shows wavy surface ripples.
A standard metal wick sustainer is a flat, rigid stamping. When you press a flat metal disk onto a slightly convex glass base, the center touches, but the outer edges hang in the air. This creates microscopic gaps around the perimeter. When liquid wax at 75°C to 85°C hits the bottom of the jar, capillary action draws the hot wax straight into those gaps7. The wax attacks the adhesive boundary, softens the bond, and causes the sustainer to lift.
Matching Sustainers, Adhesives, and Glass
At Bright Glassware, whether we are producing heavy-base high-white flint glass jars or smooth borosilicate glass vessels, we manage mold temperature control to keep the center of the internal base flat. This gives the metal sustainer a full-contact bonding surface.
When selecting your fastening materials, always follow the adhesive manufacturer's technical data sheets and evaluate these three elements together:
- Wick Sustainers (Tabs): Check that the metal stamping is free of burrs or warps. Standard neck heights (typically 3mm to 6mm) must match your wax safety stop-level requirements.
- Double-Sided Foam Stickers: Foam pads offer slight compressibility, which can compensate for minor micro-textures on ceramic candle jars or pressed glass bases. Confirm the temperature rating with the supplier before bulk pouring.
- Industrial Hot Melt Glue: High-speed automated lines typically dispense hot melt glue. Because liquid glue forms a thin film once pressed, it requires a consistently flat glass surface to prevent void pockets.
Procurement Note: Never rely on unverified household glues or adhesives lacking thermal resistance data. Always conduct pull tests under your exact wax-pouring temperatures to verify compatibility between your specific wax blend, fragrance load, adhesive, and container substrate.
How Should You Prepare the Jar Surface Before Attaching the Wick?
Even when the glass bottom is flat, wicks occasionally detach during transport or pouring. This creates costly rework and delays shipment schedules. The root cause is usually an invisible barrier of oil, dust, or mold release residue sitting between your adhesive and the glass surface.
To prepare the jar surface before attaching the wick, ensure the interior base is dry, dust-free, and free of manufacturing oils or release agents. Maintain storage and filling environments at stable room temperatures so condensation or cold glass surfaces do not weaken the initial adhesive tack.
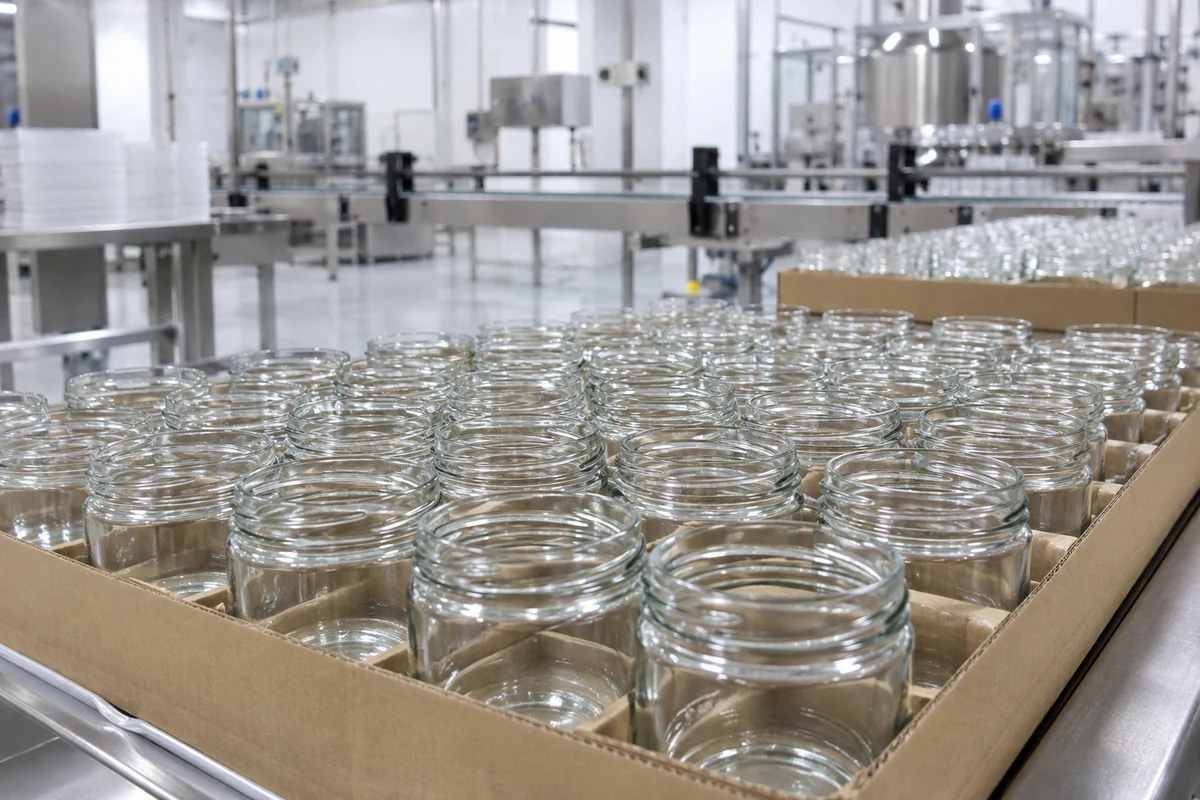
Eliminating Supply Chain Contamination
Why does adhesive fail on a flat surface? Surface tension and cleanliness dictate molecular bonding. Traditional small-scale glass workshops often use heavy-oil-fired furnaces and operate in dusty environments. Furthermore, excessive industrial mold release lubricants used during glass forming can leave a microscopic greasy film inside the cup. If those contaminants remain on the bottom of the jar, they prevent the adhesive from wetting out on the glass surface.
In small batches, makers sometimes wipe jars manually according to their shop protocols. However, in high-volume B2B production, manual wiping adds labor costs and slows down the line. The most efficient solution is preventing contamination at the manufacturing source.
Ready-to-Fill Packaging Standards
At Bright Glassware, we rely on electric furnace melting and extended annealing lehrs to keep the glass surface clean from the start. Once the jars exit the lehr and pass inspection, we pack them directly in a clean environment using structured export configurations, such as 12-unit inner boxes inside reinforced master cartons.
For candle brands and contract manufacturers, this reduces prep work on the filling floor. To maintain surface readiness in your facility, follow these operational checks:
- Inspect Incoming Cartons: Keep jars sealed in their inner boxes until they reach the wicking station to block airborne wax dust or fragrance mist in your factory.
- Acclimate Glass Temperature: Cold glass brought straight from a winter warehouse to a warm filling line will develop microscopic condensation. Allow pallets to acclimate to ambient room temperature before applying adhesives.
- Verify Dispenser Pressure: Whether using manual applicators or pneumatic wicking heads, apply firm, even downward pressure as specified by your adhesive supplier to expel trapped air bubbles beneath the sustainer.
How Do You Position and Secure the Wick When Learning How to Attach a Candle Wick to a Jar?
Knowing how to stick a candle wick to the bottom of a jar is straightforward, but achieving true geometric centering on an automated line is a major engineering challenge. If your glass walls vary in thickness, your wicking machine will place the wick off-center every time, leading to uneven heat distribution and soot buildup.
To position and secure the wick when learning how to attach a candle wick to a jar, use centering jigs or automated wicking heads calibrated to the [jar's dimensions](https://brightglassware.com/candle-jar-sizes-capacity-dimensions-and-wax-fill/)8. Verify that the glass container has uniform wall thickness so the outer diameter center aligns with the inner cavity center, then hold the wick taut vertically.
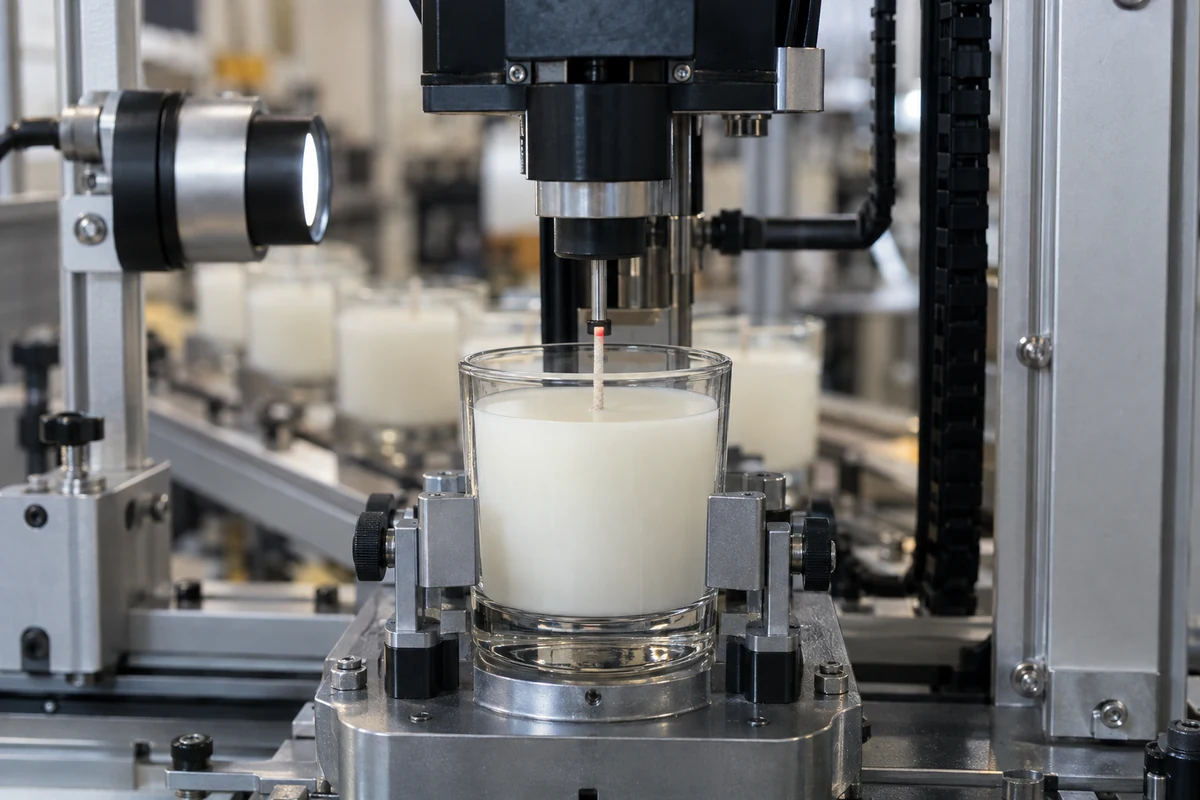
The Concentricity Trap in Automated Wicking
In modern candle factories, operators use centering jigs or automated wicking machines to place thousands of wicks per hour. How does an automated machine find the center of a jar? Mechanical grippers clamp the outer diameter (OD) of the glass jar and calculate the center point from the outside edges.
Your automated wicking machine is only as accurate as the concentricity of your glass jar.
If you source low-quality glass jars with severe wall thickness variation—for example, the left wall is 5mm thick and the right wall is only 2mm thick9—the center of the outer diameter is not the center of the inner cavity. The machine places the wick at the exact geometric center of the outer profile, but once you pour the wax, the wick sits noticeably closer to the thin wall. This eccentricity creates a localized hot spot on the thin glass side.
At Bright Glassware, we use automated forming machines paired with infrared inspection and caliper checks to control wall thickness uniformity. On staple models like our BGC7080 and BGC8090 candle jars, keeping the outer diameter and inner cavity concentric allows high-speed automated wicking lines to hit the true center of the wax pool.
Practical Steps for Centering and Securing
When setting up your wicking station, follow these steps to maintain alignment from the base to the top of the jar:
- Calibrate Guides to the Inner Cavity: If using manual templates or optical guides, verify that the fixture references the interior rim as well as the outer body.
- Account for Multi-Wick Geometry: For wide-mouth luxury candles using two or three wicks (such as multiple CDN 5, CDN 7, or CDN 10 wicks), alignment checks must verify both the spacing between wicks and the clearance distance to the glass wall. Follow your wax and wick supplier's guidelines for spacing to prevent thermal overlapping.
- Apply Top Stabilization: A centered base means nothing if the braided cotton leans over during cooling. Use rigid wick bars, centering clips, or automated tensioning racks to hold the wick vertical while the wax transitions from liquid to solid.
How Do You Check Stability and Alignment Through the Production Process?
Fixing the sustainer at the bottom is only the beginning of quality control. During pouring, cooling, and test burning, thermal forces and wick construction can shift the flame toward the glass. Without structured alignment checks, minor deviations can multiply and compromise container safety.
To check stability and alignment through the production process, perform pre-pour pull tests on the sustainer, inspect vertical straightness through the glass wall after pouring, and account for directional wick curl during test burns. Use optically clear glass without surface waviness10 so inspectors or vision systems can detect shifts accurately.
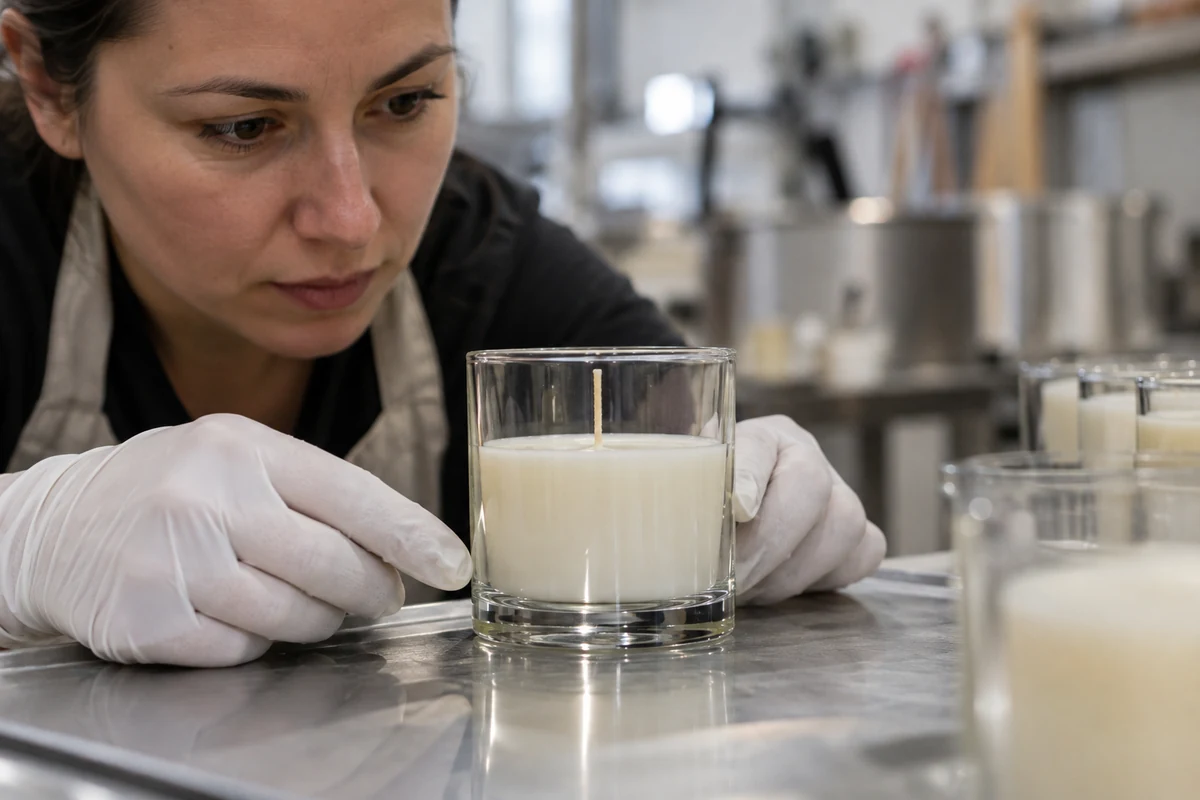
Dynamic Alignment and Directional Wick Curl
True alignment inspection considers both static position and dynamic burning behavior. For example, many soy and natural wax brands use flat-braided cotton wicks with paper fibers11, such as the CDN (Stabilo KST) series (commonly CDN 14 to CDN 20 for standard single-wick vessels). Because of their asymmetric weave structure, these wicks naturally curl slightly toward one side as they burn—a design feature intended to keep the tip in the outer flame zone for self-trimming.
Consider the math on the production line: if your bottom placement is off-center by 3 millimeters toward the left wall, and the wick's directional curl bends the flame another 3 millimeters in that same direction, the flame sits 6 millimeters closer to the glass. That shifts the thermal load unevenly onto one side of the container.
Optical Clarity for Machine Vision and QC
During post-pour checks, quality inspectors—or automated machine vision cameras—look through the side of the transparent jar to verify that the wick stands straight from the sustainer to the wax surface. Our high-white flint and borosilicate glass jars eliminate surface waviness ("wall-sucking" distortion) and large air bubbles over 1mm. Without optical distortion, quality teams can spot tilt issues before the wax hardens.
The Thermal Safety Buffer
No filling line achieves zero variance across millions of units. If a wick shifts slightly during transit or pouring, the container itself acts as the final safety barrier. At Bright Glassware, our extended annealing process removes residual internal stress in the glass12, while our borosilicate options provide enhanced thermal shock resistance. Even if a slight wick offset causes uneven wall heating, properly annealed glass helps withstand localized temperature gradients.
Filling Line Alignment & Adhesion QC Checklist
Use the table below to standardize quality checks across your production stages:
| Inspection Stage | Core QC Metric | Target Standard / Check Method | Glass Defect That Causes Failure |
|---|---|---|---|
| 1. Pre-Production (Incoming Glass) | Internal Base Flatness & Surface Cleanliness | Verify flat bottom geometry and dry, oil-free interior surface before loading line. | Convex/domed bottom creates edge gaps; mold oil or kiln dust prevents adhesive wetting. |
| 2. During Wicking (Dry Assembly) | OD/ID Concentricity & Pull Test | Confirm sustainer sits at true inner cavity center; run sample pull tests per glue supplier specs. | Uneven wall thickness (eccentricity) tricks outer-clamping wicking machines into off-center placement. |
| 3. Post-Pour & Cooling | Vertical Straightness & Multi-Wick Spacing | Inspect through sidewall for vertical tension; check top centering clips and wick-to-wall clearance. | Glass waviness or cords distort visual/camera inspection; bottom gaps allow hot wax to lift the tab. |
| 4. Burn Testing (Validation) | Dynamic Flame Alignment & Thermal Stability | Observe directional curl orientation and container wall temperatures during full melt pool cycles. | Poor annealing (internal glass stress) leads to cracking when slight wick tilt causes localized heat. |
Frequently Asked Questions
Can I use any glue to attach a candle wick to a jar?
No, you should never use standard household glues, hot glue sticks with low melting points, or unverified solvents. Liquid wax is typically poured at 65°C to 85°C, and the container base reaches even higher temperatures as the candle burns down. Always use high-temperature hot melt adhesives or industrial double-sided wick stickers engineered specifically for candle manufacturing, and validate them with thermal pull tests.
Does centering the wick mean the wick size is correct?
No. Centering ensures symmetric heat distribution, but it does not guarantee proper combustion. A perfectly centered wick that is too large for your jar diameter and wax formula will still mushroom, smoke, and overheat the glass. Conversely, an undersized wick will tunnel regardless of alignment. Always conduct comprehensive burn tests with qualified professionals to match wick size to your container and fragrance load.
Can I purchase pre-wicked glass candle jars from a supplier?
Most B2B glass manufacturers supply empty containers rather than pre-wicked jars because wick selection and adhesive choice depend heavily on the buyer's proprietary wax blend, fragrance percentage, and pouring temperature. At Shenzhen Bright Glassware Co., Ltd., we focus on delivering ready-to-fill glass jars, matching lids, surface decorations, and retail packaging with tight dimensional tolerances so your filling line can apply wicks rapidly and accurately.
How do I prevent the wick from leaning while the wax cools?
As liquid wax cools and contracts, it can pull an unsecured wick off-center. After attaching the sustainer to the bottom of the jar and pouring the wax, secure the top of the wick using a rigid centering bar, clip, or tensioning rack. Keep the wick taut and vertical until the wax has completely solidified.
Conclusion
Mastering how to attach a candle wick to a jar at commercial scale requires looking beyond the glue stick or sticker pad. True reliability comes from pairing verified high-temperature adhesives with precision-molded glass containers. When your glass supplier controls internal base flatness, surface cleanliness, wall thickness concentricity, and proper annealing, your wicking machines can operate at peak speed without adhesion failures or dangerous alignment shifts.
Do not let rough mold bases and inconsistent wall tolerances bottleneck your automated filling line. At Shenzhen Bright Glassware Co., Ltd., we apply over 20 years of glass manufacturing and export expertise to produce candle jars with flat internal bases, tight concentricity, and complete custom packaging options. Contact our engineering team today to request samples of our BGC7080/BGC8090 series or custom borosilicate vessels, and make every wick attachment and alignment check effortless.
"Candles Business Guidance", https://www.cpsc.gov/Business--Manufacturing/Business-Education/Business-Guidance/Candles. Studies on candle manufacturing processes highlight that wick misalignment can lead to uneven burning, soot formation, and potential safety hazards, particularly in mass production settings. Evidence role: general_support; source type: research. Supports: The importance of precise wick placement in commercial candle manufacturing.. Scope note: Specific tolerance thresholds may vary by manufacturer and product design. ↩
"7 Candle Making Problems, Causes AND Tips For How To Fix ...",
Research on candle combustion dynamics indicates that wick misalignment can lead to uneven heat distribution, causing tunneling, soot, and potential container damage. Evidence role: mechanism; source type: research. Supports: The physical consequences of wick misalignment in candles.. Scope note: The severity of these effects may depend on wax type and container material. ↩"Best heat resistant glue- like if I wanted to bling a candle ...", https://www.facebook.com/groups/blingallthethings/posts/4026097860984277/. Educational resources on candle making emphasize the importance of using adhesives rated for high temperatures to ensure wick stability during wax pouring. Evidence role: general_support; source type: education. Supports: The need for heat-resistant adhesives in candle manufacturing.. Scope note: Specific adhesive ratings may vary by manufacturer and wax formula. ↩
"Zinc and its importance for human health: An integrative review", https://pmc.ncbi.nlm.nih.gov/articles/PMC3724376/. Glass manufacturing guidelines suggest that surface cleanliness and flatness are critical for adhesive bonding in applications like candle making. Evidence role: mechanism; source type: institution. Supports: The role of glass base cleanliness and flatness in wick adhesion.. Scope note: Specific cleaning protocols may vary by production scale. ↩
"Metal Wick Sustainers & Wick Tabs", https://wicksunlimited.com/sustainers/. Research on candle manufacturing materials highlights the importance of pairing flat-bottomed wick sustainers with adhesives designed for high-temperature applications. Evidence role: general_support; source type: research. Supports: The compatibility of flat-bottomed wick sustainers with high-temperature adhesives.. Scope note: Specific adhesive formulations may vary by manufacturer. ↩
"Effects of Different Mold Materials and Coolant Media on the ...", https://pmc.ncbi.nlm.nih.gov/articles/PMC8780444/. Glass manufacturing institutions report that improper mold cooling can lead to uneven internal bases in glass jars, affecting their suitability for adhesive bonding. Evidence role: mechanism; source type: institution. Supports: The relationship between mold cooling control and glass jar base flatness.. Scope note: Specific defect rates may vary by factory and production method. ↩
"Candle wick", https://en.wikipedia.org/wiki/Candle_wick. Scientific studies on fluid dynamics confirm that capillary action can draw hot wax into gaps between adhesive and glass surfaces, weakening the bond. Evidence role: mechanism; source type: research. Supports: The role of capillary action in adhesive failure during candle making.. Scope note: The extent of capillary action may depend on wax viscosity and temperature. ↩
"Automatic Wick Inserter for Candle Production Lines", https://www.epakmachinery.com/media/automatic-wick-inserter. Educational resources on candle manufacturing recommend centering jigs or automated wicking heads to ensure precise wick placement. Evidence role: general_support; source type: education. Supports: The use of centering jigs or automated wicking heads for wick placement.. Scope note: Specific equipment calibration methods may vary by manufacturer. ↩
"Understanding the causes for uneven thickness of glass ...", https://panyuepack.com/understanding-the-causes-for-uneven-thickness-of-glass-bottles/. Research on glass jar manufacturing tolerances indicates that uneven wall thickness can mislead automated wicking machines, causing off-center placement. Evidence role: mechanism; source type: research. Supports: The impact of wall thickness variation on wick placement accuracy.. Scope note: The degree of impact may depend on the specific machine calibration. ↩
"Advanced quality inspection for automotive glass", https://www.isravision.com/en-en/industries/glass/automotive-glass. Research on glass quality control highlights that optical clarity and minimal surface waviness are critical for accurate visual inspections in candle manufacturing. Evidence role: general_support; source type: research. Supports: The importance of optically clear glass for wick alignment checks.. Scope note: Specific clarity standards may vary by application and inspection method. ↩
"Flat Braid Wicks - All Sizes", https://waxingmoonshine.com/products/60-ply-flat-braid-wick. Encyclopedic entries on candle making confirm that flat-braided cotton wicks with paper fibers are widely used for soy and natural wax candles due to their burning characteristics. Evidence role: general_support; source type: encyclopedia. Supports: The use of flat-braided cotton wicks with paper fibers in natural wax candles.. Scope note: Specific wick sizes and types may vary by manufacturer. ↩
"Annealing (glass)", https://en.wikipedia.org/wiki/Annealing_(glass). Educational materials on glass manufacturing explain that annealing reduces internal stress, improving the glass's ability to withstand thermal shock. Evidence role: mechanism; source type: education. Supports: The role of annealing in reducing internal stress and enhancing thermal shock resistance in glass.. Scope note: The effectiveness of annealing may depend on the specific glass composition and process parameters. ↩
Keep Reading